
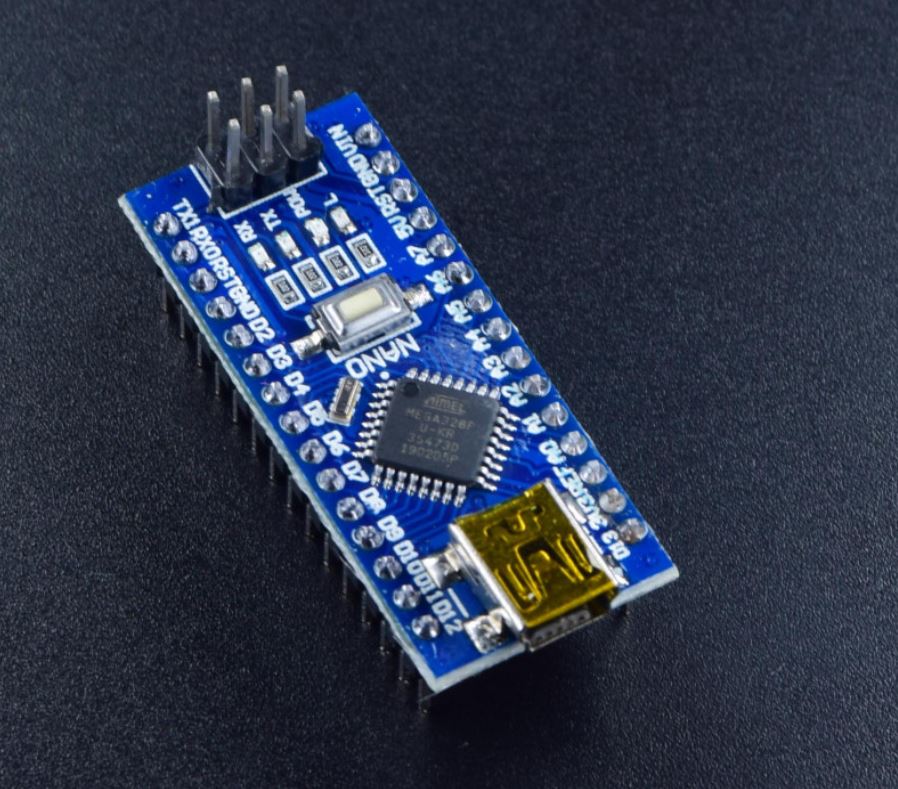
One of the most affordable and compact microcontrollers available on the market is the Nano CH340, an Arduino compatible microcontroller board at an affordable price. However, this board is not for the novice who isn’t prepared to put in the effort if needed. Some Nano CH340 may require some troubleshooting, while some are plug and play right off the bat.
CH340 Driver
The first step in programming the Nano CH340 is to install the CH340 driver if it has not been installed yet. You can download the executable driver here, courtesy of Sparkfun. After installing, it’s best to reboot, especially if you’re running Windows. When you run the installer, you’ll be greeted with this window.
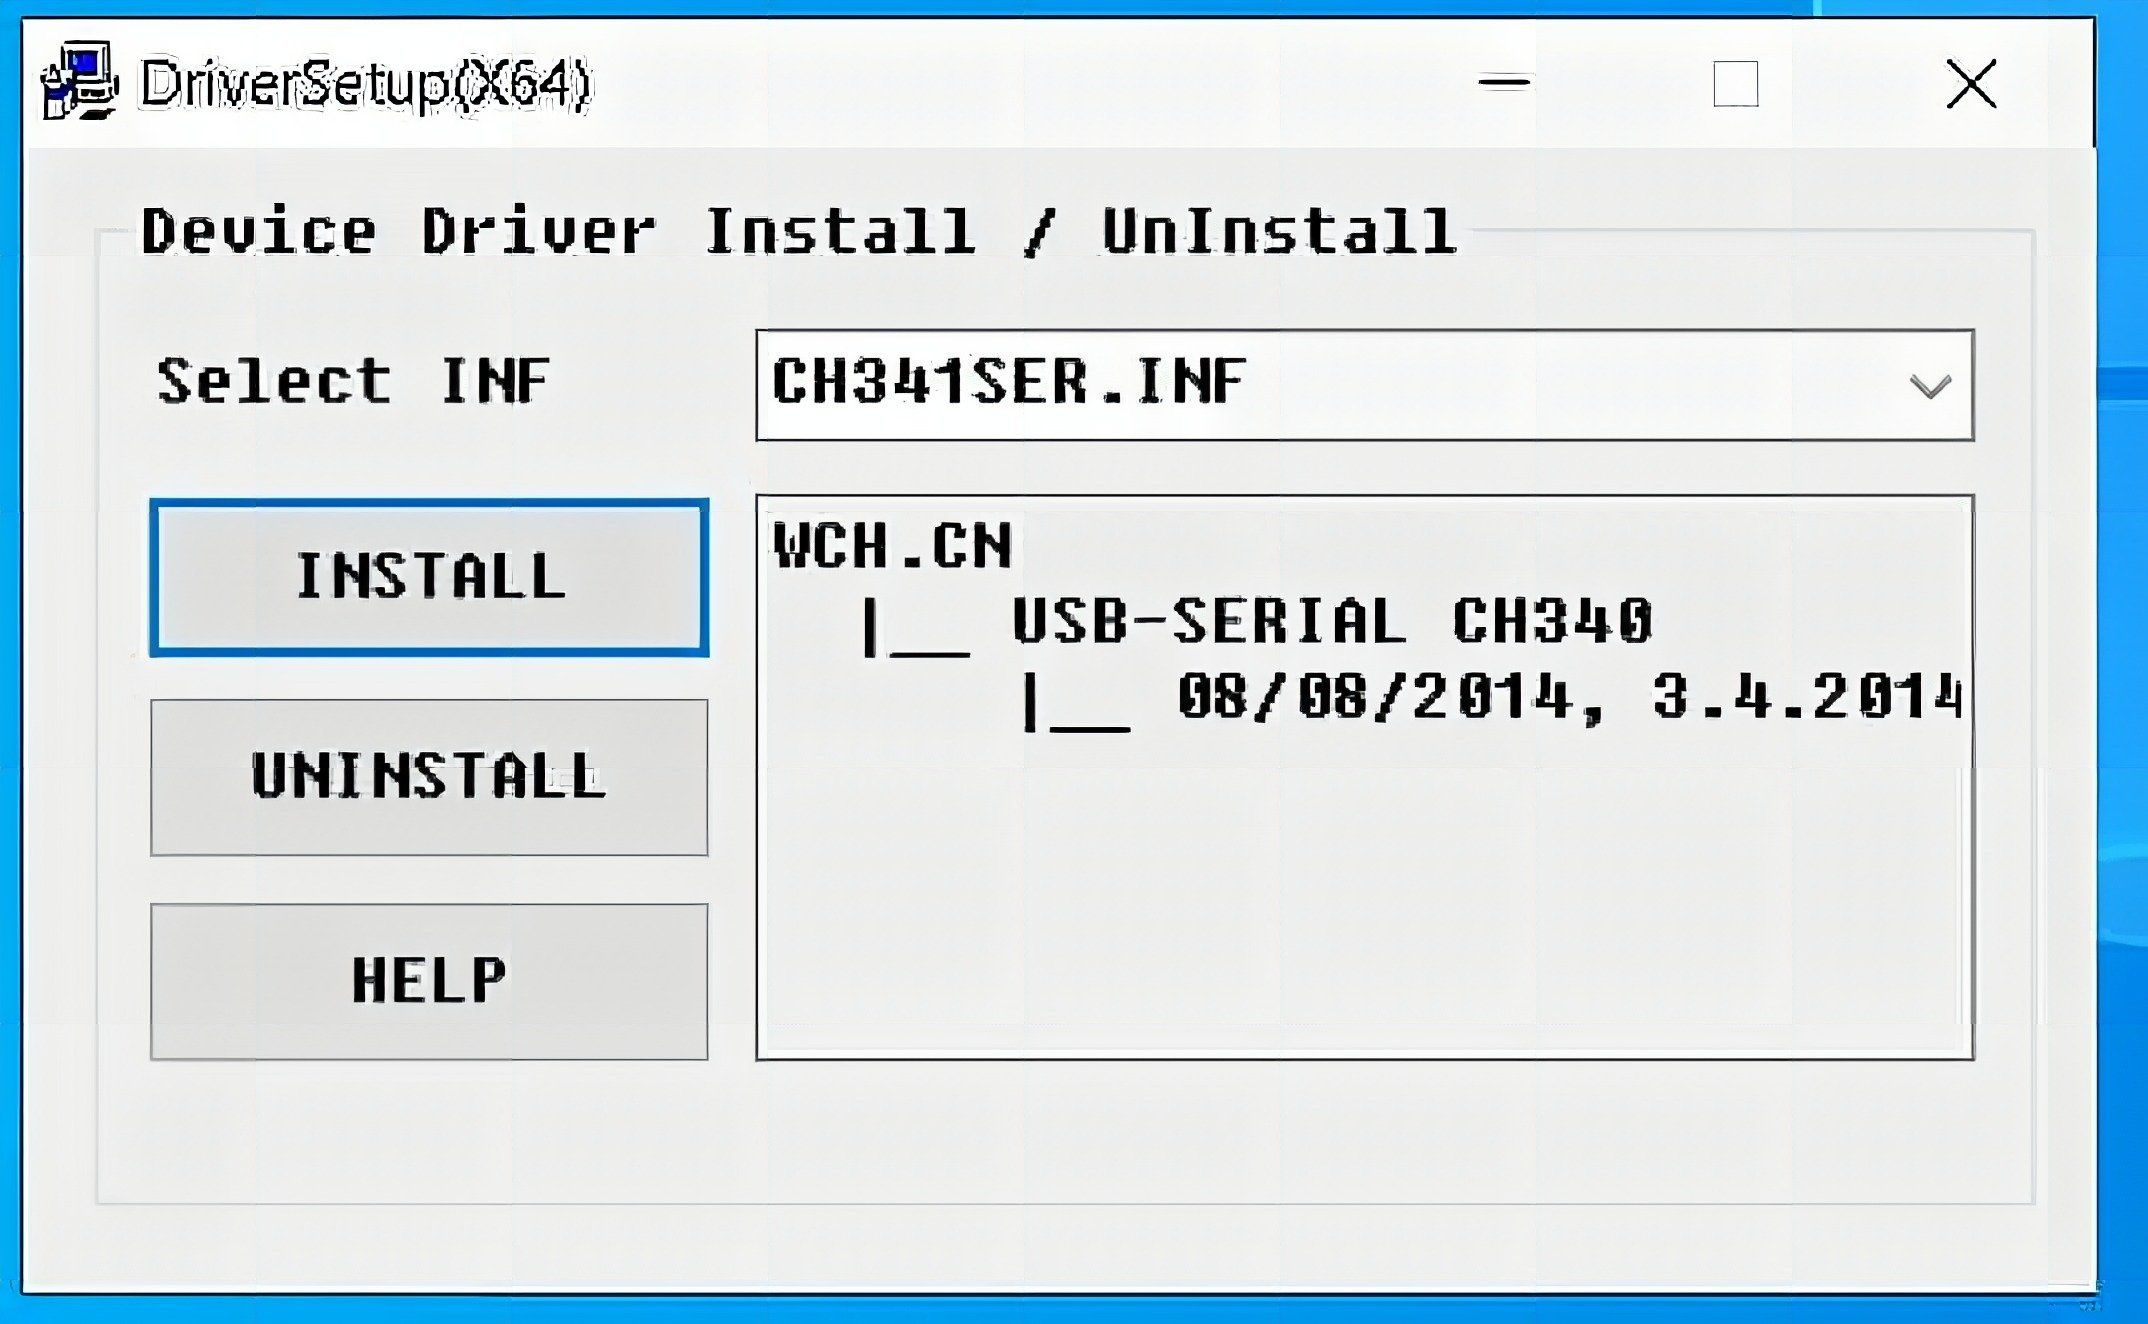
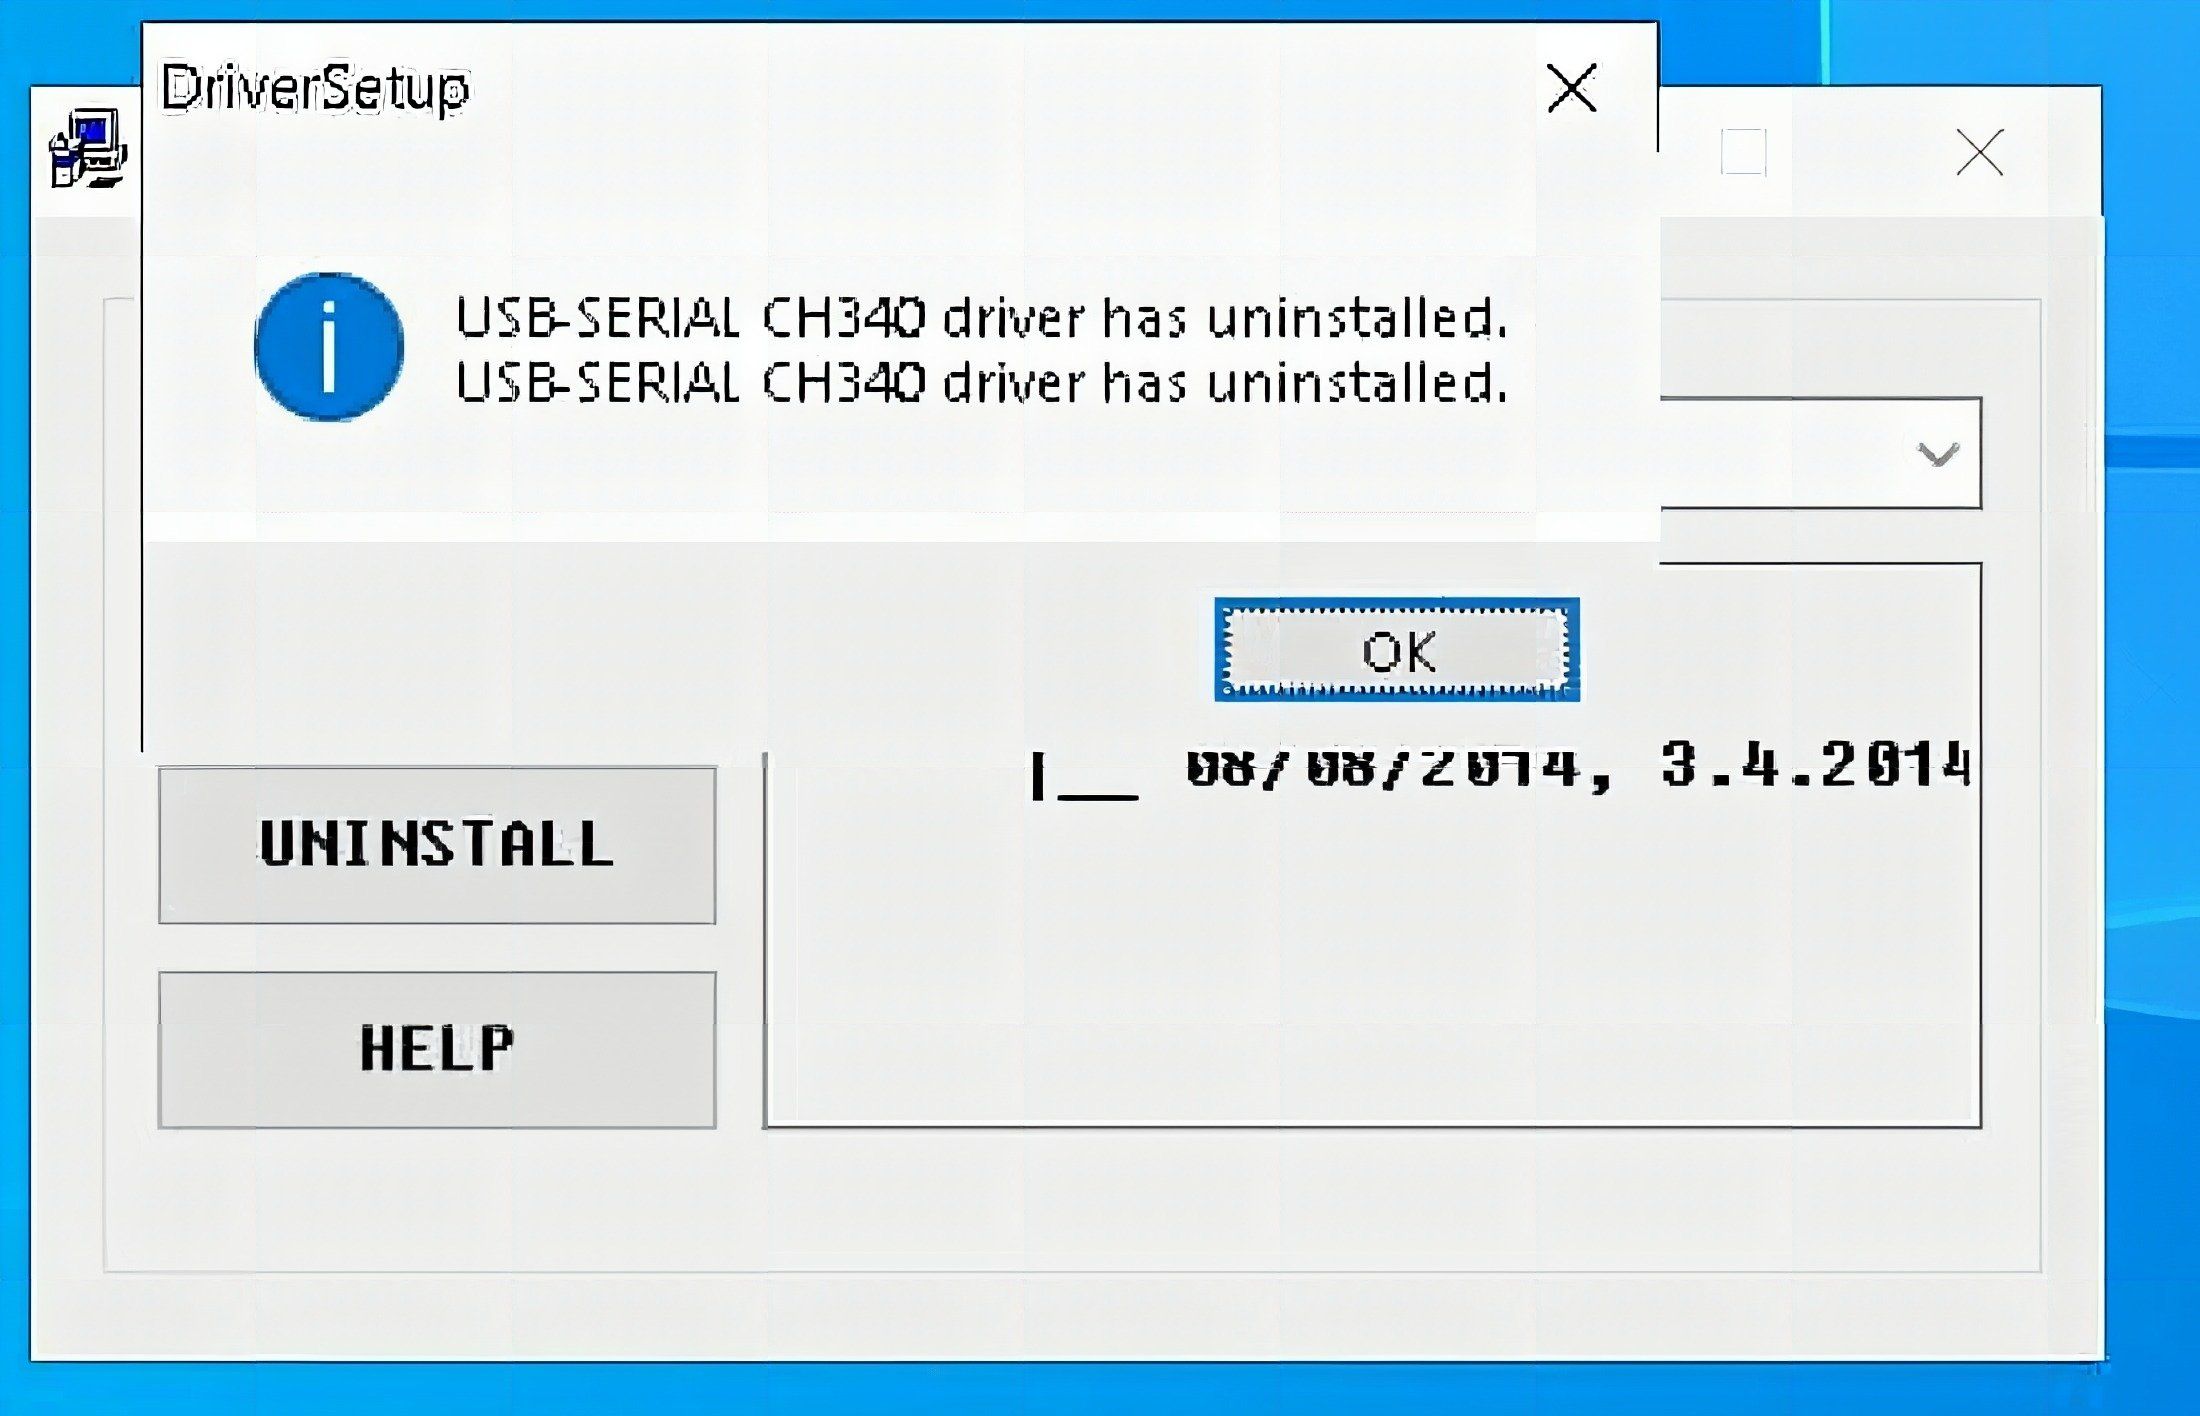
The first thing to do is UNINSTALL first (yes, whether you have it installed or not), then click install.
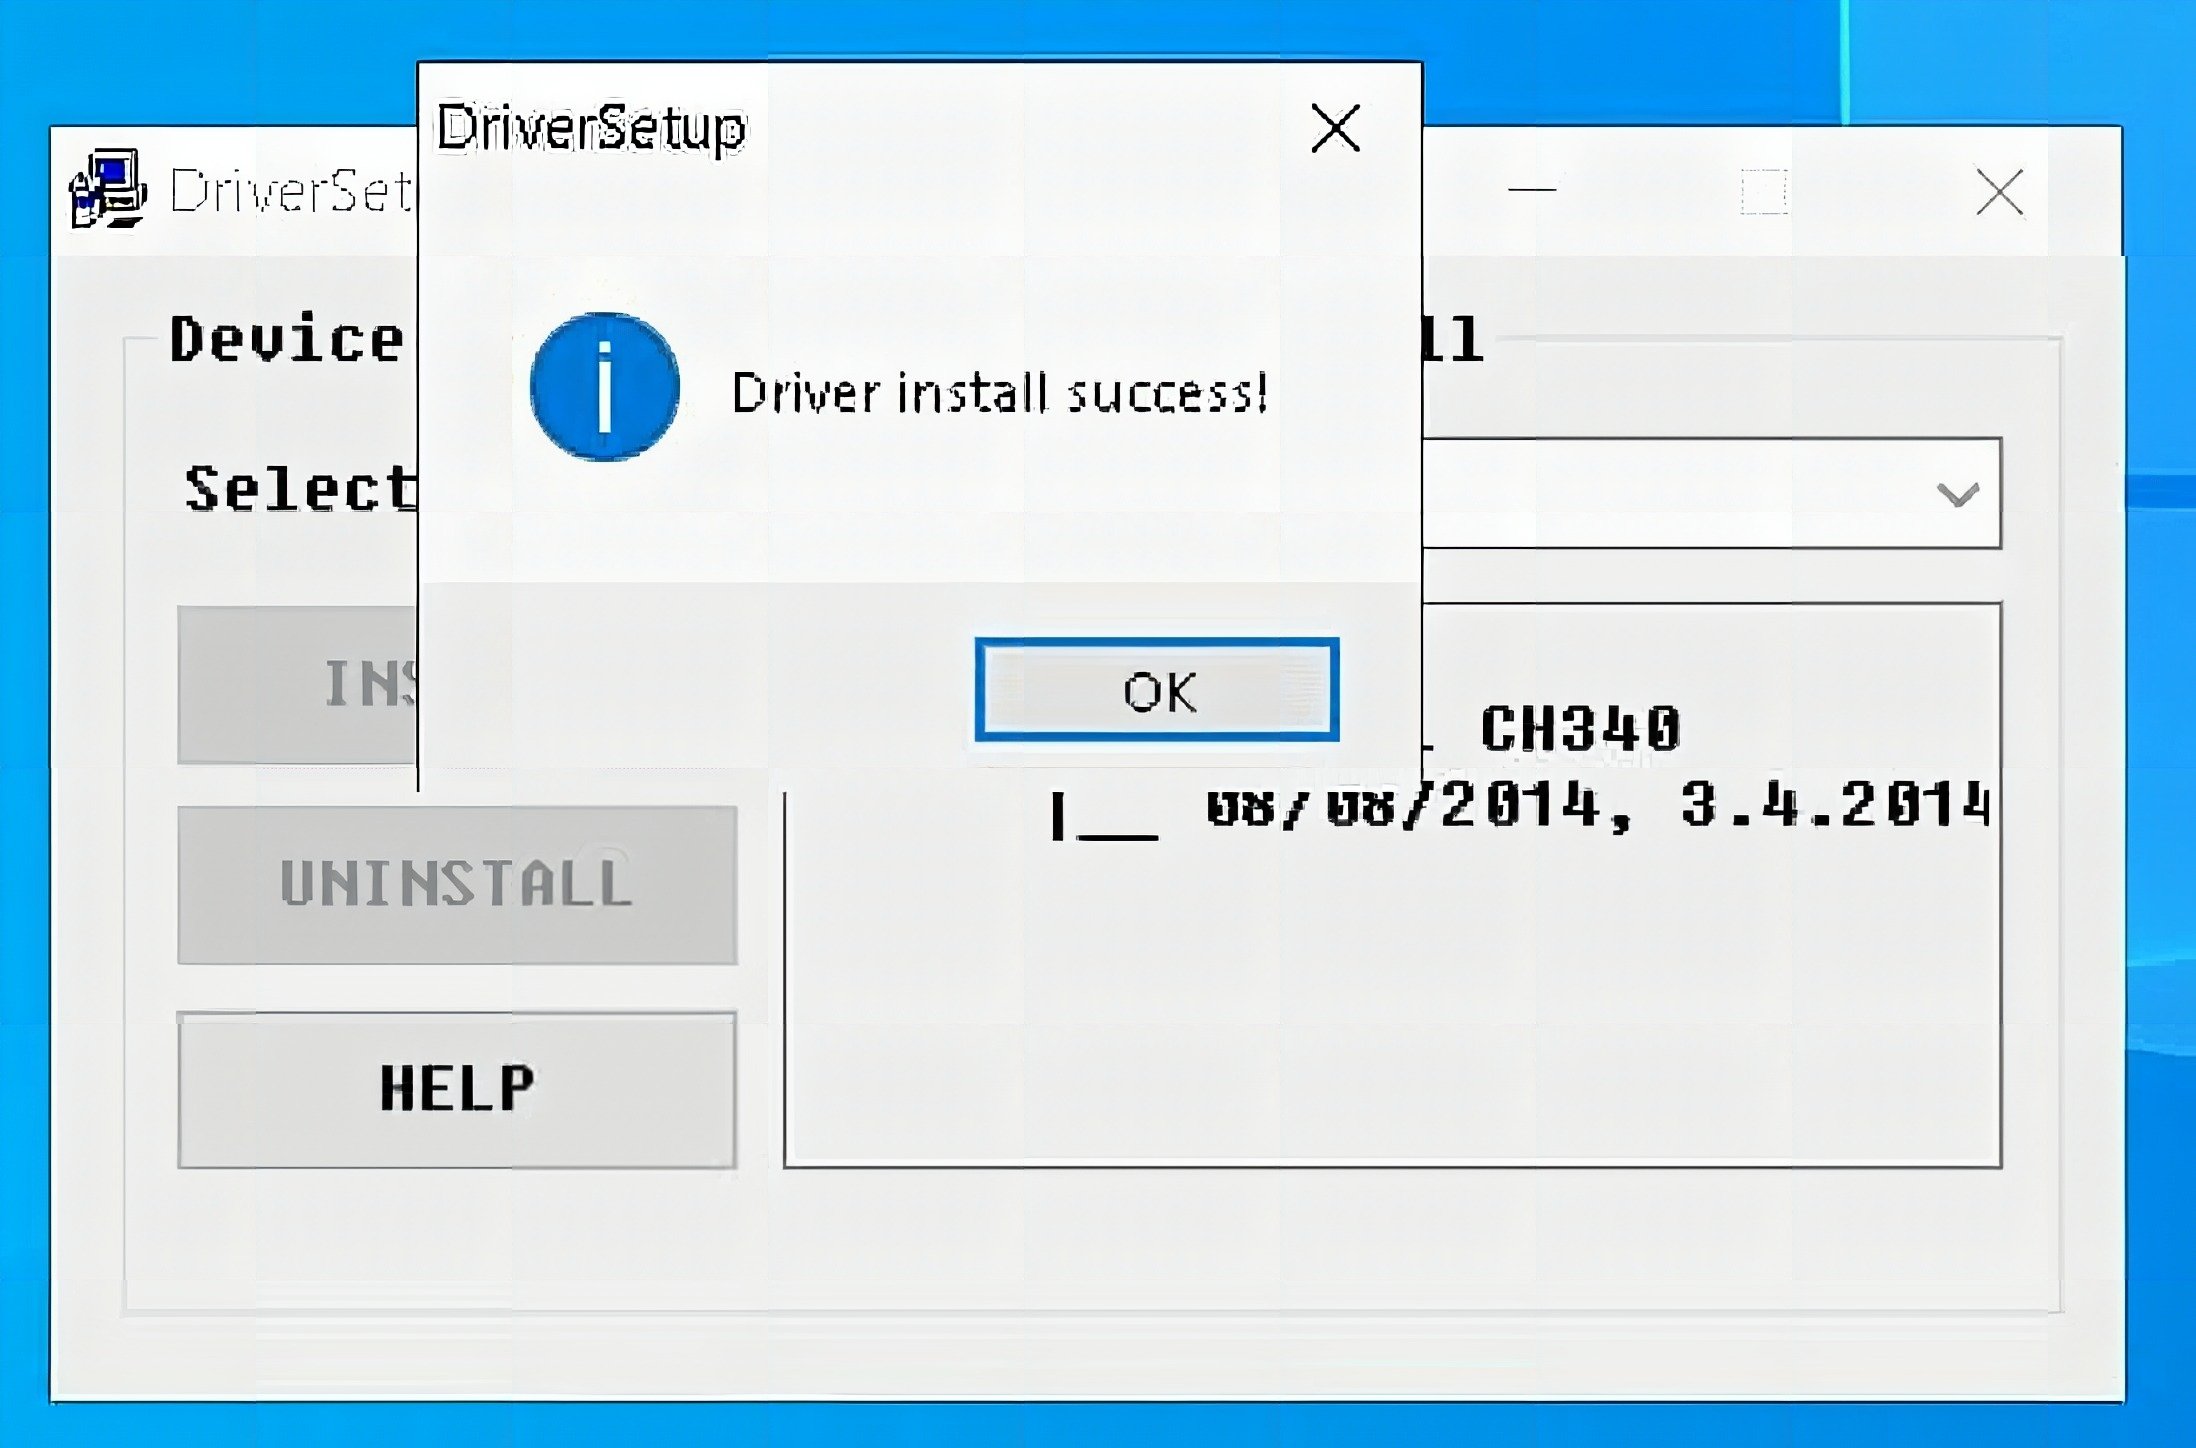
A successful install would look like this (image below).
To verify that the driver has been installed, open the Device Manager, and under Ports (COM & LPT), you should see USB-SERIAL CH340 (COMXX); the “XX” refers to the port number. Keep this in mind when selecting for port in the Arduino IDE.
Use the Right Cable
A common issue that novices experience is using a bad cable. Not all cables with a USB mini end are the same; some only provide power without data, and some transmit data but not at the required rate. Try using a different cable and a different USB port if an issue occurs. Ideally, use the cable that the Nano came with.
Port, Board, and Processor
Now that we’ve verified that the CH340 driver has been installed and the cable is reliable let’s set the correct port and programmer for Arduino IDE. First, select the appropriate port by going to Tools > Port > Port XX. If you have just installed the driver and checked Device Manager, you should see the port number there. If you’ve forgotten or would like to double-check, simply open Device Manager and check under Ports (COM & LPT) for the CH340 device with port number, which should look like the image below.

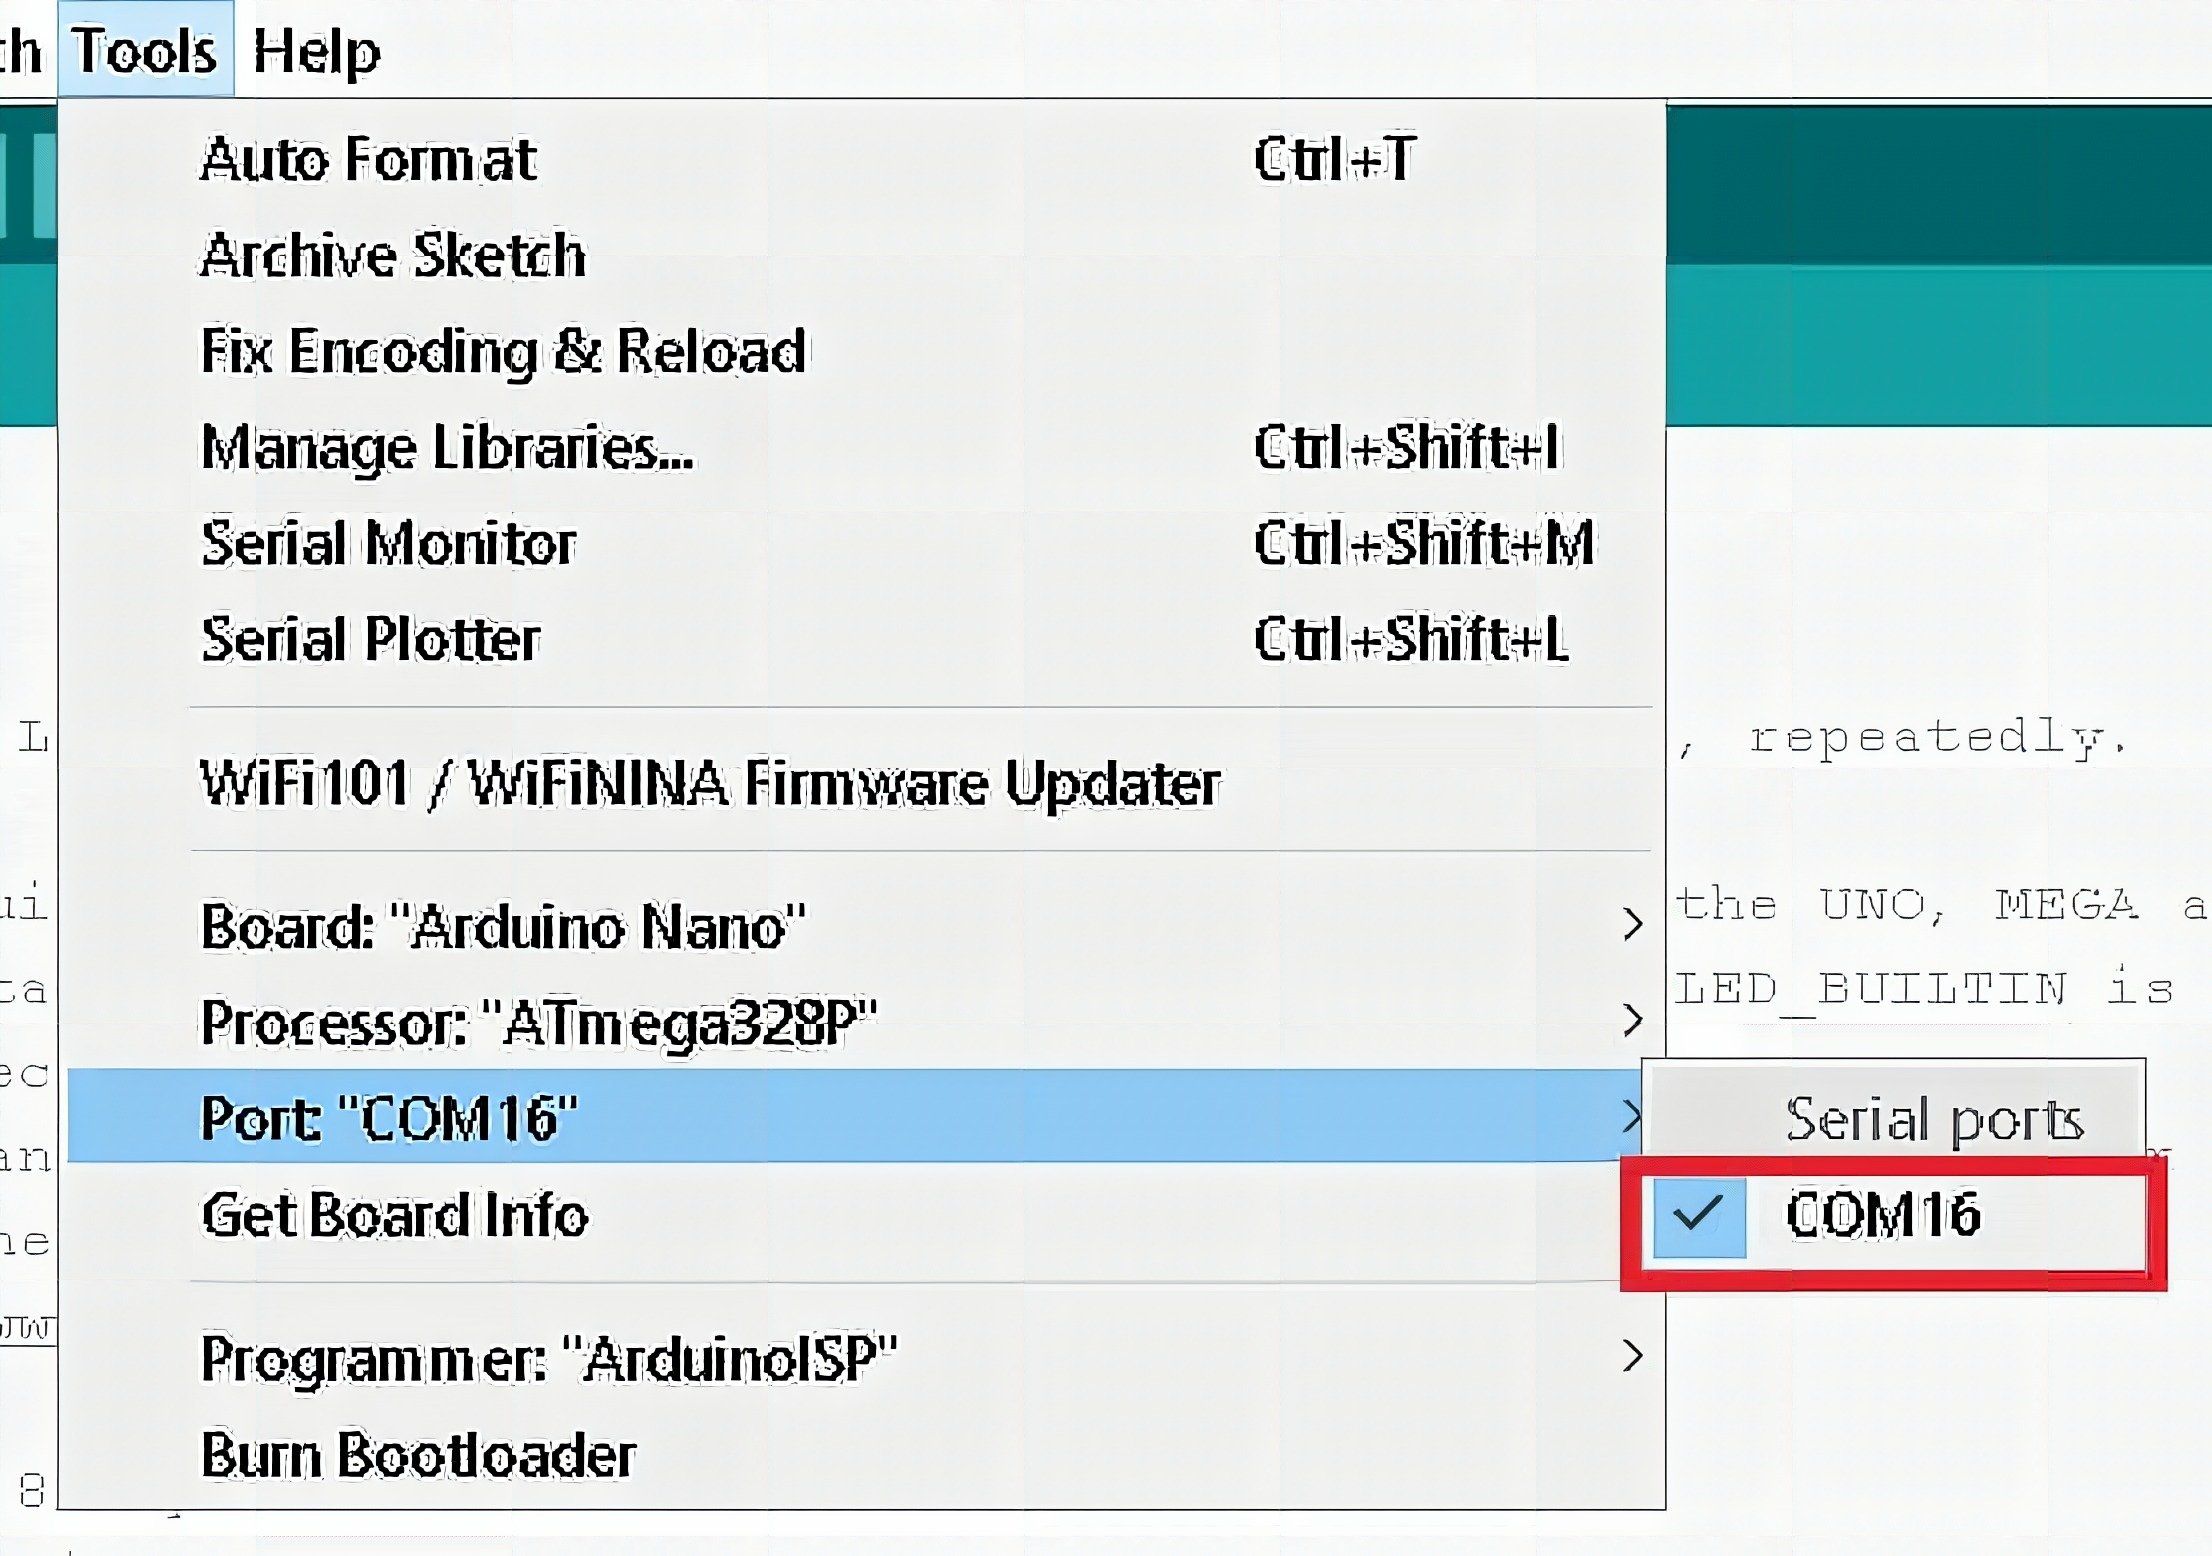
Select the port indicated in the Device Manager. Make sure that the port you’ve selected now has a checkmark displayed beside it. Such as shown in the following image.
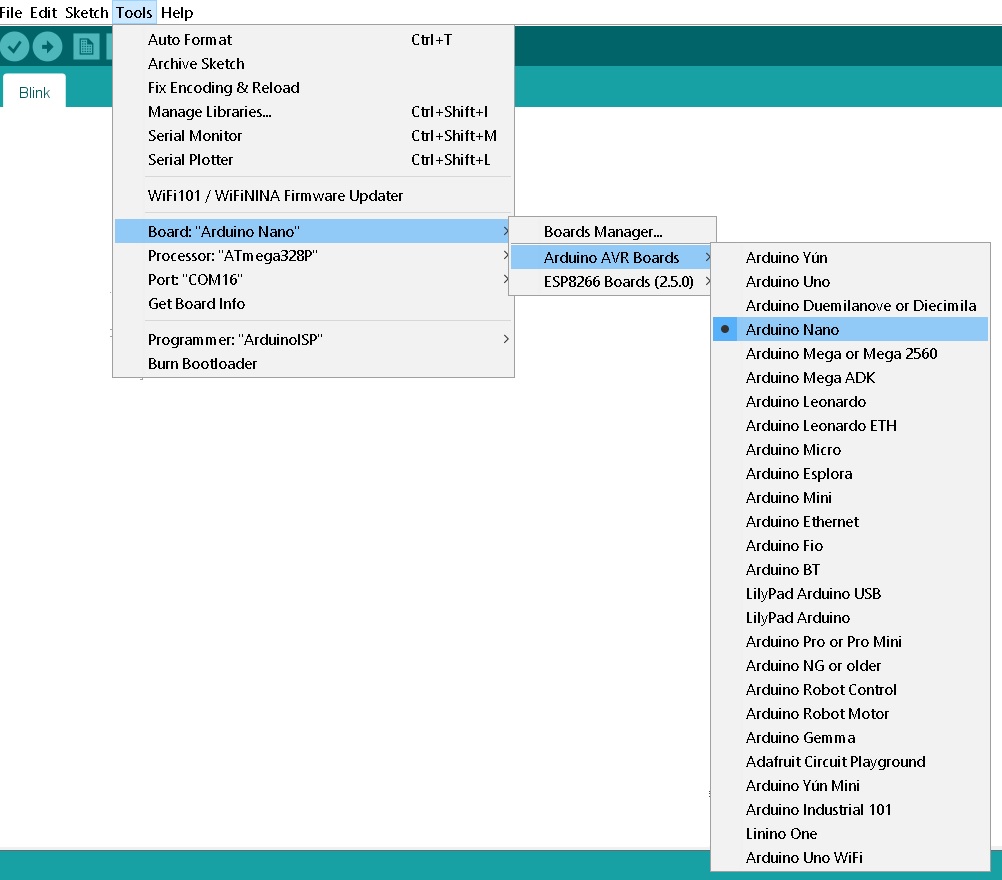
Next, select the appropriate board. In this case, it would be the Arduino Nano. Browse to Tools > Board > Arduino AVR Boards and select Arduino Nano. The image below will show where to find the board. Once the board has been chosen, the tools menu would now display Board: “Arduino Nano.”
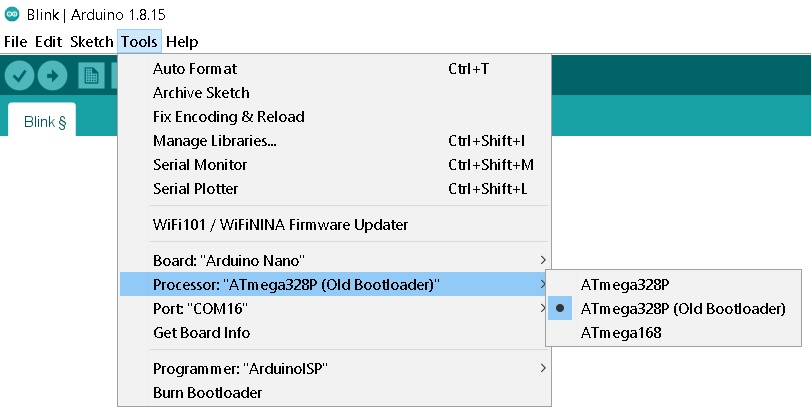
This next step is important; Selecting the Processor. Like the two steps before, browse Tools > Processor and select ATmega328P (Old Bootloader).
With that, you are now ready to start programming your Nano CH340. In the event that the steps above don’t work, you may need to burn a bootloader into your Nano, a tutorial saved for another post.
Frequently Asked Questions
What does this Programming the Nano CH340 tutorial cover?
One of the most affordable and compact microcontrollers available on the market is the Nano CH340, an Arduino compatible microcontroller board at an affordable price.
What Arduino library does the Programming the Nano CH340 tutorial use?
The sketch uses standard Wire.h (I2C) or SPI.h plus a part-specific library installable via Arduino IDE → Sketch → Include Library → Manage Libraries. See the Sample Code section.
Why does the Programming the Nano CH340 act differently on USB power vs battery?
Battery voltage sags under load. Add a 100uF cap across the rails, use a 5V/2A regulator-backed pack, and never power motors from the Arduino's onboard regulator.