
Turn your tiny Pi into a pocketable dashboard in under 15 minutes – perfect for on-the-go diagnostics, IoT control panels, and quick GUIs without hauling a full monitor. The Raspberry Pi Zero W is a small yet capable single-board computer.
It comes with built-in Wi-Fi and Bluetooth, making it great for portable or wireless projects. It runs on a microSD card that stores the operating system and files. Because of its compact size, it’s perfect for DIY electronics, IoT systems, and lightweight applications. There are two types available: Raspberry Pi Zero W (with Headers) and one without, giving users flexibility depending on their project needs.
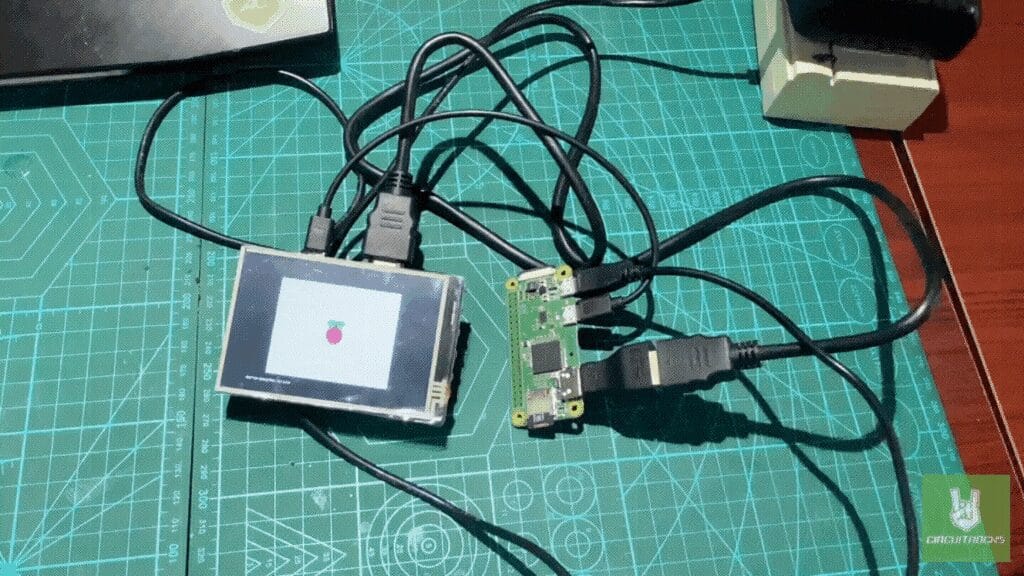
To add a display, the 3.5-inch HDMI LCD is a great choice. It connects through HDMI for video and USB for touch control. The screen is compact and supports touch input, which makes it ideal for dashboards, GUIs, and handheld devices. As a result, it brings a more interactive experience to your Raspberry Pi setup.
In this guide, you’ll learn how to prepare the microSD card with an OS, connect the LCD, and configure the display settings. After just a few steps, your Raspberry Pi Zero W and 3.5-inch LCD will be ready to use for your next creative project.
What You’ll Learn
- Flash Raspberry Pi OS and apply basic first-boot settings
- Connect a 3.5″ HDMI LCD (video) and enable USB capacitive touch
- Set and lock the correct resolution via
config.txt - Troubleshoot no-signal, wrong resolution, touch, and flicker issues
What You’ll Need
Step-by-Step:
Here’s a quick guide for you on how to set up your Raspberry Pi Zero W with a 3.5 HDMI LCD Waveshare .
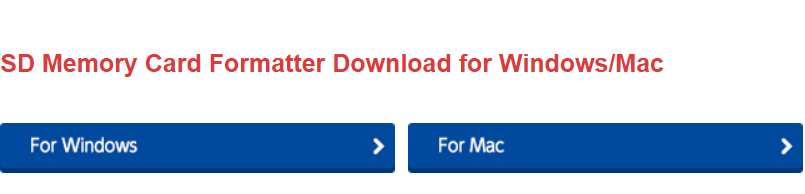
- When setting up your Raspberry Pi Zero W with a 3.5 HDMI LCD Waveshare, it’s important to start with a properly formatted microSD card. If the card is new or has been used in another device, you should quickly reformat it using the SDCard.org formatter. This step ensures the card is clean and ready for the Raspberry Pi OS. Make sure to choose the Quick Format and Overwrite Format options for the best results, as this helps prevent errors during the installation process.
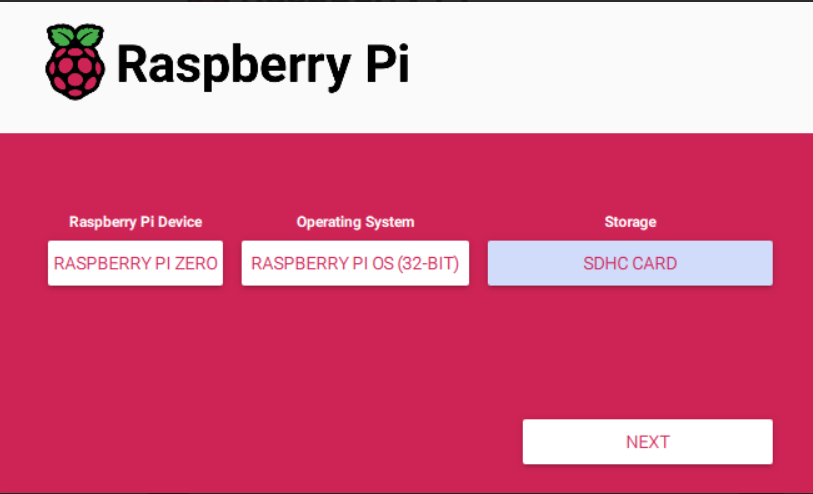
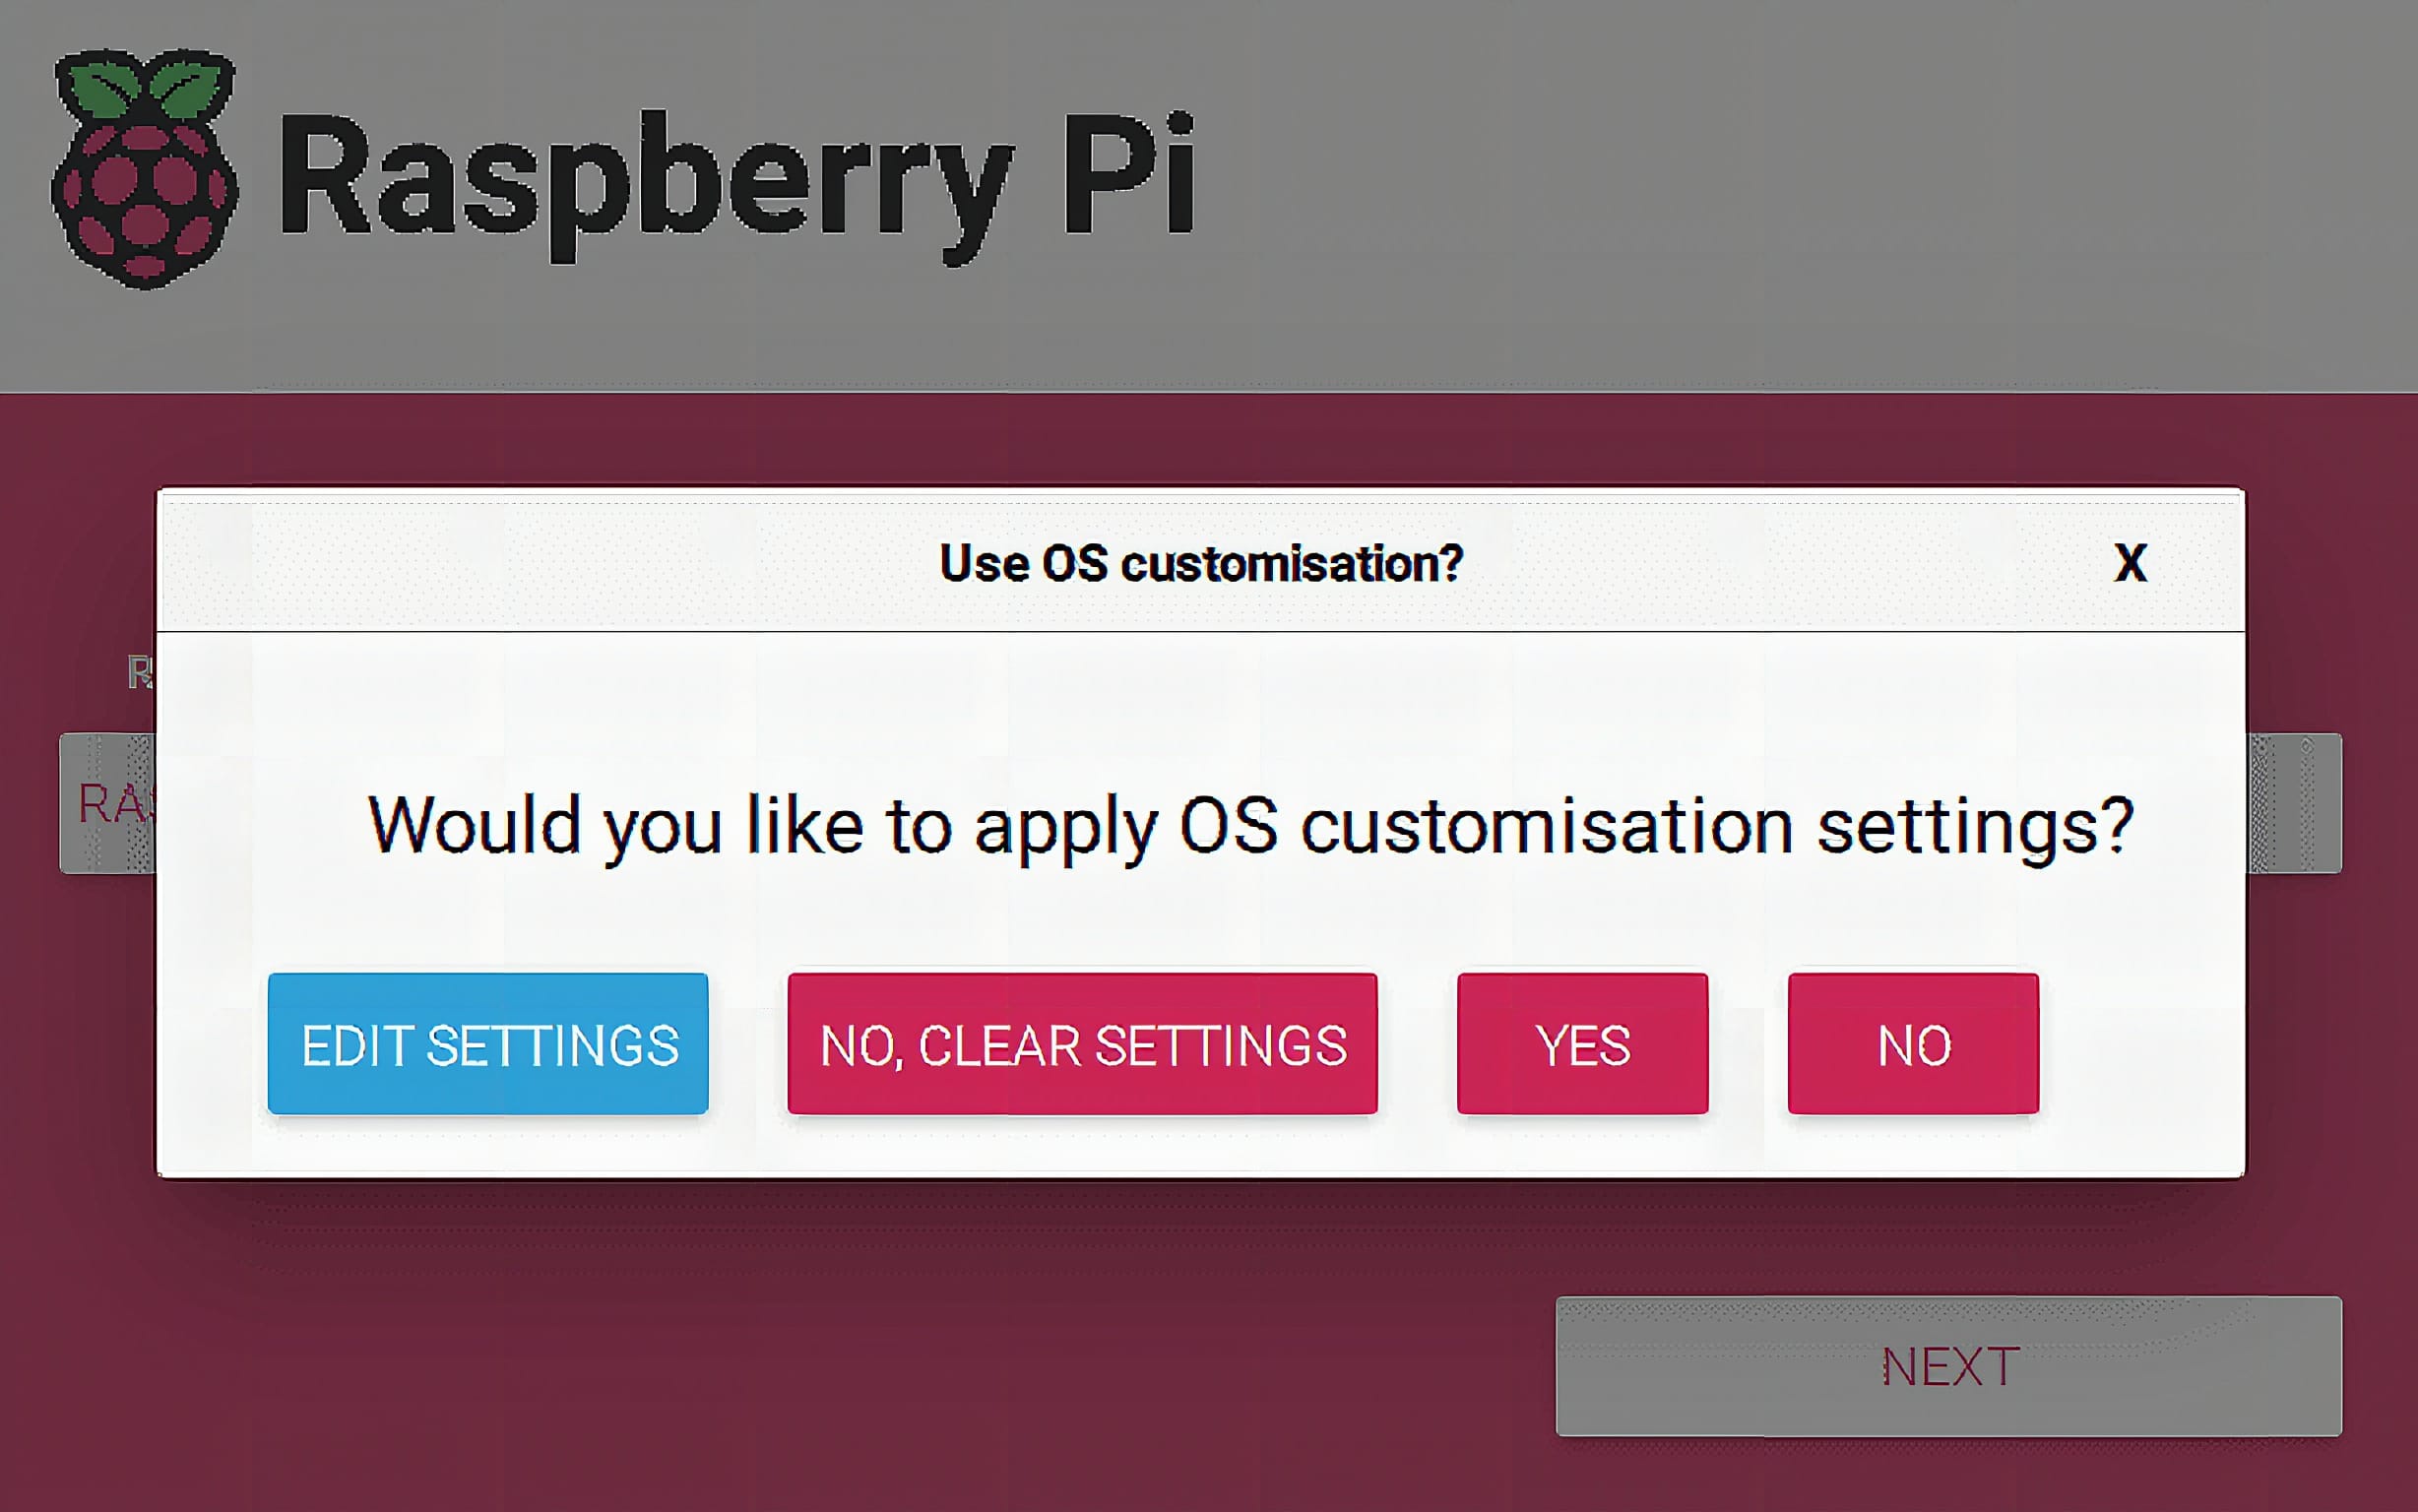
- Start by downloading the Raspberry Pi OS from the official Raspberry Pi website. Use the Raspberry Pi Imager to flash the OS onto a microSD card. Make sure to choose the 32-bit version for better compatibility with the Pi Zero W.
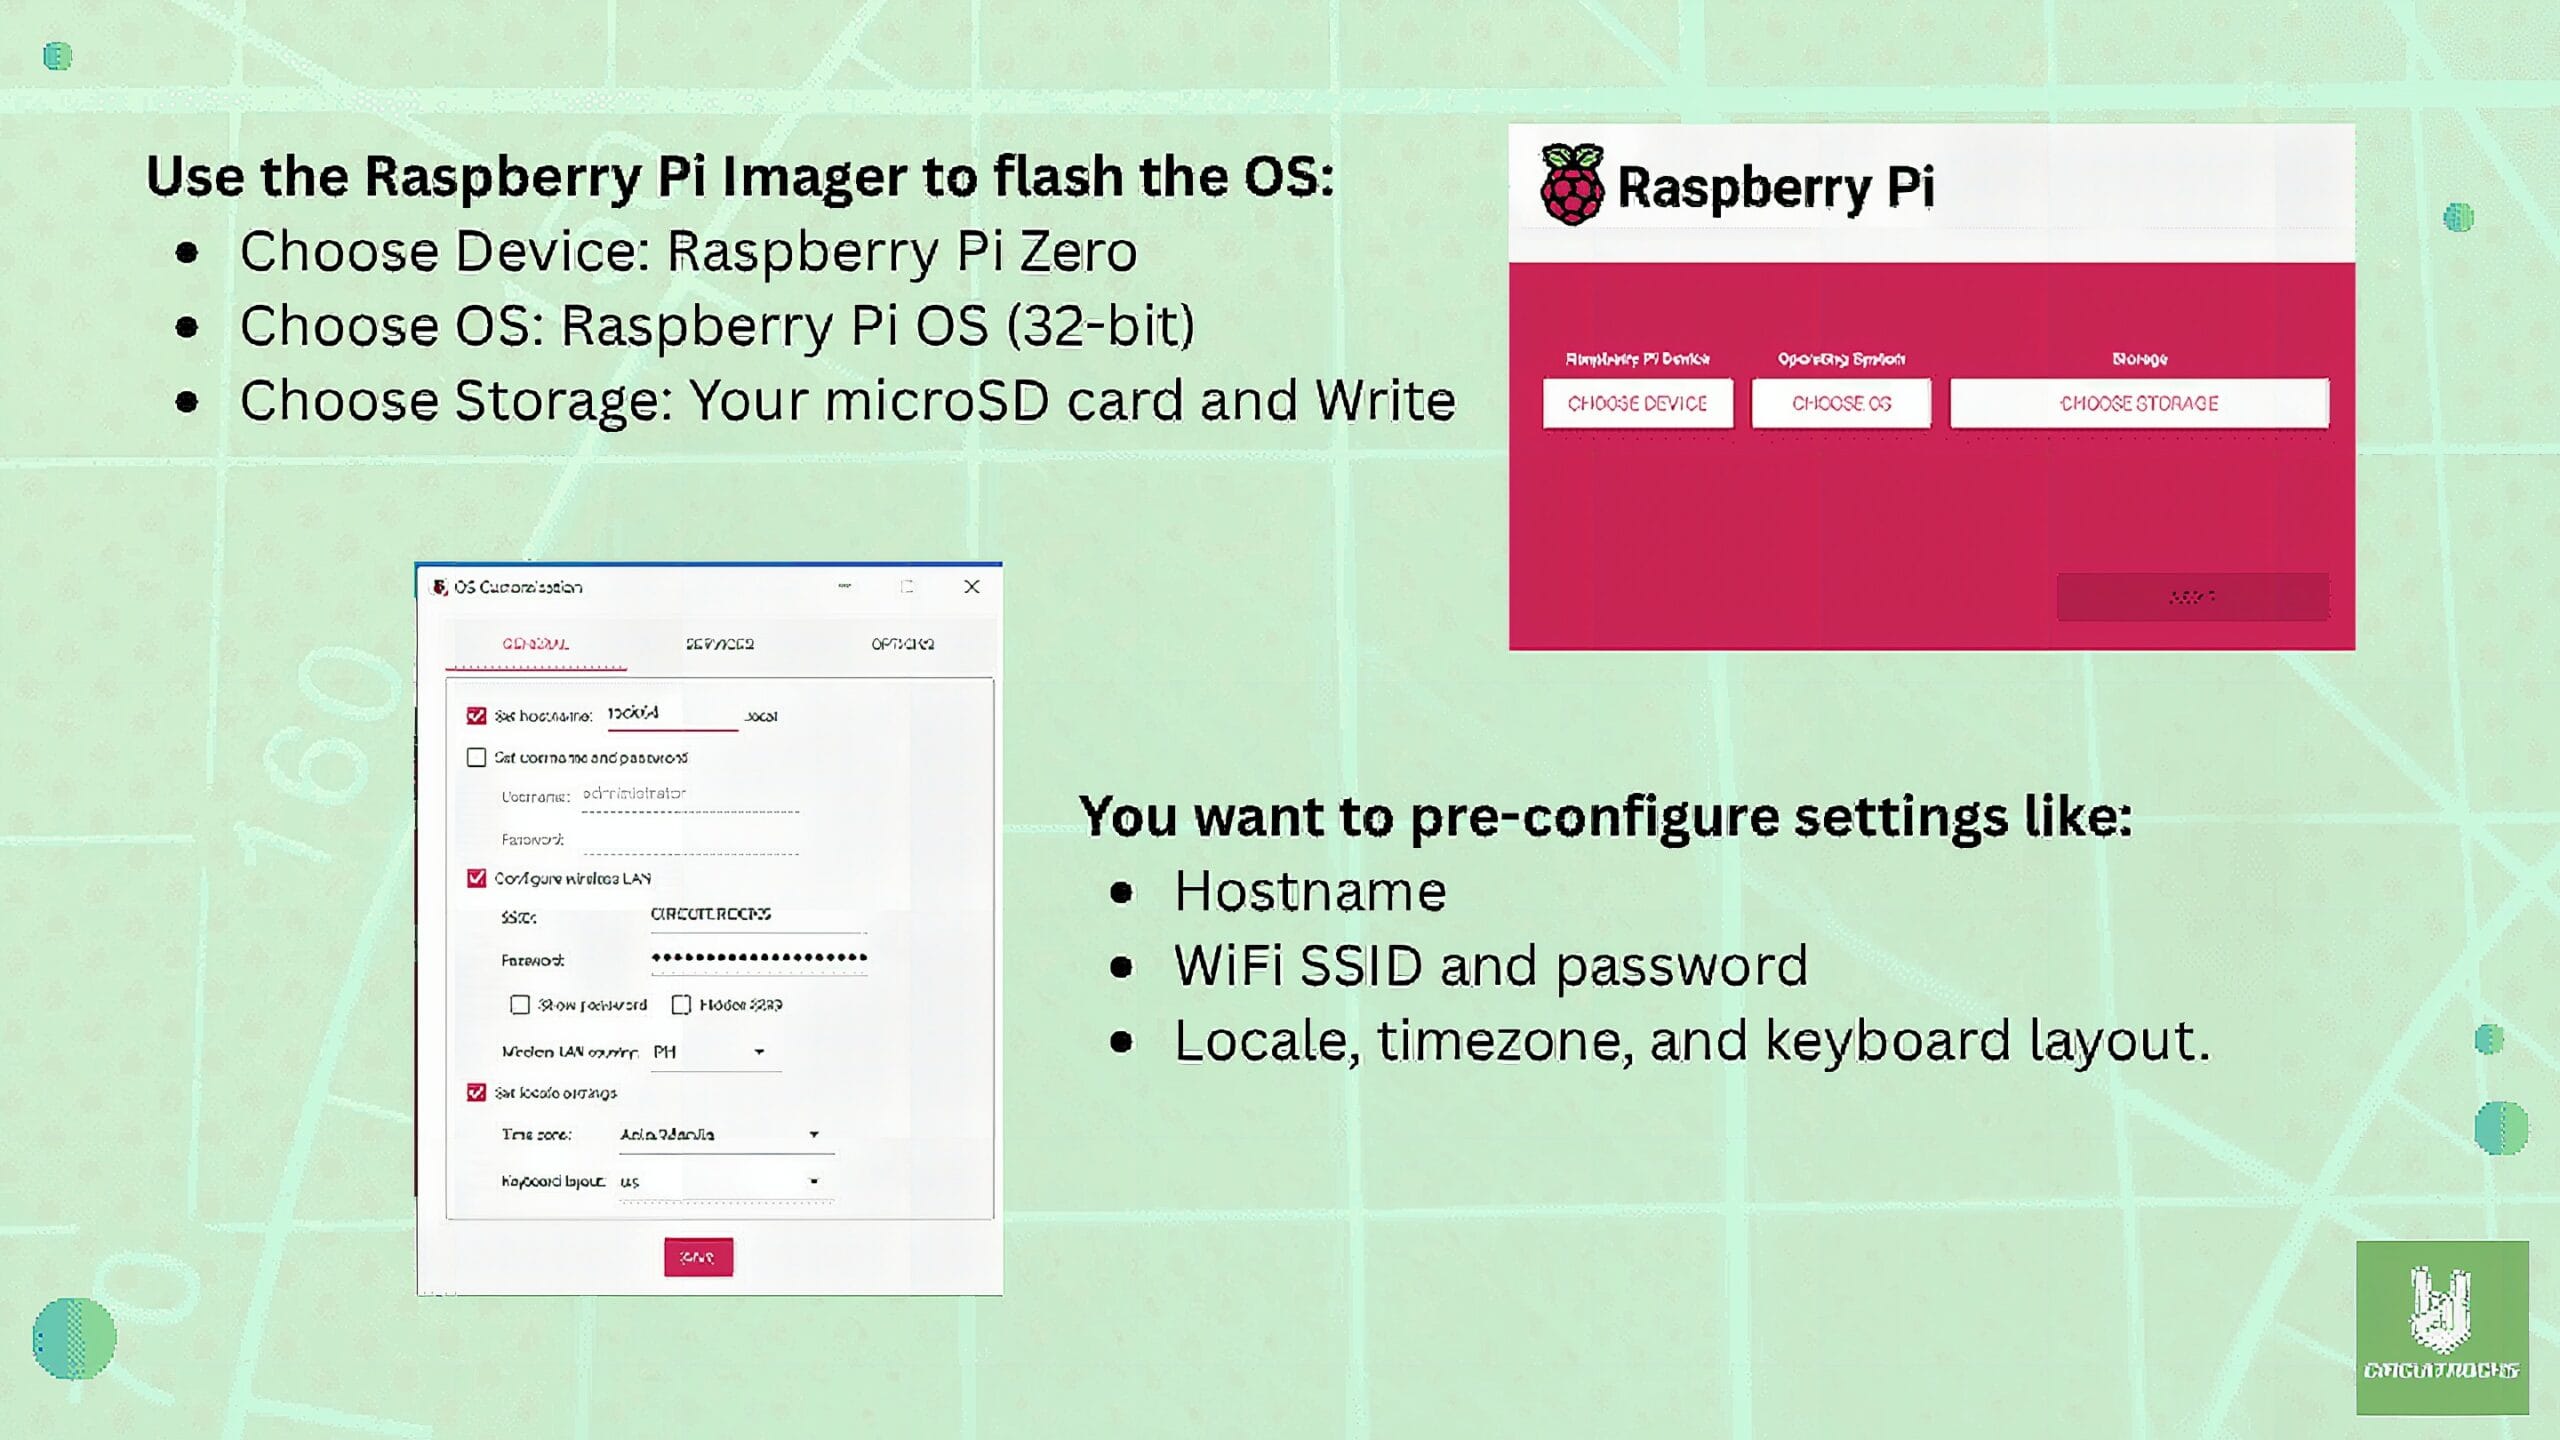
Choose “YES” if you want to pre-configure settings
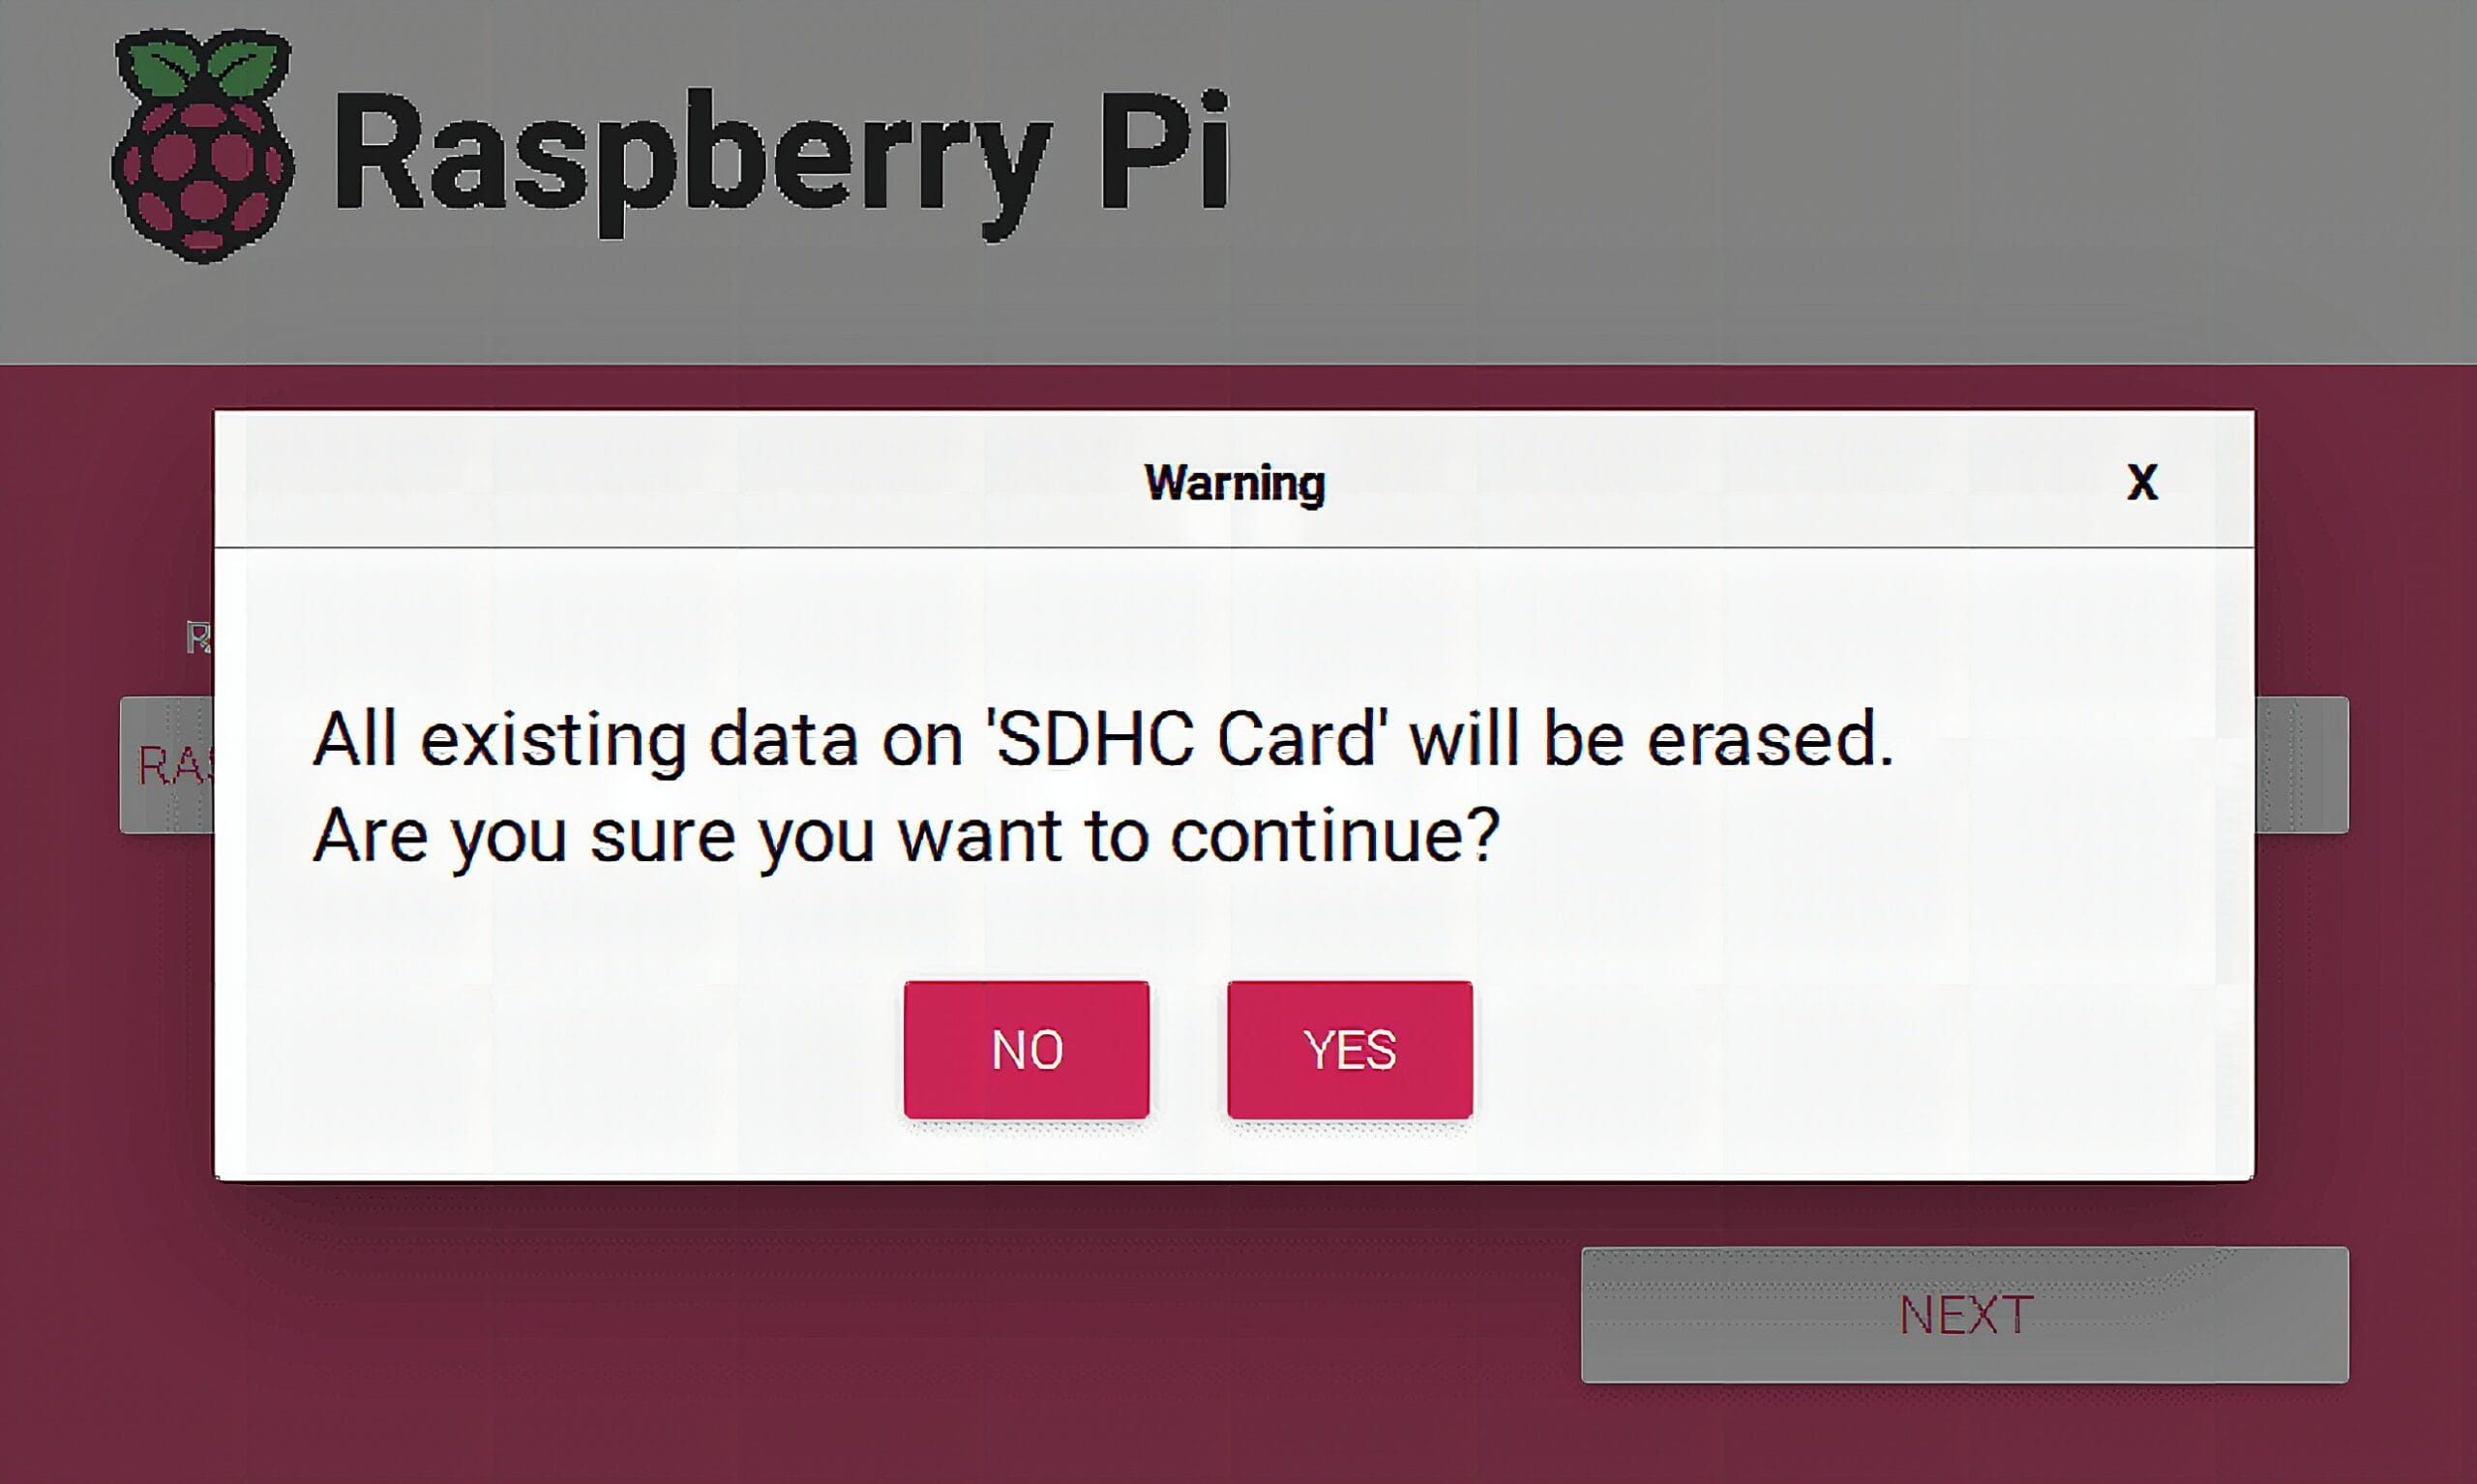
Choose “YES” if you are ready to erase all data on the SDHC Card and proceed with flashing the Raspberry Pi OS.
- Next, you’ll need to configure the display settings. Before inserting the microSD card into the Raspberry Pi, open the config.txt file on the boot partition of the card.
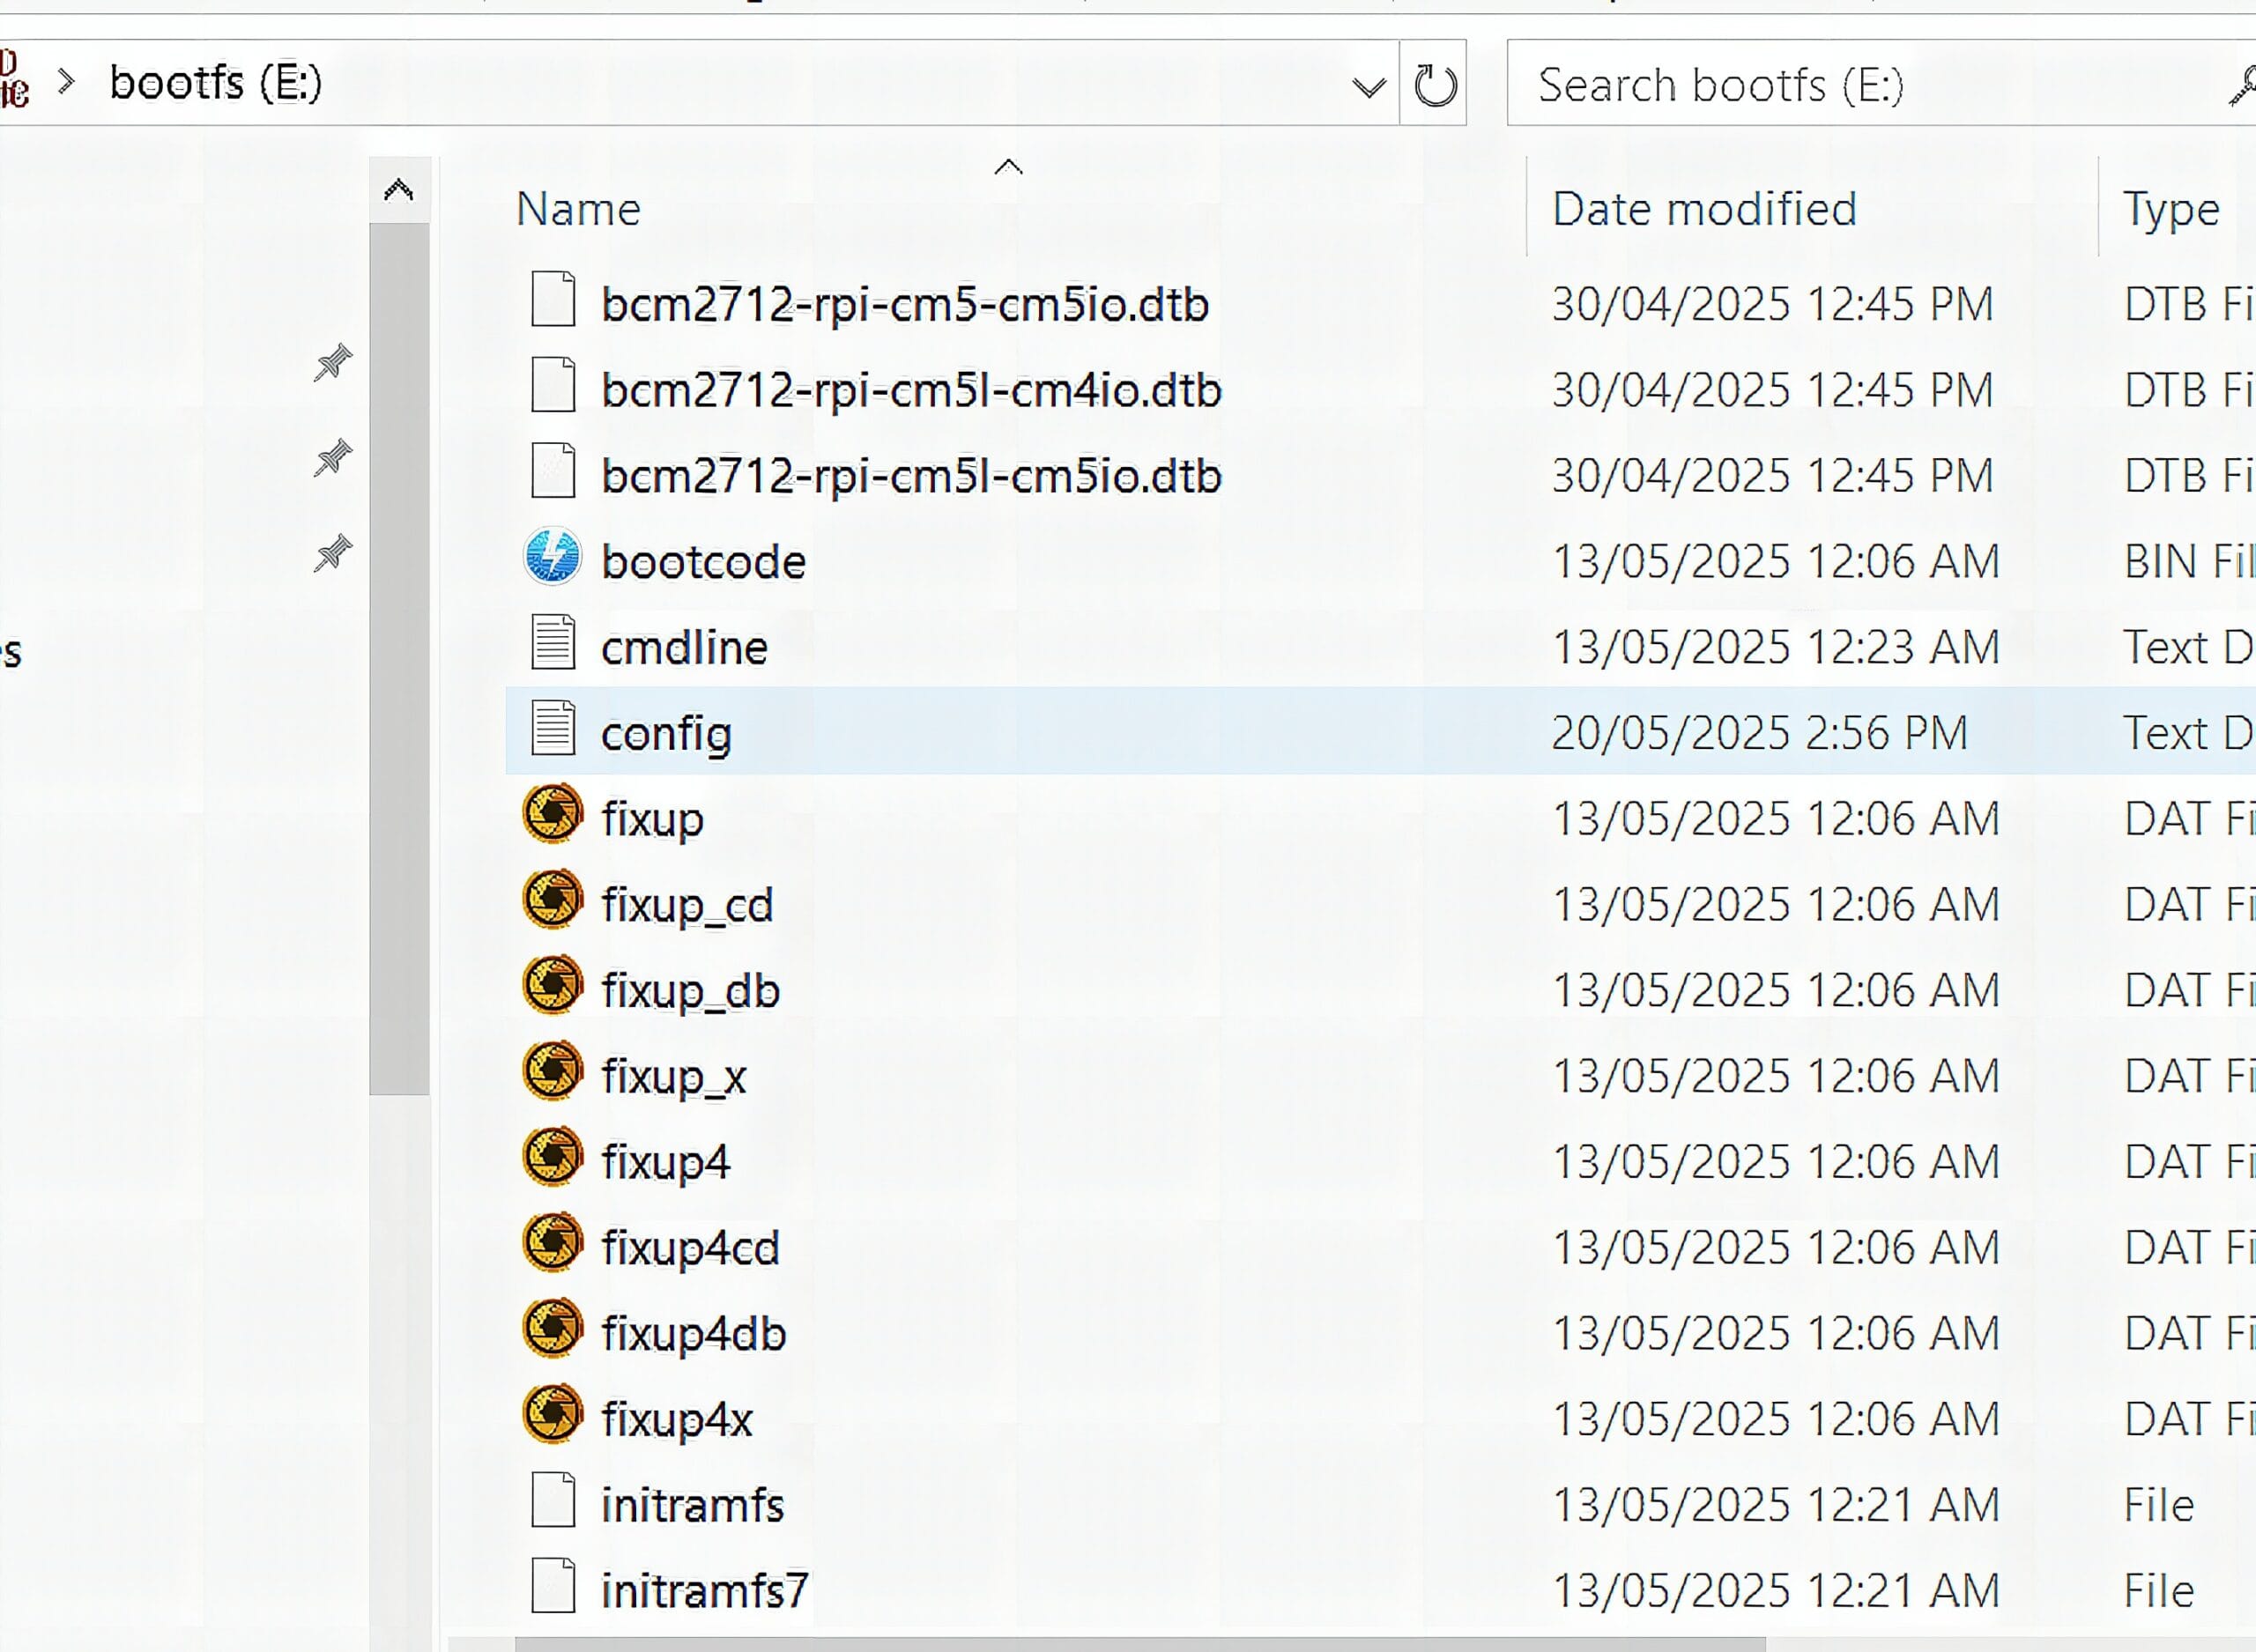
This is where you’ll add the settings needed to make the 3.5 HDMI LCD Waveshare work properly. Just copy this block and paste it directly into your config.txt file to save time.
What These Settings Do
hdmi_force_hotplug=1 – Treat HDMI as present even if EDID isn’t detected. hdmi_group=2 + hdmi_mode=87 – Use a custom timing mode. hdmi_cvt=800 480 60 6 0 0 0 – Set 800×480 @60 Hz using CVT; common for 3.5″ panels. dtoverlay=vc4-fkms-v3d – Uses the FKMS driver, often friendlier on small HDMI touch LCDs. disable_overscan=1 – Removes black borders; maximizes usable canvas.To ensure the LCD works correctly, edit and the config.txt file and add the following lines:
# For more options and information see
# http://rptl.io/configtxt
# Some settings may impact device functionality. See link above for details # Uncomment some or all of these to enable the optional hardware interfaces
#dtparam=i2c_arm=on
#dtparam=i2s=on
#dtparam=spi=on # Enable audio (loads snd_bcm2835)
dtparam=audio=on # Additional overlays and parameters are documented
# /boot/firmware/overlays/README # Automatically load overlays for detected cameras
camera_auto_detect=1 # Automatically load overlays for detected DSI displays
display_auto_detect=1 # Automatically load initramfs files, if found
auto_initramfs=1 # Enable DRM VC4 V3D driver (REPLACED with FKMS for better HDMI LCD support)
# dtoverlay=vc4-kms-v3d
dtoverlay=vc4-fkms-v3d
max_framebuffers=2 # Don't have the firmware create an initial video= setting in cmdline.txt.
# Use the kernel's default instead.
disable_fw_kms_setup=1 # Disable compensation for displays with overscan
disable_overscan=1 # Run as fast as firmware / board allows
arm_boost=1 # --- BEGIN Waveshare 3.5inch HDMI LCD Boot Logo + Display Fix ---
hdmi_force_hotplug=1
hdmi_group=2
hdmi_mode=87
hdmi_cvt=800 480 60 6 0 0 0
disable_splash=0
# --- END Custom LCD Settings --- [cm4]
# Enable host mode on the 2711 built-in XHCI USB controller.
# This line should be removed if the legacy DWC2 controller is required
# (e.g. for USB device mode) or if USB support is not required.
otg_mode=1 [cm5]
dtoverlay=dwc2,dr_mode=host [all]
How It Works
- HDMI carries the video signal from the Pi’s GPU to the LCD.
- USB powers the touch controller and presents a HID touch device to the OS.
- On boot, the Pi parses
config.txtto apply timing/driver choices so the panel initializes cleanly.
Troubleshooting
No display / “No Signal”
Reseat the Mini-HDMI adapter and try another HDMI cable. Confirm hdmi_force_hotplug=1 is present. Use a stable 5 V/≥2.5–3 A PSU; avoid long/skinny USB leads.Wrong resolution / edges cropped
Double-check hdmi_group=2, hdmi_mode=87, and the exact hdmi_cvt line. Keep disable_overscan=1 to remove borders.Touch not working
Ensure the USB cable from Pi → LCD is connected (not just HDMI). Try a different USB port/cable; verify the touch device shows up (lsusb or Settings → Mouse & Touchpad).Watch the Full Demo Video
Frequently Asked Questions
What does this Ultimate Guide: Raspberry Pi Zero W and 3.5 HDMI LCD Setup tutorial cover?
Turn your tiny Pi into a pocketable dashboard in under 15 minutes—perfect for on-the-go diagnostics, IoT control panels, and quick GUIs without hauling a full monitor.
Which Raspberry Pi model fits the Ultimate Guide: Raspberry Pi Zero W and 3.5 HDMI LCD Setup project?
Pi 4 (4GB) or Pi 5 for desktop apps and AI workloads. Pi Zero 2 W is enough for headless / sensor builds. Pi 3 B+ works but is slower for camera or ML.
How do I auto-start the Ultimate Guide: Raspberry Pi Zero W and 3.5 HDMI LCD Setup script on boot?
Use systemd. Create /etc/systemd/system/myproject.service with ExecStart=/usr/bin/python3 /home/pi/script.py and Restart=always. sudo systemctl enable myproject.