
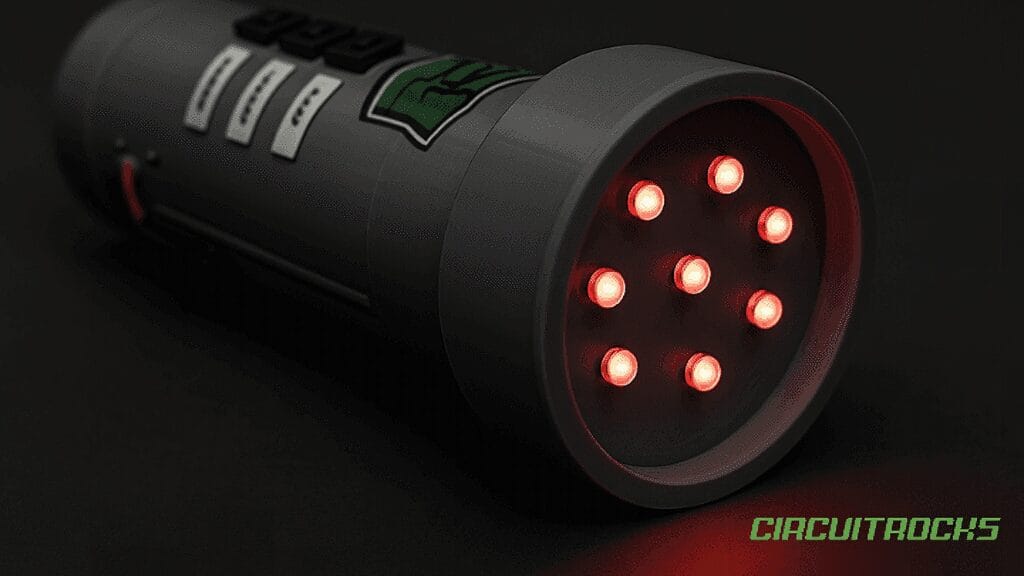
Pick your color in the dark – on demand. This 3D-printed RGB flashlight lets you choose a crisp red, green, or blue beam with a simple flip, no coding required. It’s the kind of quick, hands-on win that makes electronics feel immediately useful and fun.
At the front, nine RGB LEDs provide a bright, even face of light. Instead of blending colors, this build keeps things delightfully direct: one color at a time for maximum clarity and punch. The result is a pocketable tool that looks clean and behaves predictably.
Everything lives inside a sturdy 3D-printed shell, powered by a single 9 V battery. The layout is tidy, the controls are intuitive, and the design is easy to pass around in a classroom or makerspace without worries about loose wires or fragile parts.
If you’d like a beginner-friendly tutorial with the same core idea – built around nine white LEDs in a simple circuit – check out. DIY 3D LED Flashlight
Why Build a 3D RGB Flashlight?
First, it’s approachable. You get a working project without software. That means faster progress during workshops and demo days.
Second, it’s concept-building. Seeing red, green, and blue as separate channels builds a clear mental model of color systems and brightness. Later, you can apply the same understanding to color mixing and addressable LEDs.
Finally, it’s future-proof. The 3D-printed form factor gives you a clean baseline you can improve. You can swap switches, add a diffuser, change the battery style, or upgrade the internals. Thus, today’s simple torch can become tomorrow’s smart light.
What You’ll Learn
- Understand RGB LED anatomy and channel control: how three emitters share one package and why turning on only red, green, or blue at a time makes behavior clear.
- Apply the Power → Control → Output model: use a 9 V battery for power, a switch to select the color channel, and LEDs to convert that power into light.
- Practice clean, safe multi-LED wiring: keep polarity consistent, group LEDs by color, and include basic current-limiting.
- Build with an enclosure-first mindset: mount parts securely, plan clearances, and route wires so the flashlight feels product-ready, not just a breadboard.
What You’ll Need:
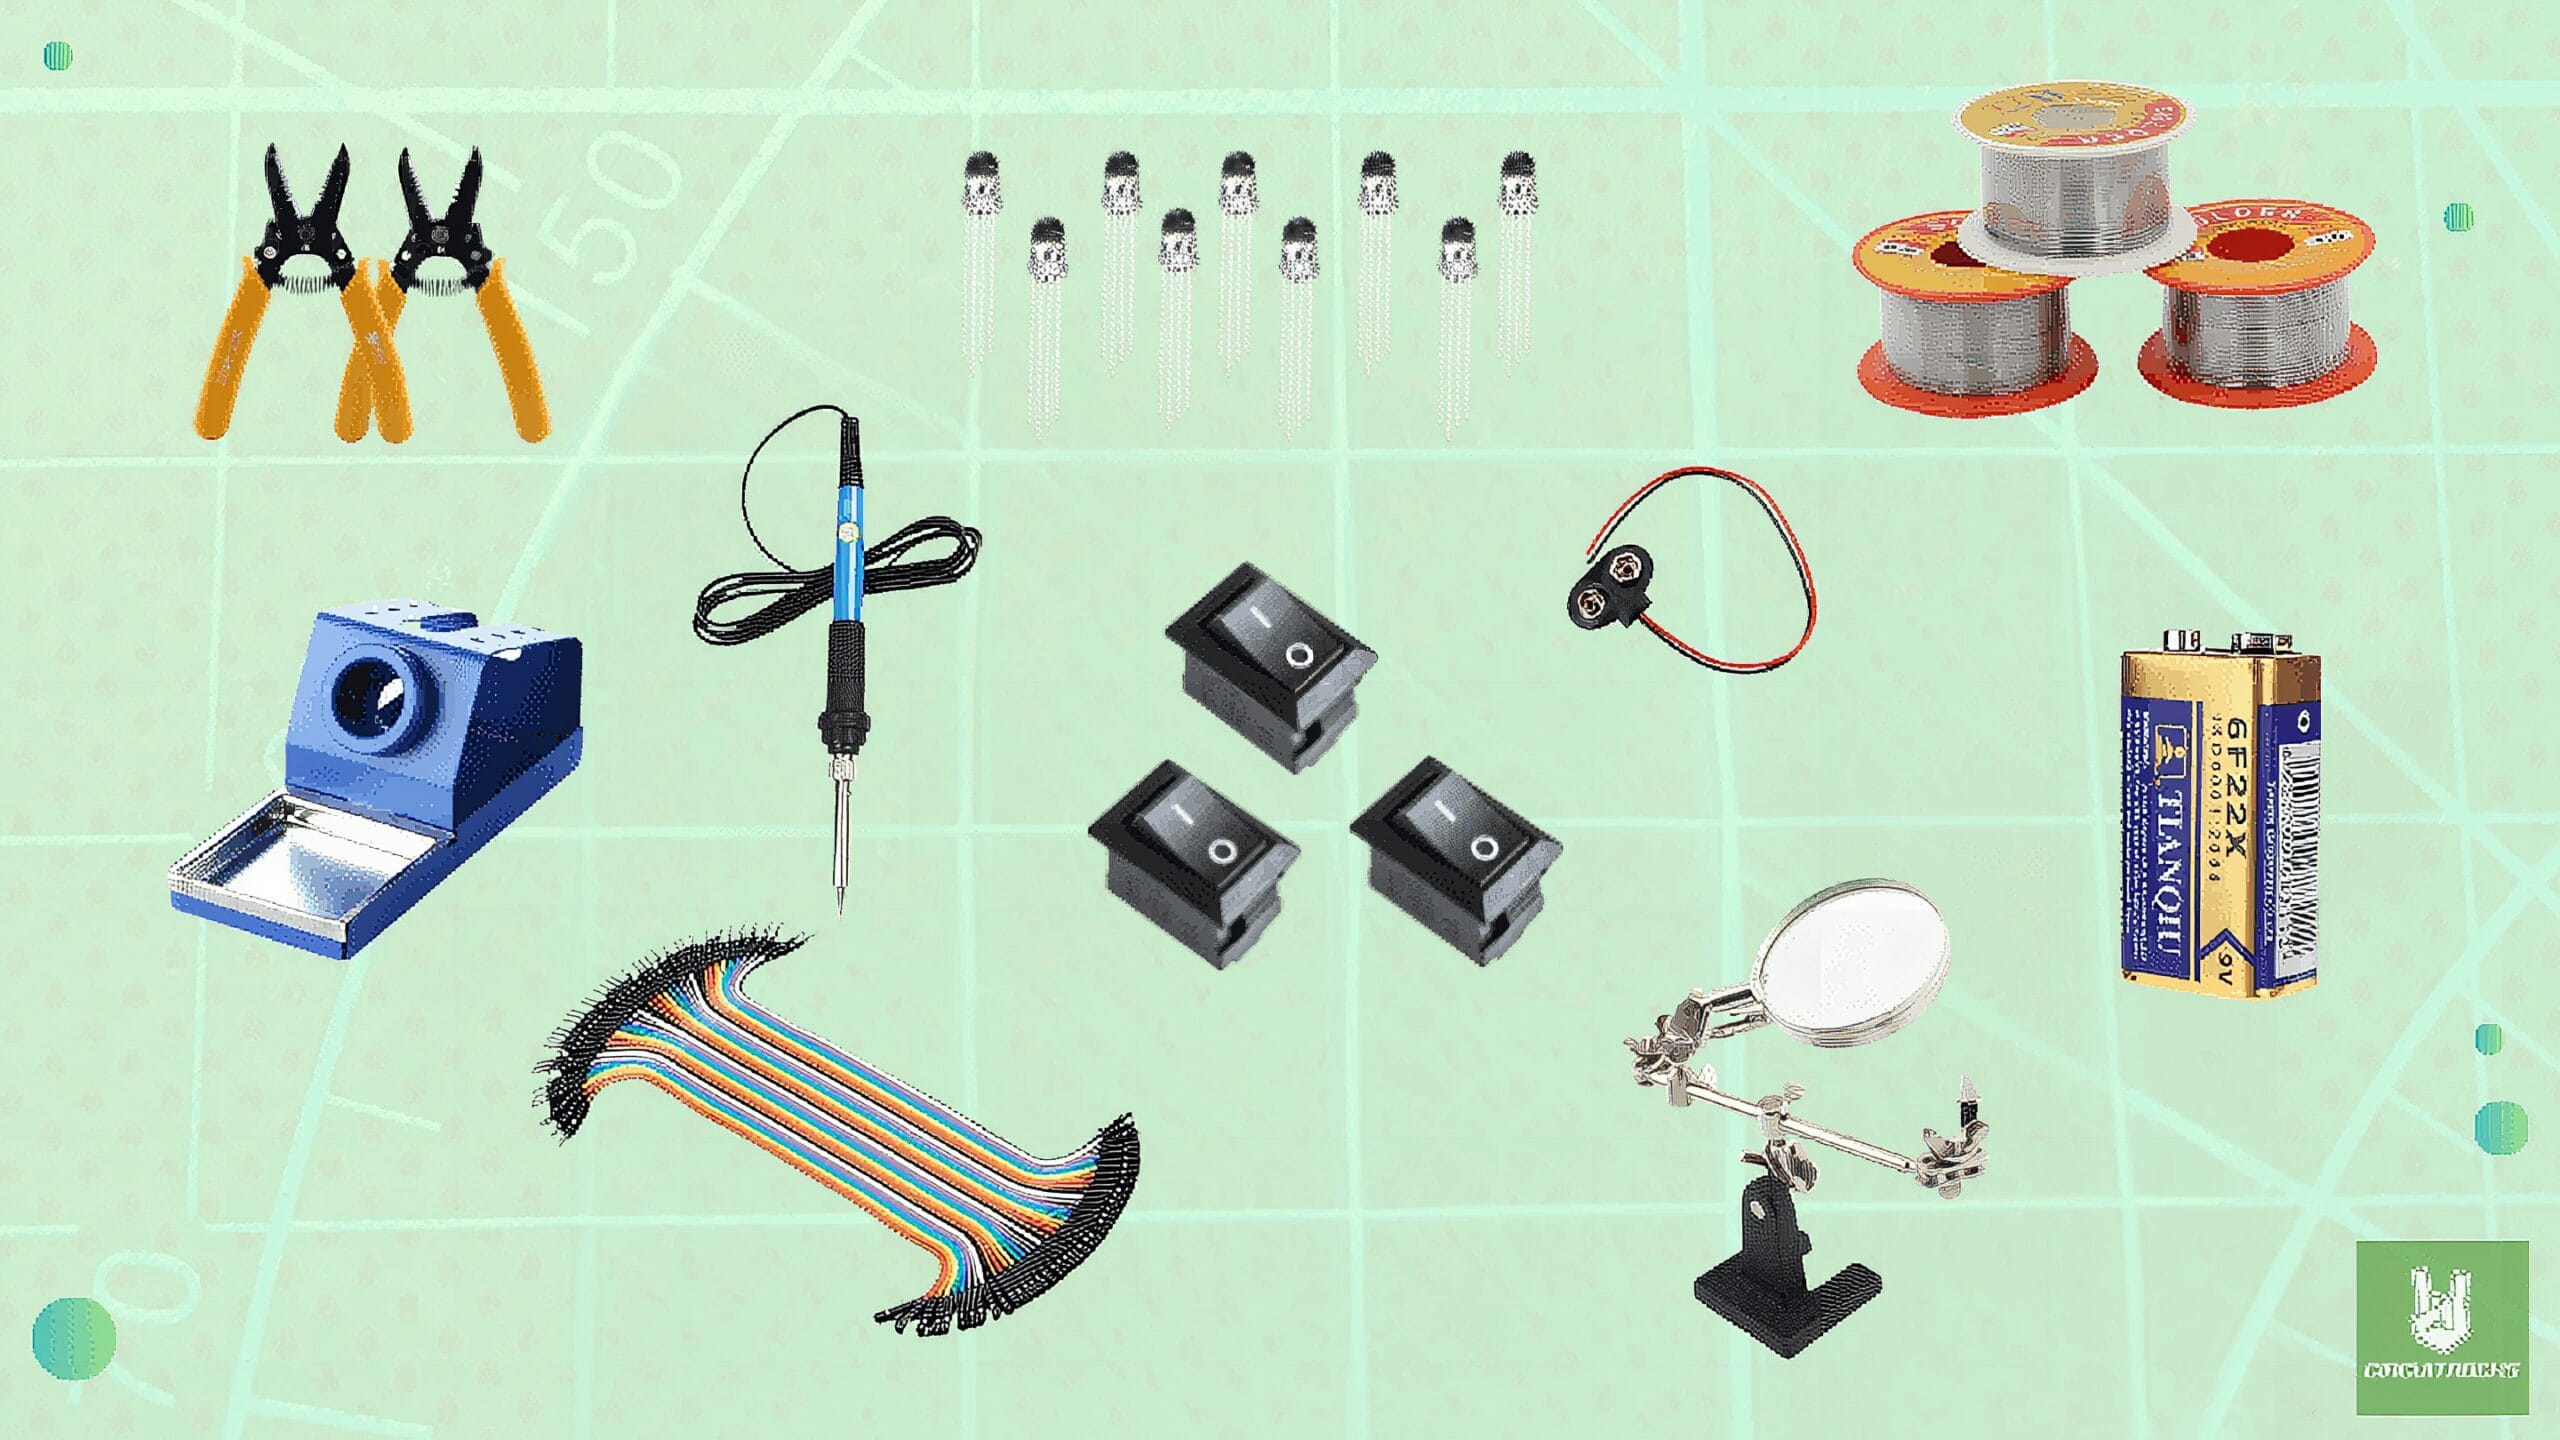
Components
How it works?
The light engine is a grid of nine RGB LEDs facing forward. Each LED contains separate red, green, and blue emitters. In this design, only one color channel is active at a time so the whole face glows in the chosen hue.
A 9 V battery serves as the portable power source. A switch (or set of switches) simply selects which color channel receives power – red, green, or blue. When a channel is selected, all LEDs tied to that color illuminate together for an even beam.
Internally, the channels are organized for consistent brightness and reliable operation. There’s no firmware or menus – the interaction is immediate: choose a color, the flashlight responds, and you get a clean, single-color output.
Applications & Extension
Education & demos. Use it to introduce RGB concepts, compare how each color affects visibility, or discuss practical topics like night-vision preservation (red) and contrast in fog or smoke (blue/green). It’s a compelling prop for lessons and science fairs.
Everyday & creative use. As a pocket light, it doubles as a photo accent, map reader, or safety marker. Add a simple diffuser for softer illumination, or pop in a lens to tighten the beam for signaling and outdoor activities.
Grow the design. Later, upgrade to a rechargeable pack, add a tiny controller for fades and color mixing, or explore optics – reflectors, light pipes, and printable diffusers. The same enclosure approach can house other compact builds like bike markers or cosplay effects.
Watch the Full Demo Video
Here’s the 3D LED Flashlight in action.
.cr-vrow { display: flex; gap: 20px; align-items: flex-start; justify-content: flex-start; max-width: 100%; flex-wrap: wrap; } /* Horizontal video (mas malaki) */.cr-vid16x9 { width: 800px; aspect-ratio: 16 / 9; border-radius: 14px; overflow: hidden; background: #000; box-shadow: 0 6px 16px rgba(0,0,0,.15); } /* Vertical video (height match sa horizontal) */.cr-vid9x16 { height: 450px; aspect-ratio: 9 / 16; border-radius: 14px; overflow: hidden; background: #000; box-shadow: 0 6px 16px rgba(0,0,0,.15); }.cr-vid9x16 iframe,.cr-vid16x9 iframe { width: 100%; height: 100%; border: 0; display: block; } /* Mobile view adjustment */ @media (max-width: 768px) {.cr-vrow { flex-direction: column; /* stack videos */ align-items: center; /* center align */ }.cr-vid16x9 { width: 100%; /* responsive width */ max-width: 100%; /* limit to container */ }.cr-vid9x16 { height: auto; /* auto height for mobile */ width: 60%; /* keep it narrower */ max-width: 300px; } }Frequently Asked Questions
What does this 3D RGB Flashlight | Easy Build with RGB LEDs tutorial cover?
Pick your color in the dark—on demand.
What filament works best for the 3D RGB Flashlight | Easy Build with RGB LEDs build?
PLA for cosmetic/indoor parts (cheap, easy to print). PETG for parts that flex or live near heat. ABS only if you have an enclosure — it warps in open air.
What slicer settings work for this build?
0.2mm layer height, 20% gyroid infill, 3 perimeters, supports only where the model needs them. PLA: 200°C nozzle, 60°C bed. 50-60 mm/s on most desktop FDMs.