
Frequently Asked Questions
What does this Touch-o-Lantern tutorial cover?
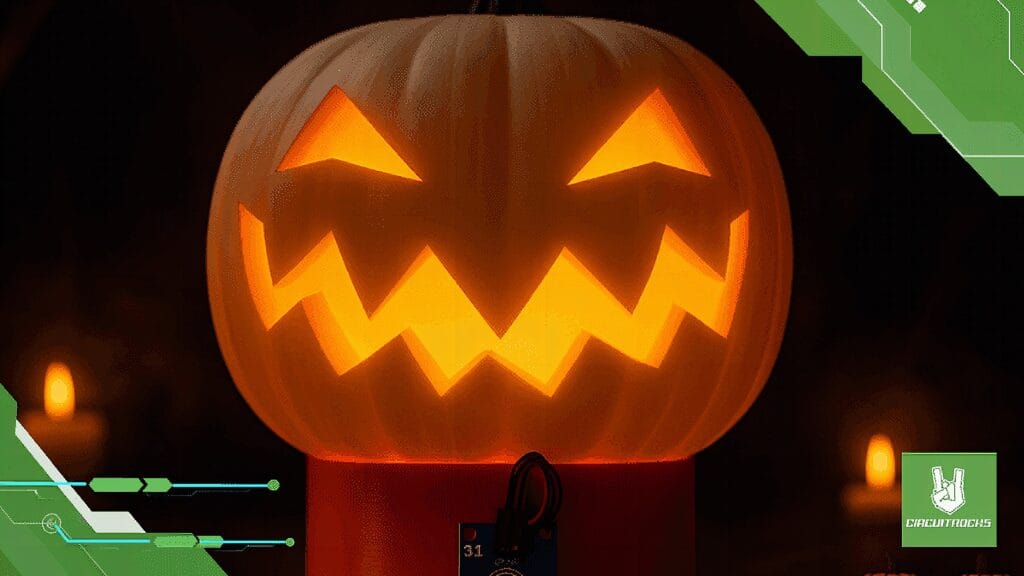
Turn your porch into a prank zone! One tap.
What Arduino library does the Touch-o-Lantern tutorial use?
The sketch uses standard Wire.h (I2C) or SPI.h plus a part-specific library installable via Arduino IDE → Sketch → Include Library → Manage Libraries. See the Sample Code section.
Why does the Touch-o-Lantern act differently on USB power vs battery?
Battery voltage sags under load. Add a 100uF cap across the rails, use a 5V/2A regulator-backed pack, and never power motors from the Arduino's onboard regulator.