
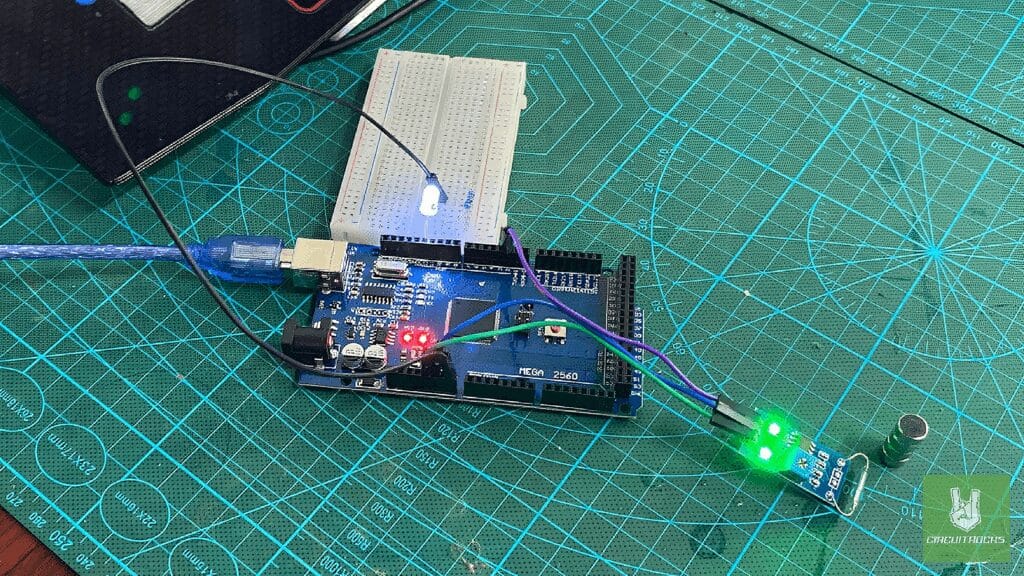
In this tutorial, we’ll be building a simple project using a Reed Switch Sensor to detect the presence of a magnetic field. For this project, you’ll need a Reed Switch, Arduino MEGA, Neodymium N35 Magnet, LED, resistor, 400 breadboard, and some jumper wires. These components will allow you to create a simple magnetic detection system using Arduino.
The Reed Switch Sensor works by using two magnetic contacts inside a sealed glass tube. It acts as a magnetic proximity sensor. When a magnet, like the Neodymium N35, comes close to the switch, it pulls the contacts together, completing the circuit and lighting up the LED.
With this setup, you can create various magnetic detection projects. It can be used for applications like door sensors, proximity alarms, or even simple position detectors, making it a versatile choice for beginners.
Components
Connection:
- Reed Switch
- VCC → 5V Arduino MEGA
- GND → GND Arduino MEGA
- OUT→ D2 Arduino MEGA
- LED
- Anode (+) – Arduino Digital Pin 12
- Cathode (-) – GND (through a 220Ω or 330Ω resistor)
Code:
This Arduino code is designed to detect the presence of a magnet using a Reed Switch Module. When a magnet is nearby, the LED will turn ON, and a message will be sent to the Serial Monitor.
// Pin Definitions
const int reedSwitchPin = 2; // Reed Switch connected to digital pin 2
const int ledPin = 12; // Optional LED for visual indication void setup() { pinMode(reedSwitchPin, INPUT_PULLUP); // Use internal pull-up resistor pinMode(ledPin, OUTPUT); Serial.begin(9600); Serial.println("Reed Switch Module Test");
} void loop() { int reedState = digitalRead(reedSwitchPin); // Read the state of the reed switch if (reedState == LOW) { Serial.println("Magnet Detected!"); digitalWrite(ledPin, LOW); // Turn on LED } else { Serial.println("No Magnet Detected"); digitalWrite(ledPin, HIGH); // Turn off LED } delay(500);
}
QUICK LINK
Frequently Asked Questions
What does this Getting Started with Reed Switch Sensor: A Beginner’s Guide tutorial cover?
In this tutorial, we’ll be building a simple project using a Reed Switch Sensor to detect the presence of a magnetic field.
What Arduino library does the Getting Started with Reed Switch Sensor: A Beginner’s Guide tutorial use?
The sketch uses standard Wire.h (I2C) or SPI.h plus a part-specific library installable via Arduino IDE → Sketch → Include Library → Manage Libraries. See the Sample Code section.
Why does the Getting Started with Reed Switch Sensor: A Beginner’s Guide act differently on USB power vs battery?
Battery voltage sags under load. Add a 100uF cap across the rails, use a 5V/2A regulator-backed pack, and never power motors from the Arduino's onboard regulator.