Upgrade your Netflix and Chill tactics with our Netflix Magic project from Circuitrocks!
Introduction
Who hasn’t heard the term “Netflix and Chill”? Well, it’s about time! If you’ve always wanted to create an IoT project that is very simple to do and can fascinate your special someone; and it just so happens that you are Netflix and chilling, then you can set the mood by controlling your lamp shade! With just a few components from our shop and some little coding, we can turn you from the “Lord of the Geeks” to “Lord of the Turn-On” with this “Netflix Magic” project! (no pun intended)
Prerequisites
Hardware
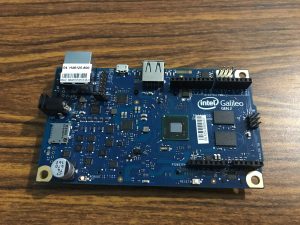
You can use any IoT board that is compatible with Blynk. It just so happens that we have an Intel Galileo Gen 2 lying around our tinker table 🙂 Check out our wishlist for this project.
Software
- Blynk Android App / Blynk iOS App
- Arduino IDE
Don’t get too excited on the coding part! You must download the following from the Arduino IDE!:
- Intel Galileo Board – Tools->Board->Boards Manager->Search “galileo”
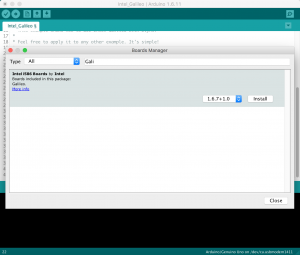
- Blynk Arduino Library – Sketch->Include Library->Manage Libraries…->Search “blynk”
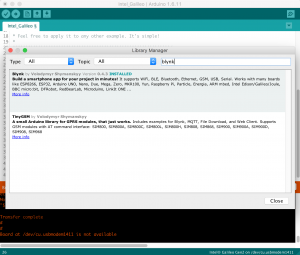
Making Magic
Hardware
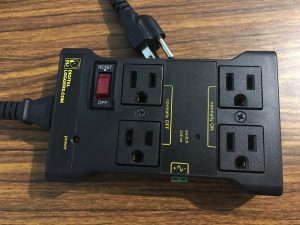
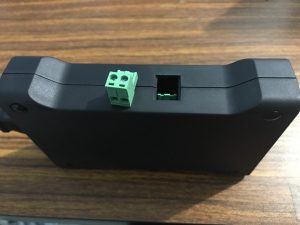
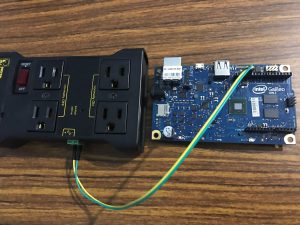
- Remove the signal terminal block of the Power Relay Module
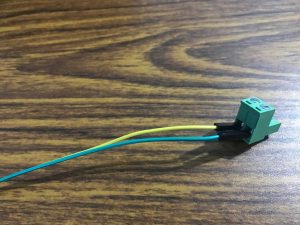
- Connect two (2) wires on the signal terminal block. After connecting the wires, insert the terminal block back to the Power Relay Module
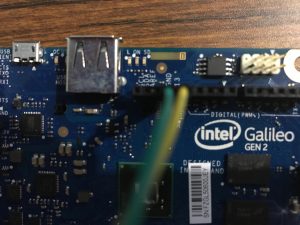
- Connect the plus (+) terminal to Pin 13 of the Intel Galileo Board
- Connect the minus (-) terminal to GND of the Intel Galileo Board
- Connect a light-bulb (or your lampshade) on the Normally Off side of the Power Relay Module
- Power up everything and pray to God nothing blows up (kidding!). Don’t forget to connect your LAN cable to the Ethernet port of the Intel Galileo Board
Mobile App
- Create a Blynk account and login
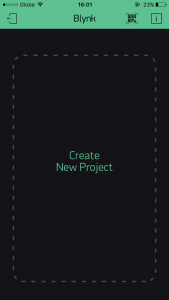
- Create a new project
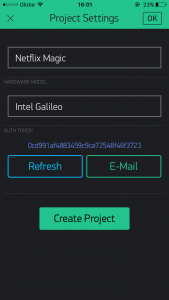
- Put the necessary information on the project. Press the E-Mail button, you will need the AUTH TOKEN
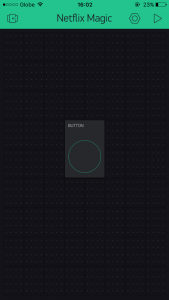
- After creating a project, add a button widget
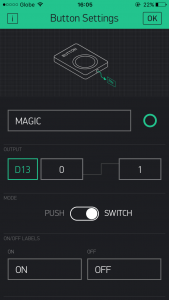
- Set the button widget pin to D13 and set the mode to SWITCH
Software
- Open the Arduino IDE and go to File->Examples->Blnyk->Boards_Ethernet->Intel_Galileo
- Copy and paste the AUTH TOKEN from your e-mail to the auth variable
- Upload the code to the board
Netflix and Chill
Going The Distance

Voila! This is a very simple IoT project thanks to Intel Galileo, Power Relay Module and Blynk. Even if you are not familiar with Arduino, you can appreciate how easy it is nowadays to start an IoT project. With the components you have, turning-on a lamp shade is just a walk in the park. You can still “turn-on” other stuff around you ?. Good luck turning bae on… I mean, turning things on 😀
We hope that this serves as a stepping stone for your next IoT project!

