Overview
There comes a time when every maker, hacker, hobbyist and engineer grows out of the limitations of the Arduino ecosystem and its countless layers of abstraction.
Peeling away this layer reveals the awesome power of having direct access to hardware peripherals and registers.
Not having to use the Arduino libraries often means a speedup of several orders of magnitude.
With cheap, tiny, 8-bit architectures, like the ATmega chips at the heart of most Arduino boards – this could very well mean the use of hand crafted assembly language, eschewing the use of compilers altogether.
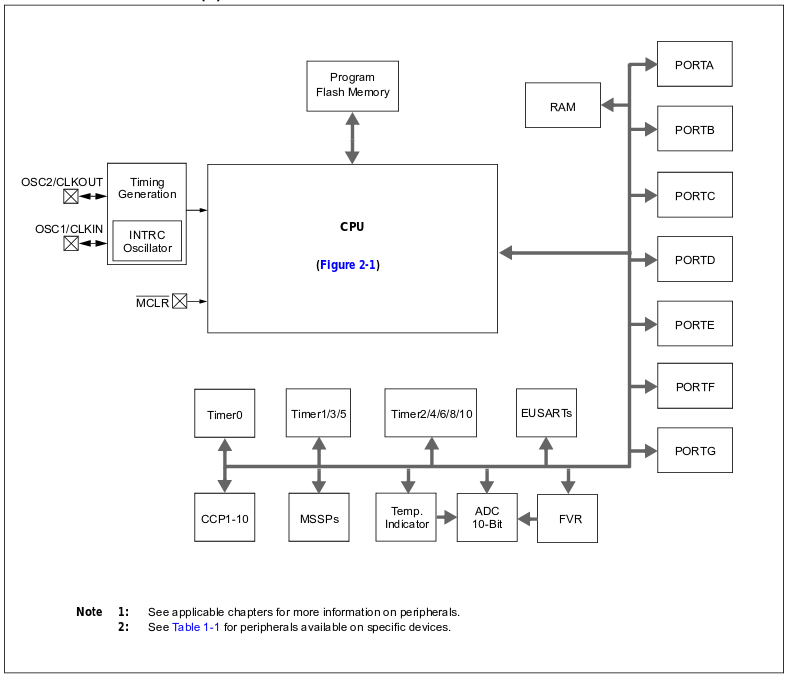
This inspires a greater familiarity with peripherals, registers and the implementation of routines often taken for granted at higher levels of abstraction.
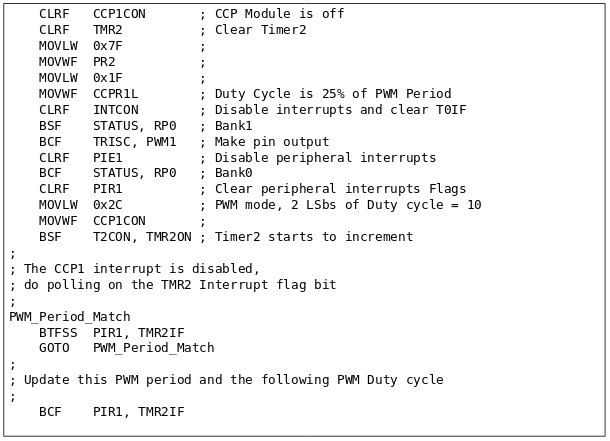
If you haven’t done 8-bit assembly on a PIC16 or an AVR chip before, you owe it to yourself to experience doing so. Nothing will teach you the value of algorithmic efficiency, or the opulence of present day computing power, like writing a lightning fast routine in perfect harmony with a processor core, performing leaps and bounds, maximizing each instruction cycle.
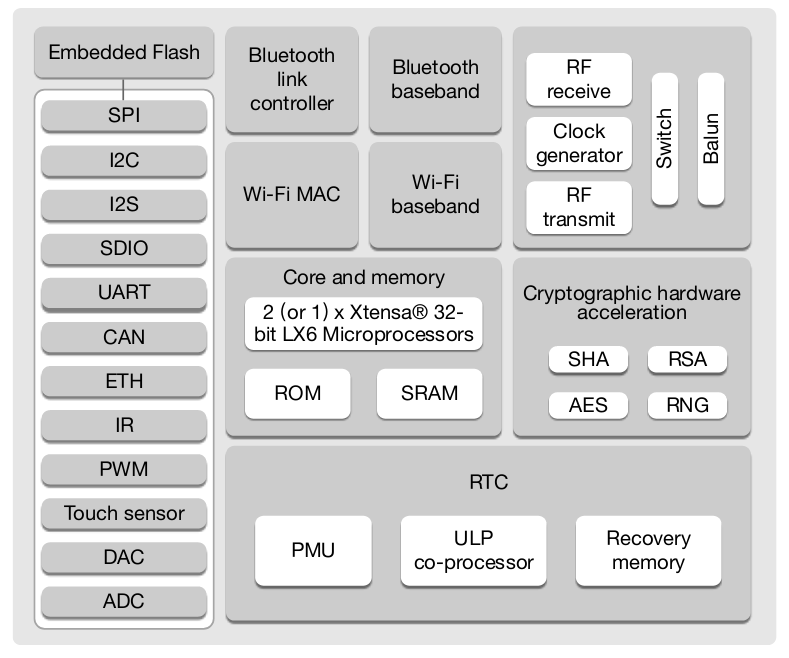
At the other end of serious embedded development – the advent of low cost, 32-bit, high performance microcontrollers like the ARM based STM32 chips, or the Xtensa based ESP32 WiFi modules has resulted in an increased adoption of Real Time Operating Systems or RTOS.
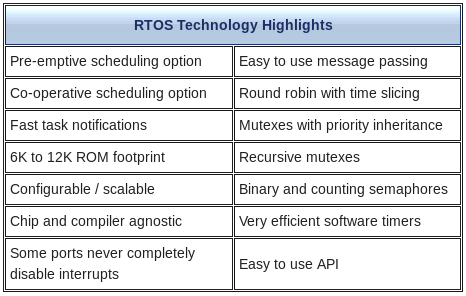
A real time operating system features a scheduler which enables simple multitasking. It provides a minimal abstraction layer which allows for faster development times, with minimal overhead. FreeRTOS, a popular open source RTOS, is contained in just three C source files.
Components
Microcontroller
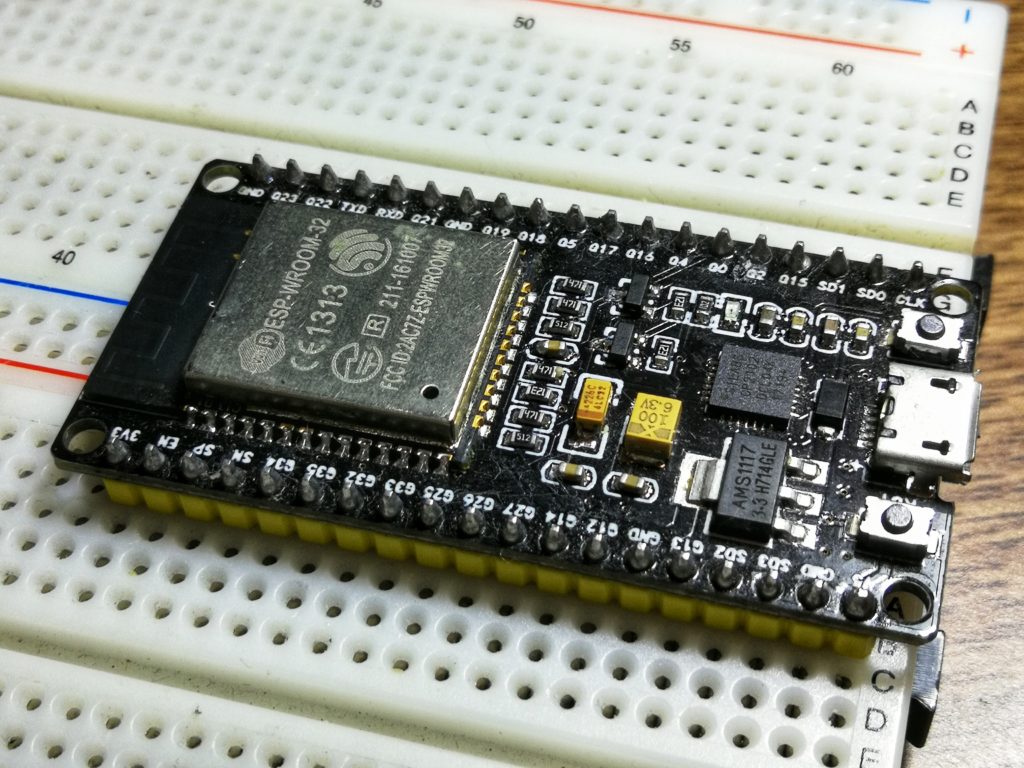
The ESP32 features two Tensilica Xtensa 32-bit LX6 cores running at 240MHz. This abundance of computing power makes it a very attractive target for a real time operating system. The ESP-IDF, which is the official development framework for the ESP32, is built on top of FreeRTOS.
Software Setup
- Setup the toolchain
- Setup the ESP-IDF
- Use your favorite text editor/IDE
Toolchain Setup
Espressif provides official instructions for setting up the toolchain in these links.
Pull the ESP-IDF
Setup the ESP32 specific API/libraries by pulling them from github. You can change the directory you want to use. In this case, we’re using “esp”.
cd ~/esp
git clone -b v3.3 --recursive https://github.com/espressif/esp-idf.git
This will pull the latest version of ESP-IDF into the directory of your choice.
Setup Path to ESP-IDF
Install Required Python Packages
python -m pip install --user -r $IDF_PATH/requirements.txtThis will install the python packages required by the ESP-IDF. You should use the version of python you have to run this command.
Code
This will put you in the directory containing the ESP-IDF’s hello world example program.
cd ~/esp/esp-idf/examples/get-started/hello_world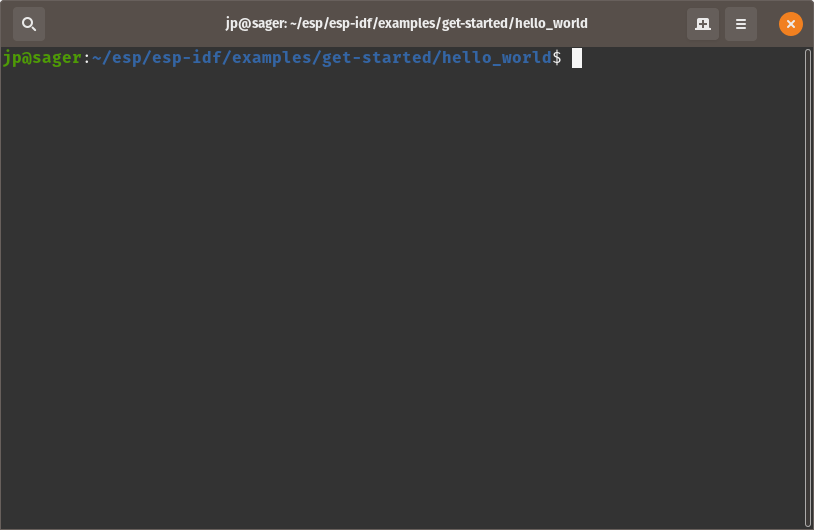
The source file in this folder contains the following code:
/* Hello World Example

   This example code is in the Public Domain (or CC0 licensed, at your option.)

   Unless required by applicable law or agreed to in writing, this
   software is distributed on an "AS IS" BASIS, WITHOUT WARRANTIES OR
   CONDITIONS OF ANY KIND, either express or implied.
*/
#include <stdio.h>
#include "freertos/FreeRTOS.h"
#include "freertos/task.h"
#include "esp_system.h"
#include "esp_spi_flash.h"


void app_main()
{
    printf("Hello world!\n");

    /* Print chip information */
    esp_chip_info_t chip_info;
    esp_chip_info(&chip_info);
    printf("This is ESP32 chip with %d CPU cores, WiFi%s%s, ",
            chip_info.cores,
            (chip_info.features & CHIP_FEATURE_BT) ? "/BT" : "",
            (chip_info.features & CHIP_FEATURE_BLE) ? "/BLE" : "");

    printf("silicon revision %d, ", chip_info.revision);

    printf("%dMB %s flash\n", spi_flash_get_chip_size() / (1024 * 1024),
            (chip_info.features & CHIP_FEATURE_EMB_FLASH) ? "embedded" : "external");

    for (int i = 10; i >= 0; i--) {
        printf("Restarting in %d seconds...\n", i);
        vTaskDelay(1000 / portTICK_PERIOD_MS);
    }
    printf("Restarting now.\n");
    fflush(stdout);
    esp_restart();
}
This simple program prints out information about your chip, including the number of cores, the revision of silicon and the amount of flash memory on board.
A task delay from FreeRTOS allows other programs or pieces of code to run while the task is essentially paused.
This is vastly more efficient than standard microcontroller delay loops which result in the CPU doing nothing for substantial amounts of time.
Let’s configure this example to setup a faster baud rate, so we can program our board quickly.
make menuconfig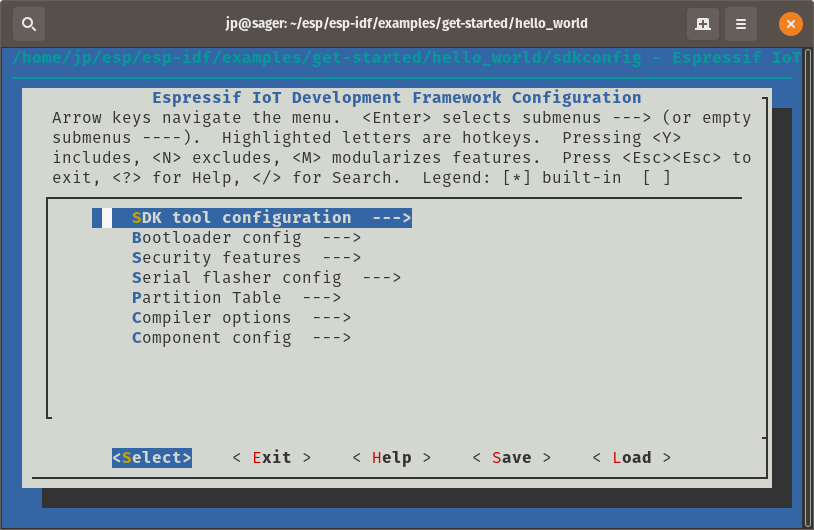
Choose “Serial flasher config”.
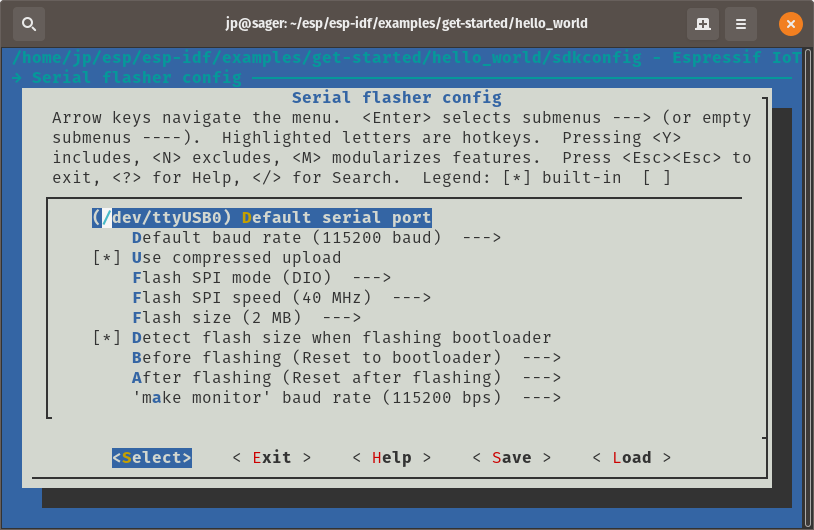
Let’s choose a different baud rate, since 115200 is way too slow.
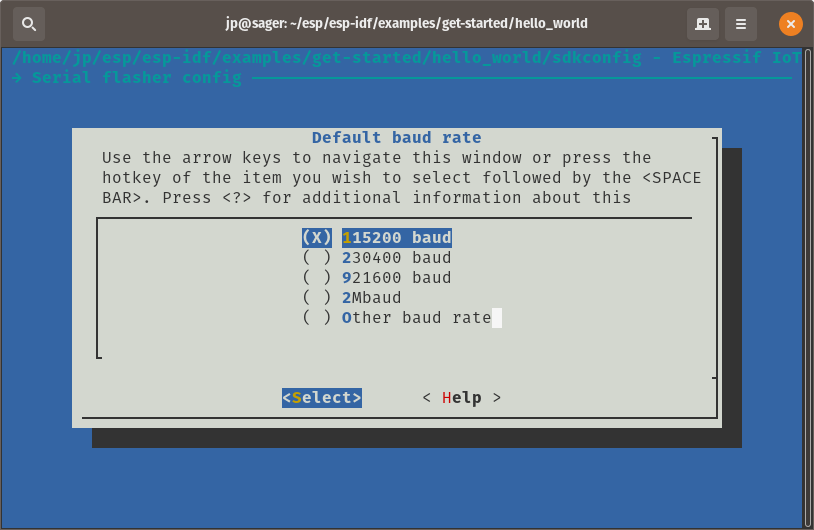
The ability to handle different baud rates will depend mostly on the quality of your development board’s USB to Serial converter IC.
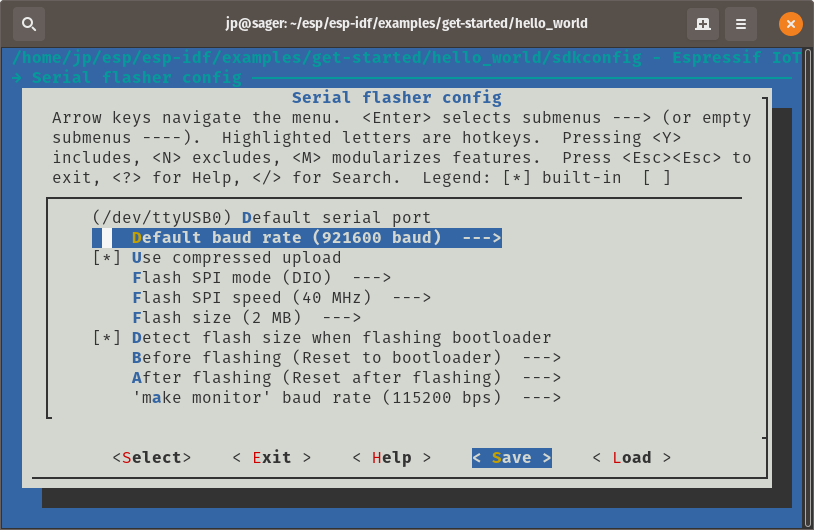
Now that we’ve selected a decent baud rate, we can save our configuration settings.
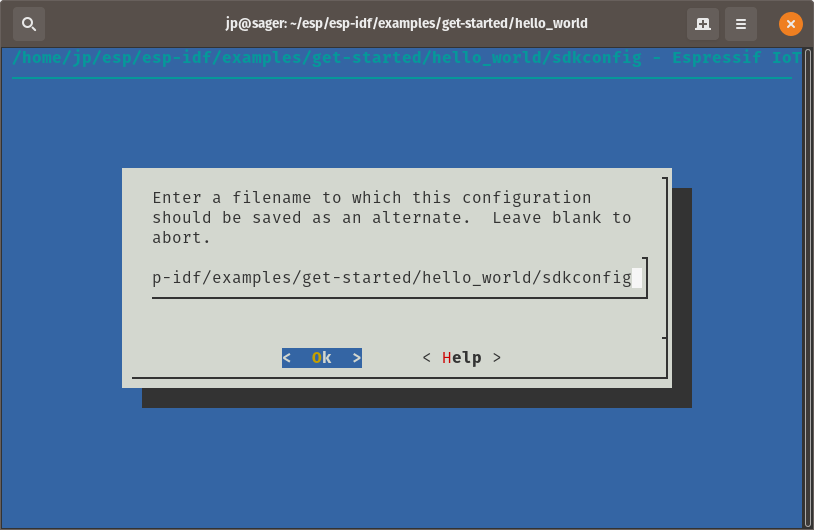
The default filename is good, so just click through “OK”
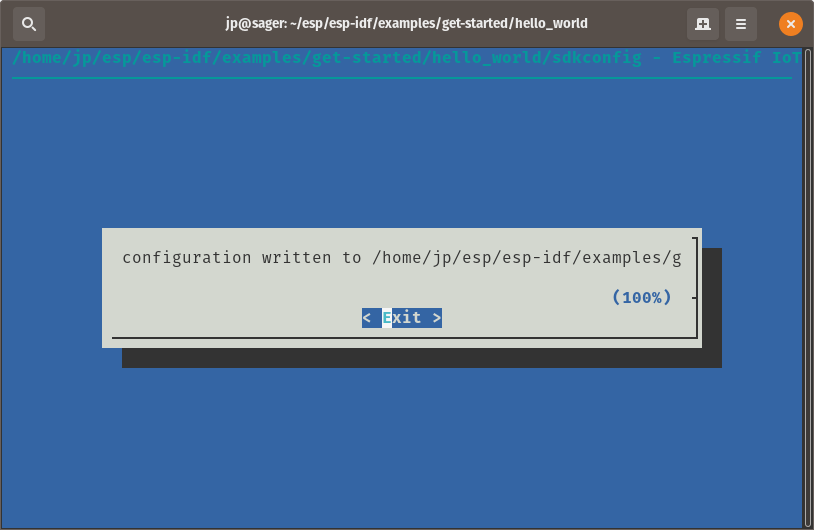
We’ve now successfully changed and saved our configuration file.
To execute this program, run this command on your terminal.
make flash monitorIt might take some time to compile and link all ESP-IDF libraries when you first run this command, but succeeding attempts to flash your program should be much faster.
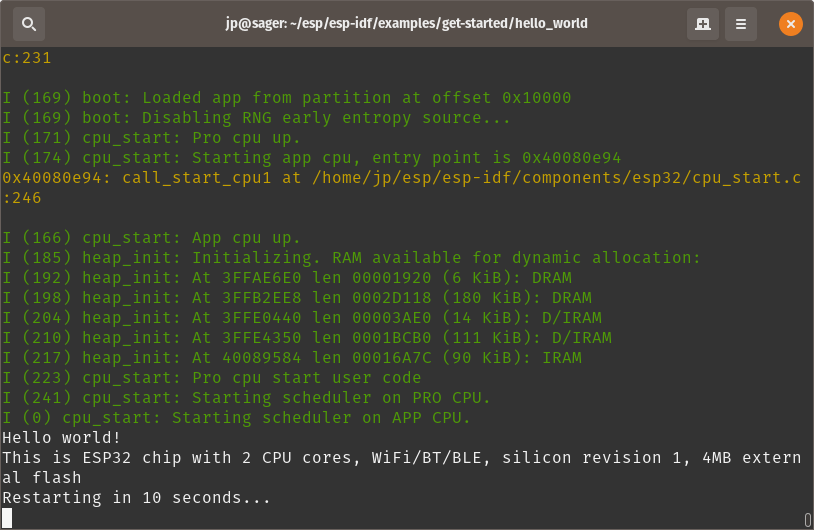
This is the expected terminal output, if you see this, it means you’ve successfully compiled and run your first ESP-IDF program on top of FreeRTOS!
There are many more SDKs and development frameworks offered by each microcontroller vendor, like the Keil MDK for ARM microcontrollers, Atmel Studio for Atmel chips, and MPLAB X for PICs.
Being familiar with the development environments and frameworks supported by different microcontrollers allows you to more effectively choose the micro that’s most suitable for your project.
As always, good luck and stay creative!


