
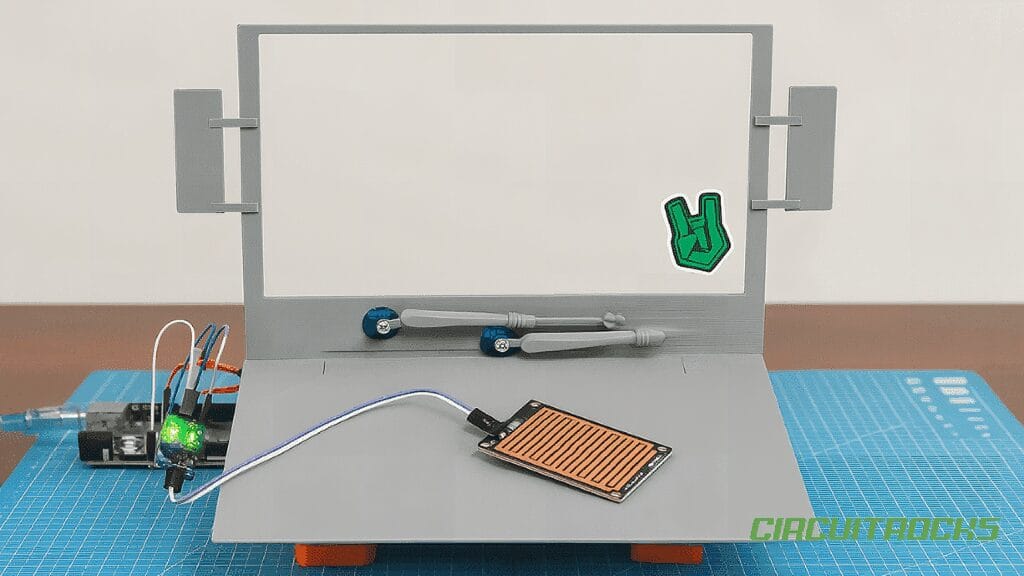
Interested in a tiny build that moves the moment a raindrop lands? This 3D Mini Rain Car Wiper does exactly that – your model windshield gets real, automatic wiper action that flicks back and forth when the sensor gets wet.
You’ll pair an Arduino Uno, a simple rain sensor, and two micro servos with a 3D-printed windshield and wiper arms. The result is a palm-sized demo that feels like a real car: raindrops → wipe → park.
Because the parts are standard and the code is short, it’s a fast weekend project. Print the parts, wire the pins, upload the sketch, and you’re watching droplets trigger smooth servo sweeps by the end of the day.
It’s similar to the Smart Laundry Bot project, but instead of moving a clothesline, the servos control wipers on a model windshield. The concept is the same: detect rain → trigger movement automatically.
Circuit Diagram
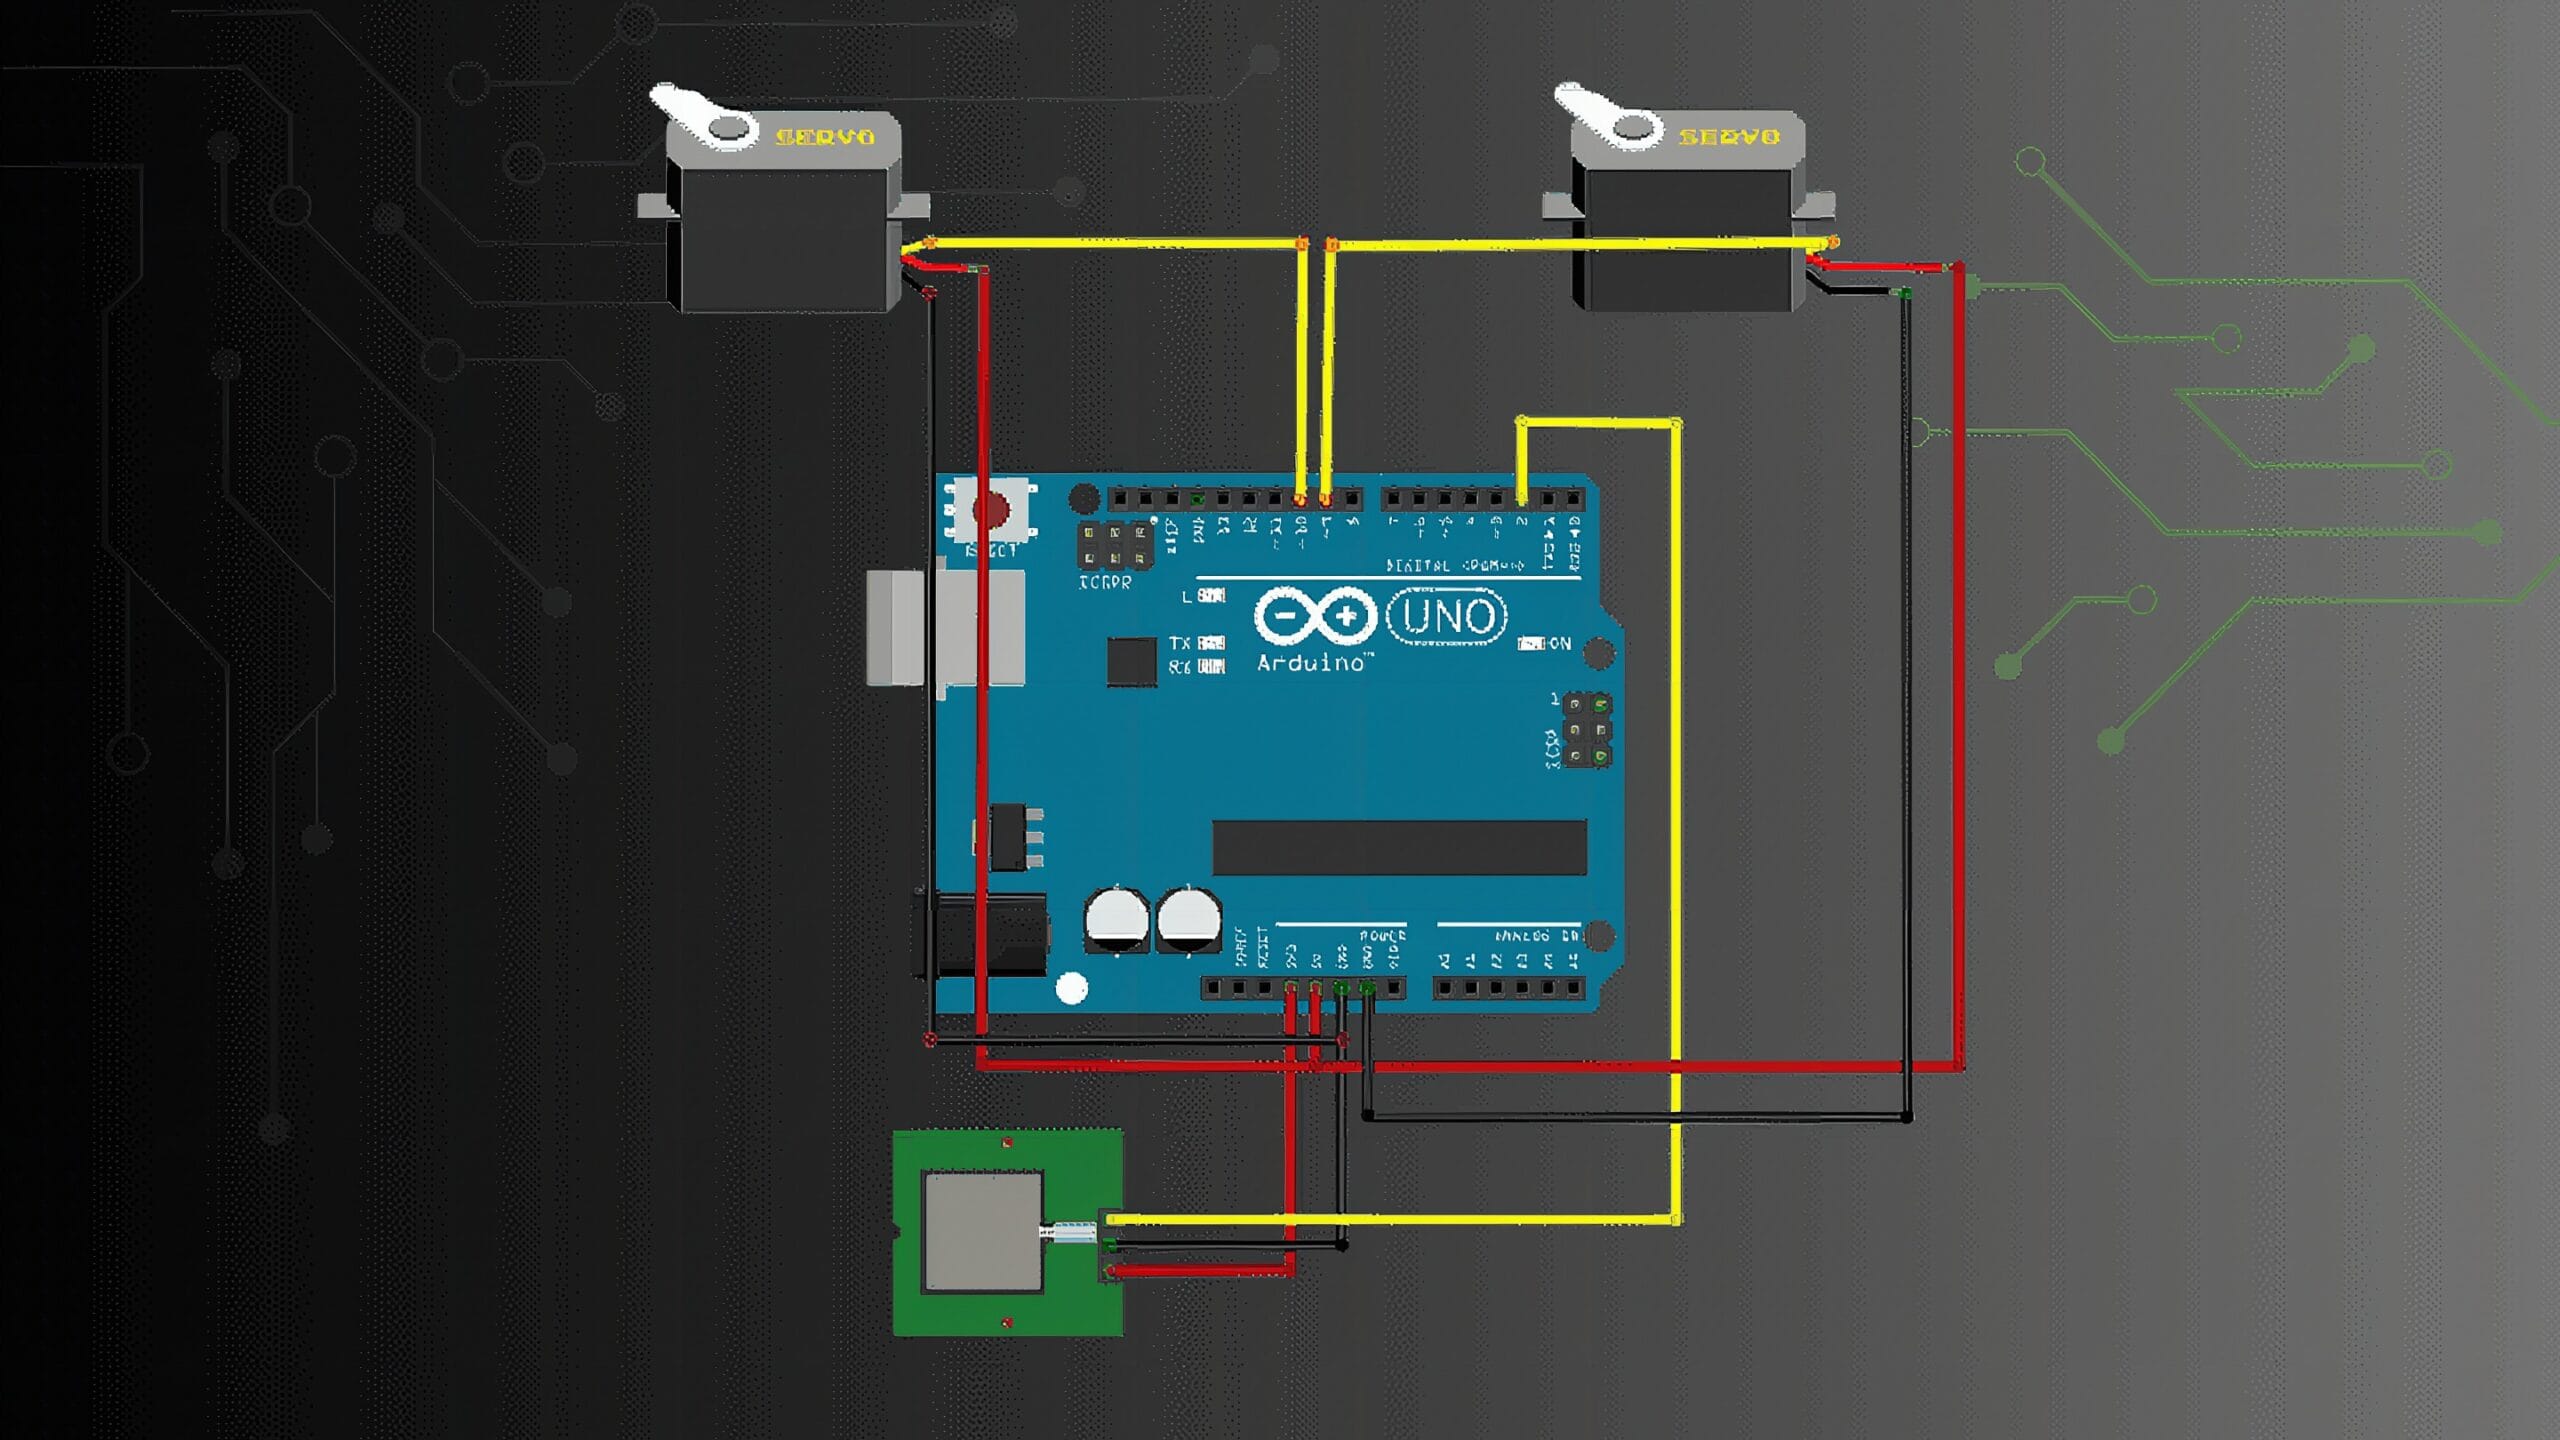
Pin Mapping
- Rain Sensor: VCC → 3.3V | GND → GND | DO → D2
- Servo 1: VCC → 5V | GND → GND | Signal → D9
- Servo 2: VCC → 5V | GND → GND | Signal → D10
Sample Code
#include <Servo.h> Servo wiperLeft;
Servo wiperRight; const int rainSensorPin = 2;
const int servo1Pin = 9;
const int servo2Pin = 10; void setup() { pinMode(rainSensorPin, INPUT); wiperLeft.attach(servo1Pin); wiperRight.attach(servo2Pin); // Start at initial angle wiperLeft.write(180); wiperRight.write(180);
} void loop() { int rainDetected = digitalRead(rainSensorPin); if (rainDetected == LOW) { // Rain detected // Swipe like wipers wiperLeft.write(90); wiperRight.write(90); delay(500); wiperLeft.write(180); wiperRight.write(180); delay(500); } else { // Stop at resting position wiperLeft.write(180); wiperRight.write(180); } delay(100);
}
How it Works?
A rain sensor wired to digital pin 2 outputs LOW when wet (typical for many modules). The sketch watches that pin: if it’s LOW, it triggers a wipe; if it’s HIGH, the system parks. Two servos on pins 9 and 10 are attached as left and right wipers.
In code, both servos park at 180° on startup. When rain is detected, the program commands 90° → 180° with 500 ms delays, creating a back-and-forth sweep. No rain means the servos hold the park angle quietly.
Mechanically, your 3D-printed arms mount to each servo horn so both blades move together. Electrically, the Arduino powers signal lines while the servos draw 5 V from a stable supply; the sensor’s logic level drives the simple “wipe/park” state machine in loop().
Applications & Extensions
Use it for model cars, weather displays, or classroom demos that show closed-loop control. It’s also a neat storefront or desk piece that reacts when you mist it with water.
Extend the behavior: add intermittent modes (timer-based), variable speed by mapping rainfall to delay time, or an auto-park routine that always returns to the same angle after a sweep. Switch to an analog rain sensor and set thresholds for drizzle vs heavy rain.
Upgrade the build: incorporate a manual/auto toggle, a potentiometer for speed, proper 5 V servo power with a common ground, and sturdier 3D parts with low-friction bushings. For flair, add LED indicators for rain state or a tiny OLED showing speed and mode.
Watch the Full Demo Video
Here’s the 3D Mini Rain Car Wiper.
.cr-vrow { display: flex; justify-content: center; max-width: 100%; } /* Horizontal video */.cr-vid16x9 { width: 800px; aspect-ratio: 16 / 9; border-radius: 14px; overflow: hidden; background: #000; box-shadow: 0 6px 16px rgba(0,0,0,.15); }.cr-vid16x9 iframe { width: 100%; height: 100%; border: 0; display: block; } /* Mobile view adjustment */ @media (max-width: 768px) {.cr-vid16x9 { width: 100%; max-width: 100%; } }Frequently Asked Questions
What does this 3D Mini Rain Car Wiper tutorial cover?
Interested in a tiny build that moves the moment a raindrop lands? This 3D Mini Rain Car Wiper does exactly that—your model windshield gets real, automatic wiper action that flicks back and forth when the sensor gets wet.
Can I use an Arduino Nano or Mega instead of UNO for the 3D Mini Rain Car Wiper build?
Yes. Nano shares the same ATmega328P and pinout. Mega has more I/O if you outgrow UNO. The code stays the same — just match the pin numbers used in the Sample Code section.
Why does my 3D Mini Rain Car Wiper sketch fail to upload?
Usually wrong COM port, missing CH340/CH341 driver for clone boards, or another program holding the serial port. Disconnect the board, install the driver, reselect the port, retry.