
The RGB flashlight is a fun and beginner-friendly electronics project. It demonstrates how RGB (Red, Green, Blue) color mixing works. Using a simple combination of components – an RGB LED, tactile switch, jumper wires, a 220-ohm resistor, and a 9V battery. You can build your own multicolor flashlight. With every press of the button, the LED changes color. Cycling through red, green, blue, violet, yellow, sky blue, and white.
This project is compatible with two types of 5mm RGB LEDs. The RGB Diffused Common Cathode and the RGB Clear Common Cathode. Both types have four pins – three for red, green, and blue, and one common cathode. The diffused version has a frosted body, giving it a softer, wider glow that’s perfect for smooth color blending. On the other hand, the clear version has a brighter, more focused output, ideal if you want more vivid. Each has its own charm, and both can be used in this project depending on the effect you want.
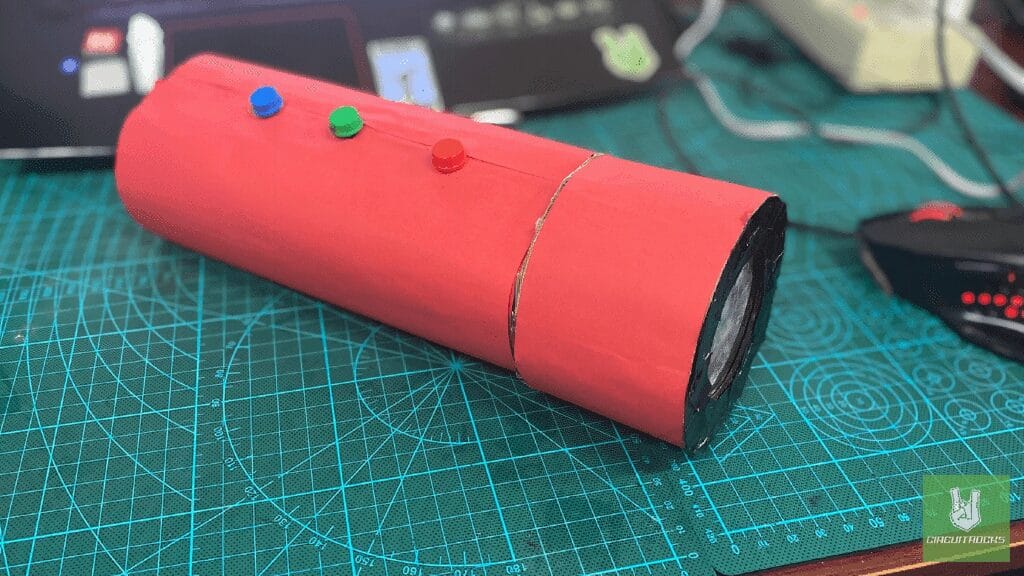
To complete your RGB flashlight, solder the LED connections using jumper wires and add a 220-ohm resistor to protect the LED. Power it with a 9V battery connected via a battery buckle. For the DIY case, recycle materials – use a carton for the body and envelope plastic at the tip. To diffuse the light, making it look and function like a real flashlight. This project is great for classrooms, workshops, or hobby builds. It gives you insight into LED control, soldering, and creative problem-solving with materials you already have at home.
Components
Connections:

This circuit is a simple yet effective way to learn the basics of RGB control, switching, and LED behavior. It also demonstrates how multiple LEDs can be powered in parallel using the same logic. The users manually mix red, green, and blue by pressing combinations of buttons. Creating up to seven visible colors, including white (when all three are pressed).
QUICK LINK
Frequently Asked Questions
What does this RGB Flashlight: Light in Every Color tutorial cover?
The RGB flashlight is a fun and beginner-friendly electronics project.
What's the working voltage of the RGB Flashlight: Light in Every Color?
Check the Sample Code section for the exact pinout — most maker-grade sensors run on 3.3V or 5V. Wire VCC to the matching rail, GND common with your MCU, data to a digital or analog pin.
Why does the RGB Flashlight: Light in Every Color read garbage or saturated values?
Three usual causes: wrong voltage rail, missing pull-up resistor on I2C lines (4.7k–10k to VCC), or a floating data pin. Double-check wiring against the diagram, then probe with a multimeter.