
The L293D Motor Driver Shield is a must-have for anyone building a 2WD or 4WD robotic car. This shield allows easy control of two to four DC motors. Making it perfect for various robot vehicle projects. It attaches directly to an Arduino, reducing the need for complex wiring and making setup fast and simple. With built-in motor control features, it enables smooth forward, backward, left, and right movements – ideal for DIY robotic projects.
This shield supports motor voltages from 4.5V to 12V. It allows speed and direction control for each motor. The onboard H-bridge motor driver (L293D) ensures efficient motor performance, making your robot more responsive. The L293D Motor Driver Shield includes dedicated terminal blocks for motor connections. It allows easy integration with different motor setups.

To complement this motor driver. It is compatible with seven different variants of the 65mm TT Motor Wheel, which come in different colors and styles. These durable rubber wheels offer excellent grip and smooth movement, ensuring stable performance on various surfaces.
Components
Connections:
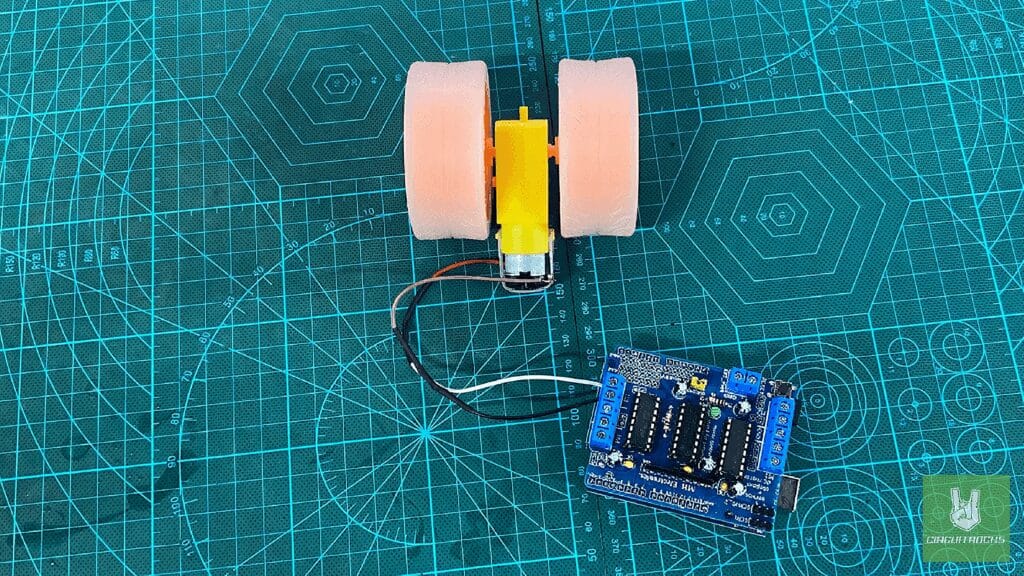
- Adafruit Motor Shield (L293D-based) mounted on the Arduino.
- DC Motor connected to M3 terminal on the shield:
- Motor Terminal 1 → M3+ on the shield
- Motor Terminal 2 → M3- on the shield
Note: Install the Adafruit Motor Shield library
- In the Library Manager, search for “Adafruit Motor Shield library” by Adafruit.
Code:
This setup allows the motor connected to M3 to move forward, backward, and stop as programmed in the AFMotor library, while ensuring proper wiring with the negative already tied to the L293D chip inside the shield.
#include <AFMotor.h> AF_DCMotor motor1(3, MOTOR12_64KHZ); // Left Motor on M3 void setup() { Serial.begin(9600); Serial.println("Starting Motor Test"); motor1.setSpeed(200); // Speed (0-255)
} void loop() { Serial.println("Moving Forward"); motor1.run(FORWARD); delay(3000); Serial.println("Moving Backward"); motor1.run(BACKWARD); delay(3000); Serial.println("Stopping"); motor1.run(RELEASE); delay(3000);
}
QUICK LINK
Frequently Asked Questions
What does this Getting Started with L293D Motor Driver Shield Four Channel: A Beginner’s Guide tutorial cover?
The L293D Motor Driver Shield is a must-have for anyone building a 2WD or 4WD robotic car .
What Arduino library does the Getting Started with L293D Motor Driver Shield Four Channel: A Beginner’s Guide tutorial use?
The sketch uses standard Wire.h (I2C) or SPI.h plus a part-specific library installable via Arduino IDE → Sketch → Include Library → Manage Libraries. See the Sample Code section.
Why does the Getting Started with L293D Motor Driver Shield Four Channel: A Beginner’s Guide act differently on USB power vs battery?
Battery voltage sags under load. Add a 100uF cap across the rails, use a 5V/2A regulator-backed pack, and never power motors from the Arduino's onboard regulator.