
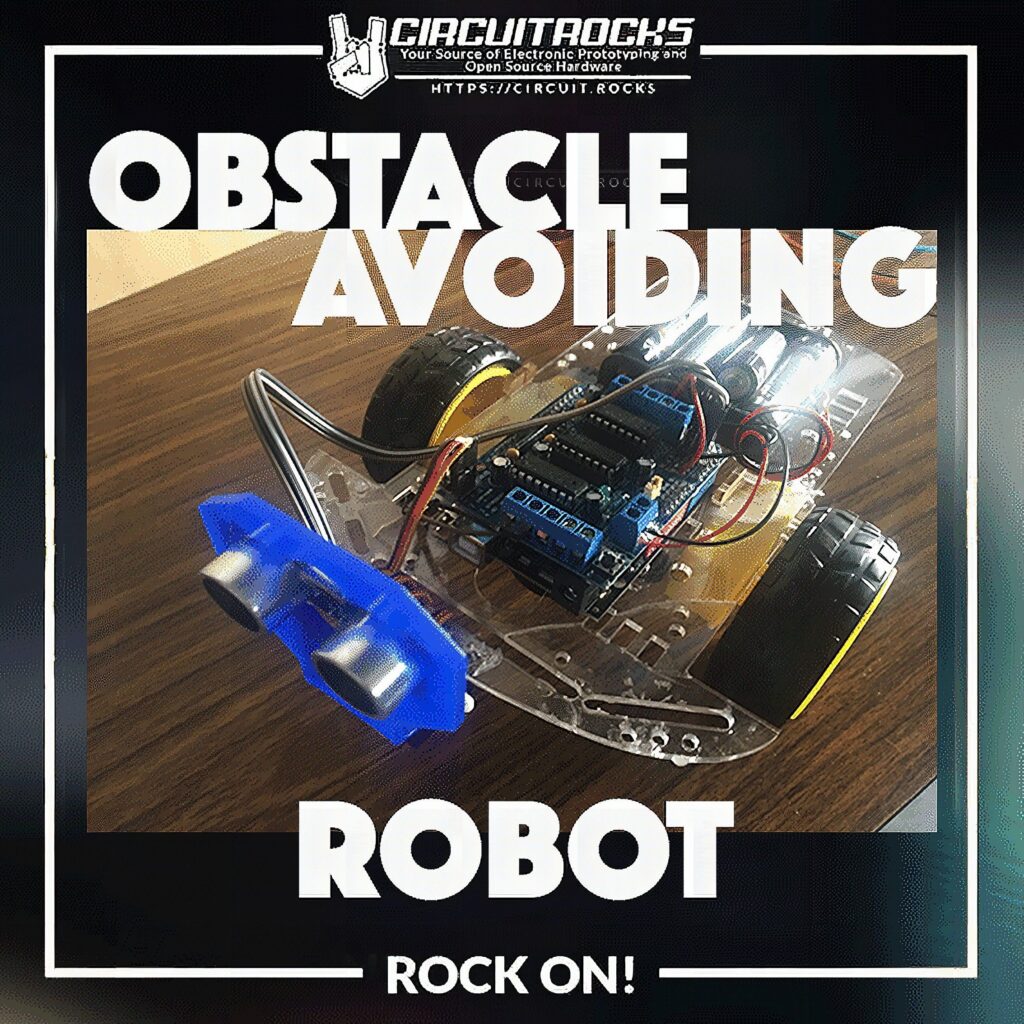
Make your robot sense the world.
Hardware Materials
// Live from circuit.rocks shop
Coding side:
Two notable libraries were used; NewPing and AFMotor. The NewPing Library is responsible for getting the distance from the ultrasonic sensor easily. On the other hand, the AFMotor lets you control the motor driver shield is an easy fashion.AFMotor.h
NewPing.h Here is a sample video on how everything works.
As you may have noticed, the ultrasonic serves as the eyes of the robot. It determines the robot’s proximity. If the robot is close enough to a wall, it would send a signal to the Arduino board to react. Cool, right? The ultrasonic sensor is mounted on a servo motor. The servo motor serves a scanning mechanism to aid the ultrasonic sensor locate the nearest wall. Just plug in the code and build your robot. You would now have your Obstacle Avoiding Robot using Arduino! If you have any questions, you can contact us and we’ll try to help. Any suggestions or other projects you want created? Contact us and we’ll create and post them here for you.Frequently Asked Questions
What does this Obstacle Avoiding Robot using Arduino tutorial cover?
Make your robot sense the world.
What Arduino library does the Obstacle Avoiding Robot using Arduino tutorial use?
The sketch uses standard Wire.h (I2C) or SPI.h plus a part-specific library installable via Arduino IDE → Sketch → Include Library → Manage Libraries. See the Sample Code section.
Why does the Obstacle Avoiding Robot using Arduino act differently on USB power vs battery?
Battery voltage sags under load. Add a 100uF cap across the rails, use a 5V/2A regulator-backed pack, and never power motors from the Arduino's onboard regulator.
