
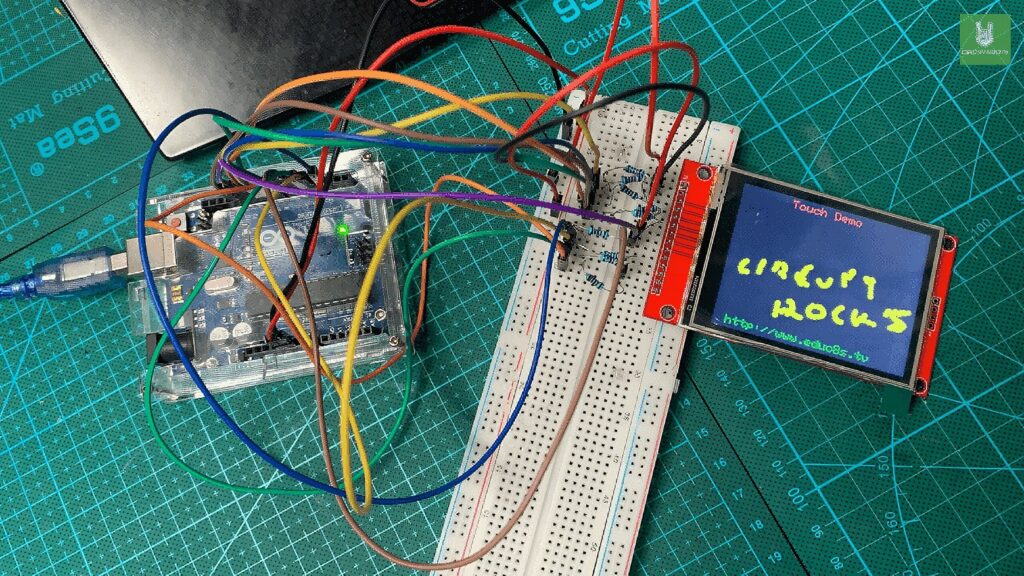
Creating an interactive drawing demo with the ILI9341 Display is an exciting mix of hardware and software. For example, it shows the screen’s versatility, which is popular in many DIY electronics projects. In addition, the touchscreen feature lets users draw directly on the display, making it perfect for a fun application. As a result, this project helps users understand how the ILI9341 works with common controllers like Arduino or ESP32.
First, the project uses a basic ILI9341 TFT LCD with a touchscreen interface to mimic real drawing. Next, it relies on libraries such as Adafruit GFX for graphics and URTouch for touch input. Because these libraries simplify the code, it becomes much easier to build interactive graphical interfaces. Moreover, it clearly shows what the display can do and helps users see the power of these tools.
Finally, even though the project seems advanced, it is a great learning tool for beginners. For instance, it teaches the basics of display technology, touch input, and simple interface design. By combining hardware and software, learners can explore event-driven programming and user interfaces. Therefore, this project is not only fun but also a strong starting point for more complex ideas like games or custom controls. Because it encourages experimentation, users will gain a deeper understanding of embedded systems.
Components
Connections:
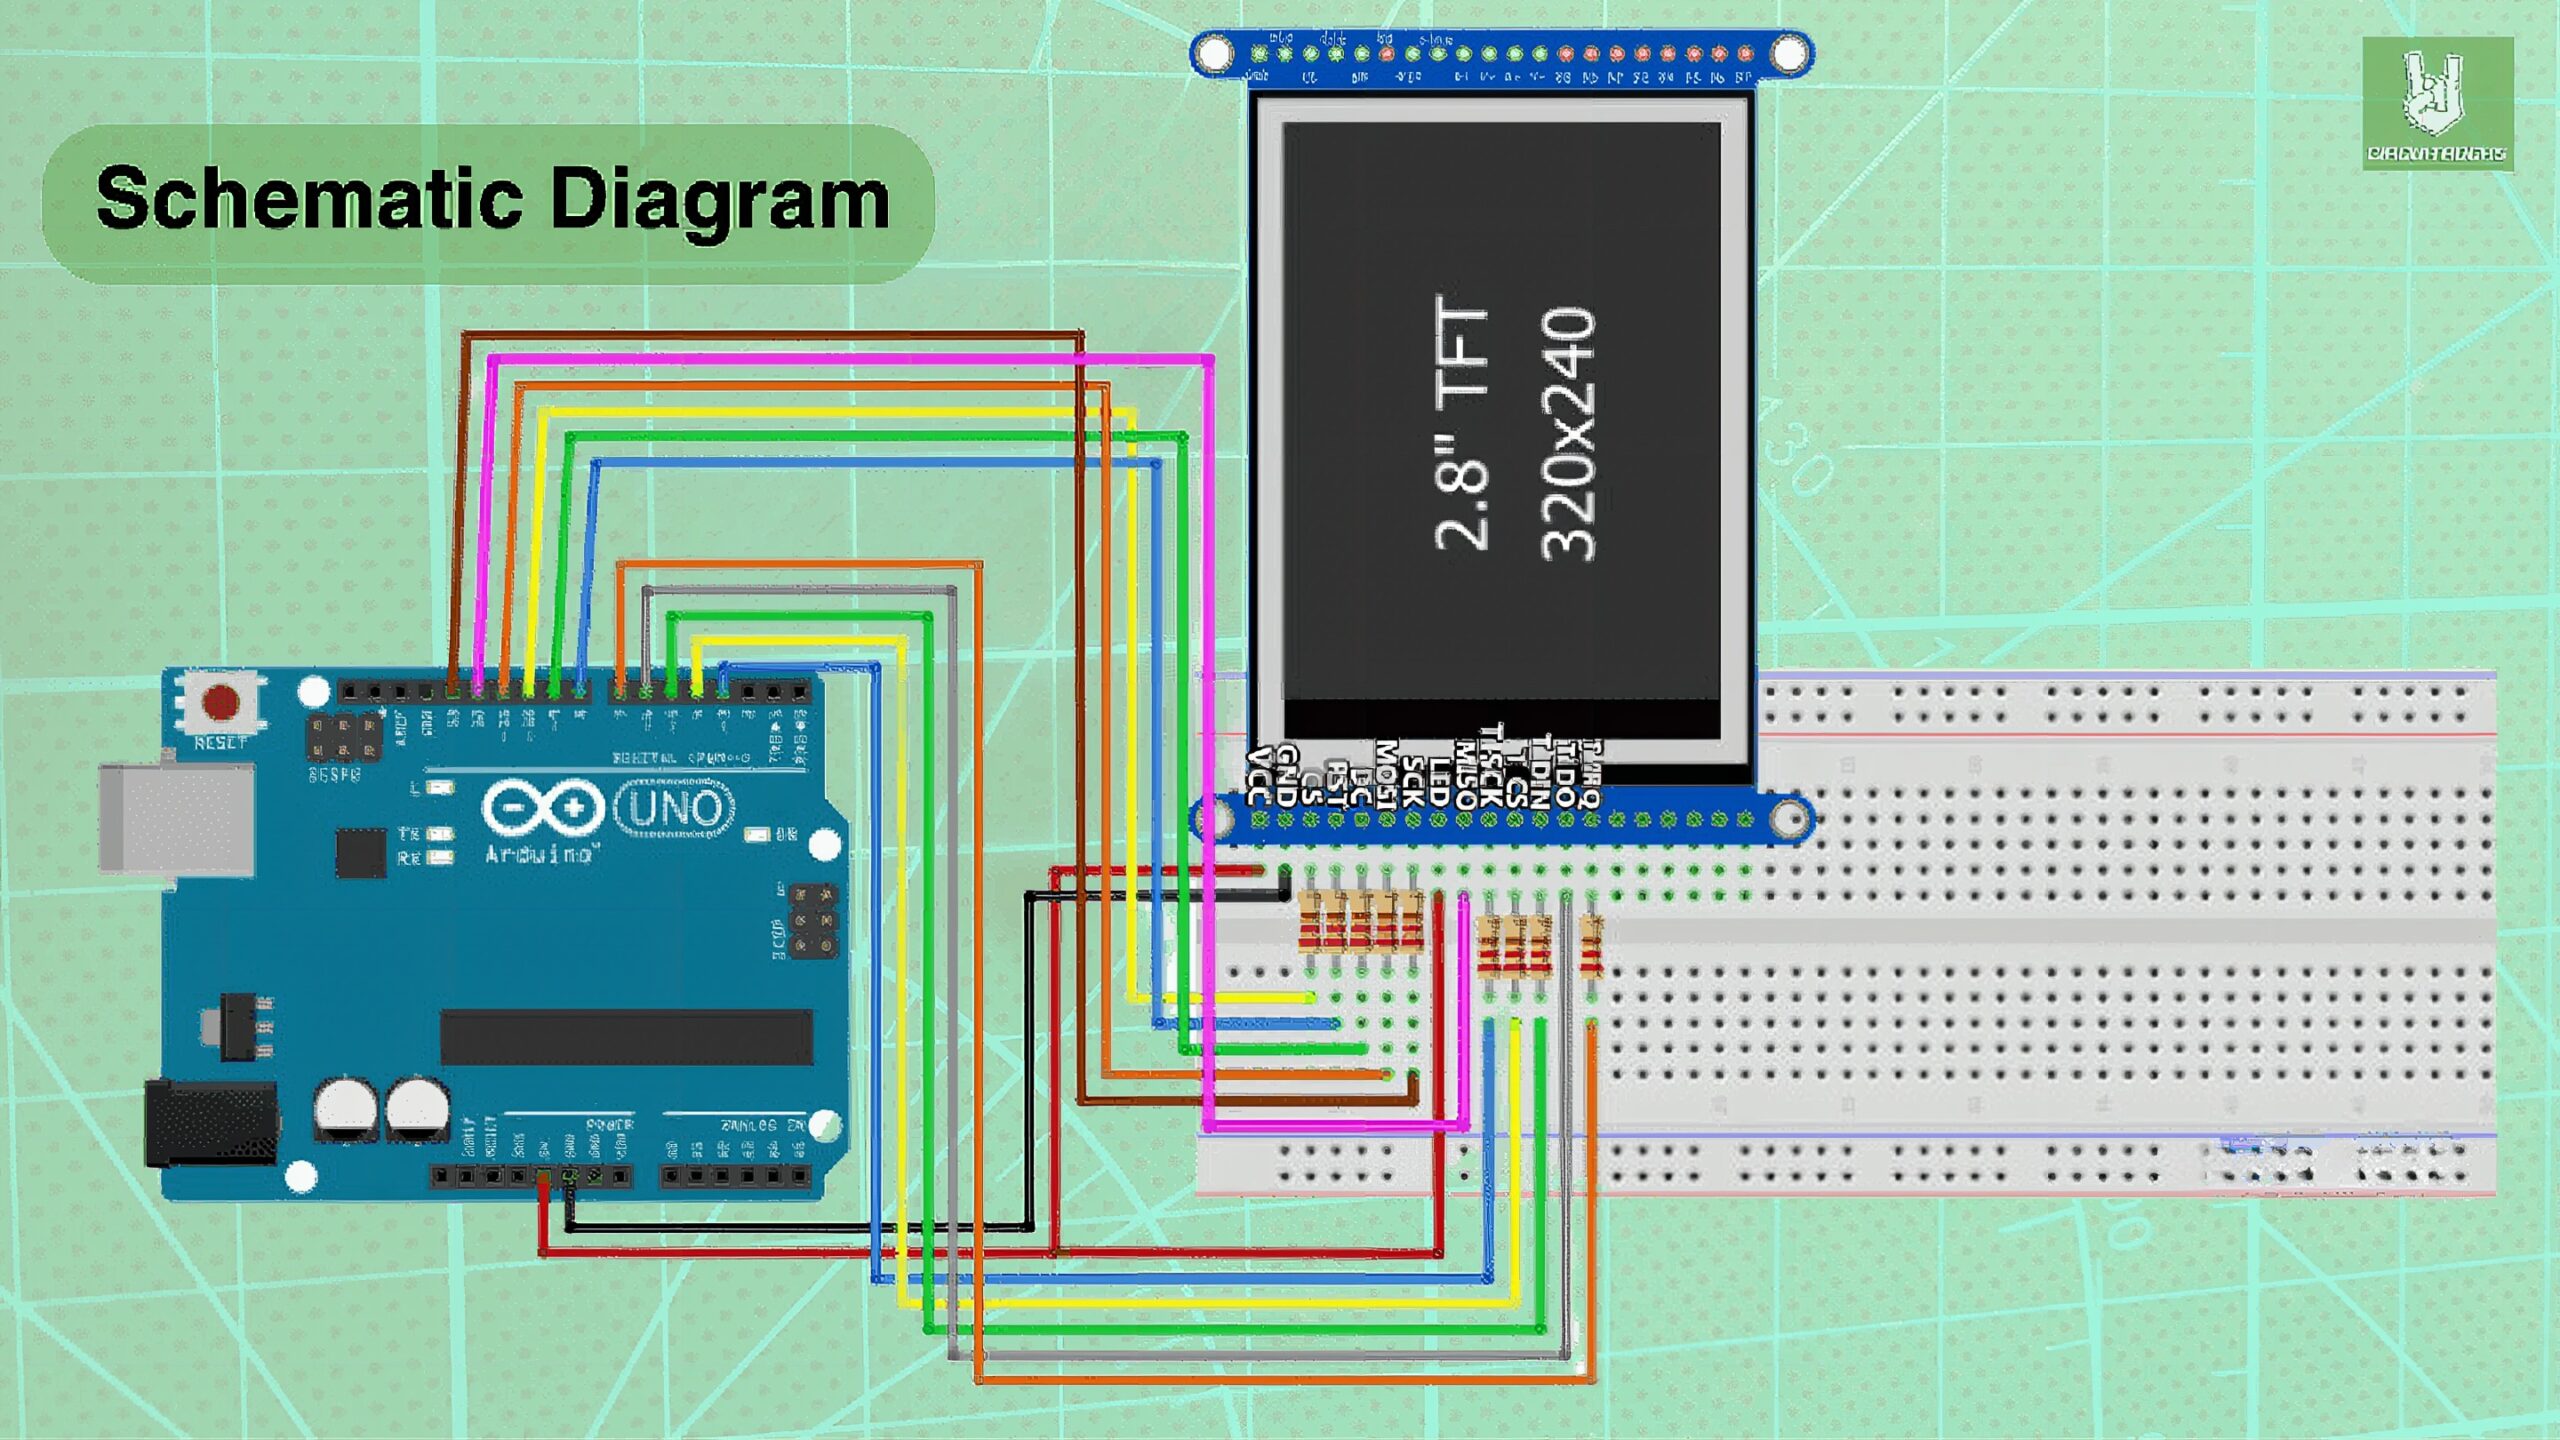
ILI9341 TFT LCD Display:
- TFT_CS (Chip Select) to digital pin 10
- TFT_DC (Data/Command or A0) to digital pin 9
- TFT_RST (Reset) to digital pin 8
- TFT_MOSI (Master Out Slave In) to digital pin 11
- TFT_CLK (Clock) to digital pin 13
- TFT_MISO (Master In Slave Out) to digital pin 12
Touch Screen (URTouch)
- t_SCK (Touch Screen Clock) to digital pin 3
- t_CS (Touch Screen Chip Select) to digital pin 4
- t_MOSI (Touch Screen Master Out Slave In) to digital pin 5
- t_MISO (Touch Screen Master In Slave Out) to digital pin 6
- t_IRQ (Touch Screen Interrupt Request) to digital pin 7
Additonal Notes:
Download the library
- Adafruit GFX Library: This is the base graphics library for Adafruit display products. It provides the core graphics functions, allowing for drawing pixels, lines, rectangles, circles, etc.
- Adafruit ILI9341 Library: This library is specifically designed for the ILI9341 displays. It relies on the Adafruit_GFX library for basic graphics functions and adds functionality to control ILI9341-based displays.
- For the URTouch library, you might need to download it URTouch Library. It’s not available in the Library Manager. This library is required for interfacing with the touchscreen. It handles the detection of touch events and the calculation of the touch coordinates.
Code:
#include "Adafruit_GFX.h" #include "Adafruit_ILI9341.h" #include "URTouch.h" #define TFT_DC 9 #define TFT_CS 10 #define TFT_RST 8
#define TFT_MISO 12 #define TFT_MOSI 11 #define TFT_CLK 13 Adafruit_ILI9341 tft = Adafruit_ILI9341(TFT_CS, TFT_DC, TFT_MOSI, TFT_CLK, TFT_RST, TFT_MISO); #define t_SCK 3 #define t_CS 4 #define t_MOSI 5 #define t_MISO 6 #define t_IRQ 7 URTouch ts(t_SCK, t_CS, t_MOSI, t_MISO, t_IRQ); void setup(){ tft.begin(); tft.setRotation(3); ts.InitTouch(); ts.setPrecision(PREC_EXTREME); tft.fillScreen(ILI9341_BLACK); tft.setTextColor(ILI9341_RED); tft.setTextSize(2); tft.setCursor(85,5); tft.print("Touch Demo"); tft.setTextColor(ILI9341_GREEN); tft.setCursor(20,220); tft.print("<a href="https://circuit.rocks/">http://www.circuit.rocks</a>");
} void loop()
{ int x, y; while(ts.dataAvailable()) { ts.read(); x = ts.getX(); y = ts.getY(); if((x!=-1) && (y!=-1)) { x += 13; y += 4; int radius = 4; tft.fillCircle(x, y, radius, ILI9341_YELLOW); } }
}
Troubleshooting
- Check for compatibility: Make sure the libraries are compatible with your version of the Arduino IDE and the hardware you’re using.
- Screen is white or not displaying anything: This often indicates a problem with the wiring or initialization code. Double-check your connections against the pin definitions in your code. Also, ensure that the display is correctly powered.
- Touchscreen not responding: Verify that the touchscreen’s wiring matches the pin configuration in your code. Also, make sure the IRQ pin (if used) is correctly set up.
- Verify the initialization sequence: Make sure that the initialization sequences for both the display and the touchscreen are correctly implemented in your
setup()function.
QUICK LINKS
Frequently Asked Questions
What does this Touchscreen Drawing Demo with ILI9341 Display tutorial cover?
Creating an interactive drawing demo with the ILI9341 Display is an exciting mix of hardware and software.
What's the working voltage of the Touchscreen Drawing Demo with ILI9341 Display?
Check the Sample Code section for the exact pinout — most maker-grade sensors run on 3.3V or 5V. Wire VCC to the matching rail, GND common with your MCU, data to a digital or analog pin.
Why does the Touchscreen Drawing Demo with ILI9341 Display read garbage or saturated values?
Three usual causes: wrong voltage rail, missing pull-up resistor on I2C lines (4.7k–10k to VCC), or a floating data pin. Double-check wiring against the diagram, then probe with a multimeter.