

Did you know you can use your Pi to revive beloved gaming consoles from your childhood? In this tutorial, you will learn how to build a Retro Gaming Console with Raspberry Pi. By the end of this tutorial, you will learn what Retropie is, how to install it, set up basic configurations, and add ROMs or games.
Retropie
Retropie is a software package that allows you to emulate classic gaming consoles such as Amiga, Apple II, Atari, Commodore 64, NES, SNES, Gameboy, Nintendo 64, Sega, and even earlier versions of PlayStation with a Linux machine. It builds upon the Raspberry Pi OS, EmulationStation, and RetroArch – an excellent trio for a portable DIY retro gaming station.
Moreover, these game emulators require ROMs. ROMs are the software equivalents of game cartridges and CDs. To use them, you need to download and install them to their respective emulators. For example, if I want to play Harvest Moon on Game Boy, I must download the ROM online and copy it into Retropie’s ROMs folder. More on that later.
Keep in mind that ROMs are copyrighted content and that it may be illegal to download some games without buying them.
Requirements
Turning your Raspberry Pi into a Retro Gaming Console is easy. Here are the essential things to get started.
- Raspberry Pi
- MicroSD Card
- MicroSD Card Reader
- HDMI cable
- Computer Monitor or Television with an HDMI port
- Power Supply
- USB Keyboard and Mouse
- USB Game Controller
To get the best experience out of the project, use the latest Raspberry Pi version. This way, you’ll get better performance, lower response time, and minimal lag.
Also, use an 8GB SD card or higher. Storage memory is crucial especially if you’re planning to download a lot of games for a lot of emulators. With a large memory, you don’t need to worry about filling up the storage with your games or saves.
For the rest of the hardware requirements, it depends on your preference and item availability. The performance won’t change even if you use a computer or a television, the same thing with using a keyboard or a game controller.
Now that you know the basics and the things you need to set up a retro gaming console with Raspberry Pi, let’s proceed with installing the software.
Installing Retropie
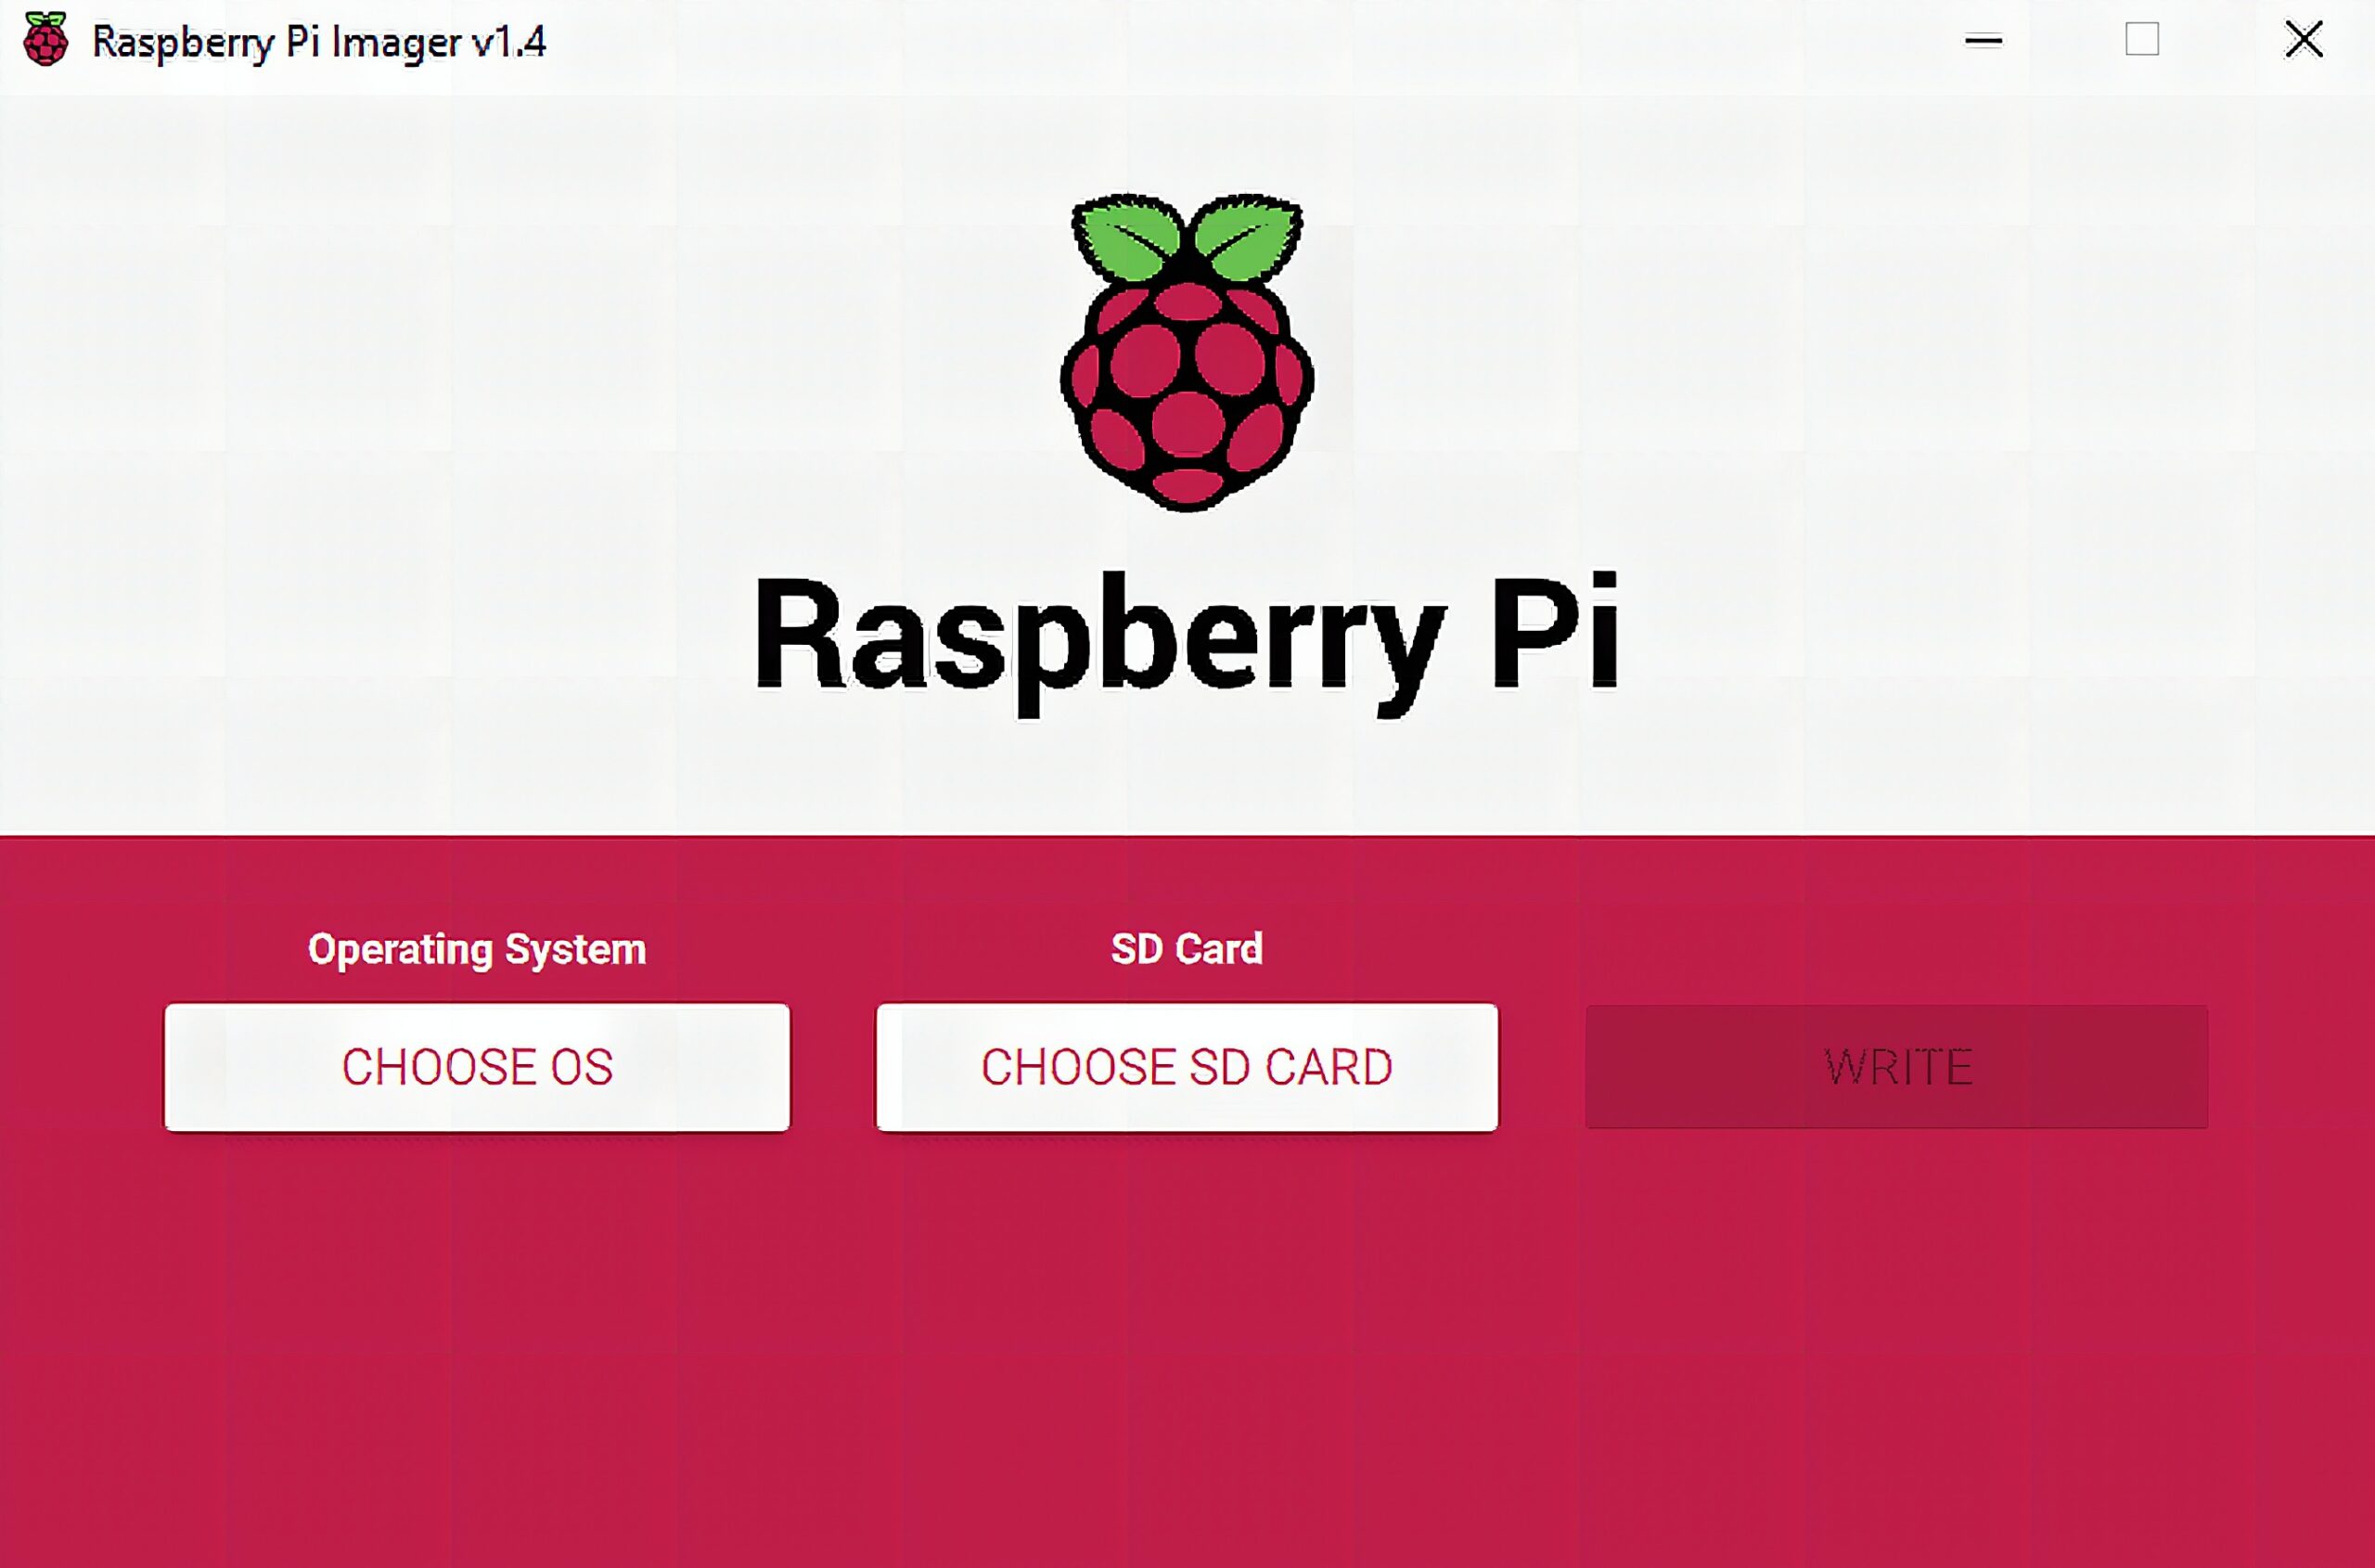
The easiest way to install Retropie is by using the Official Raspberry Pi Imager. First, download it here. After installation, insert the microSD card you’ll use with the Raspberry Pi into your computer and run the software.
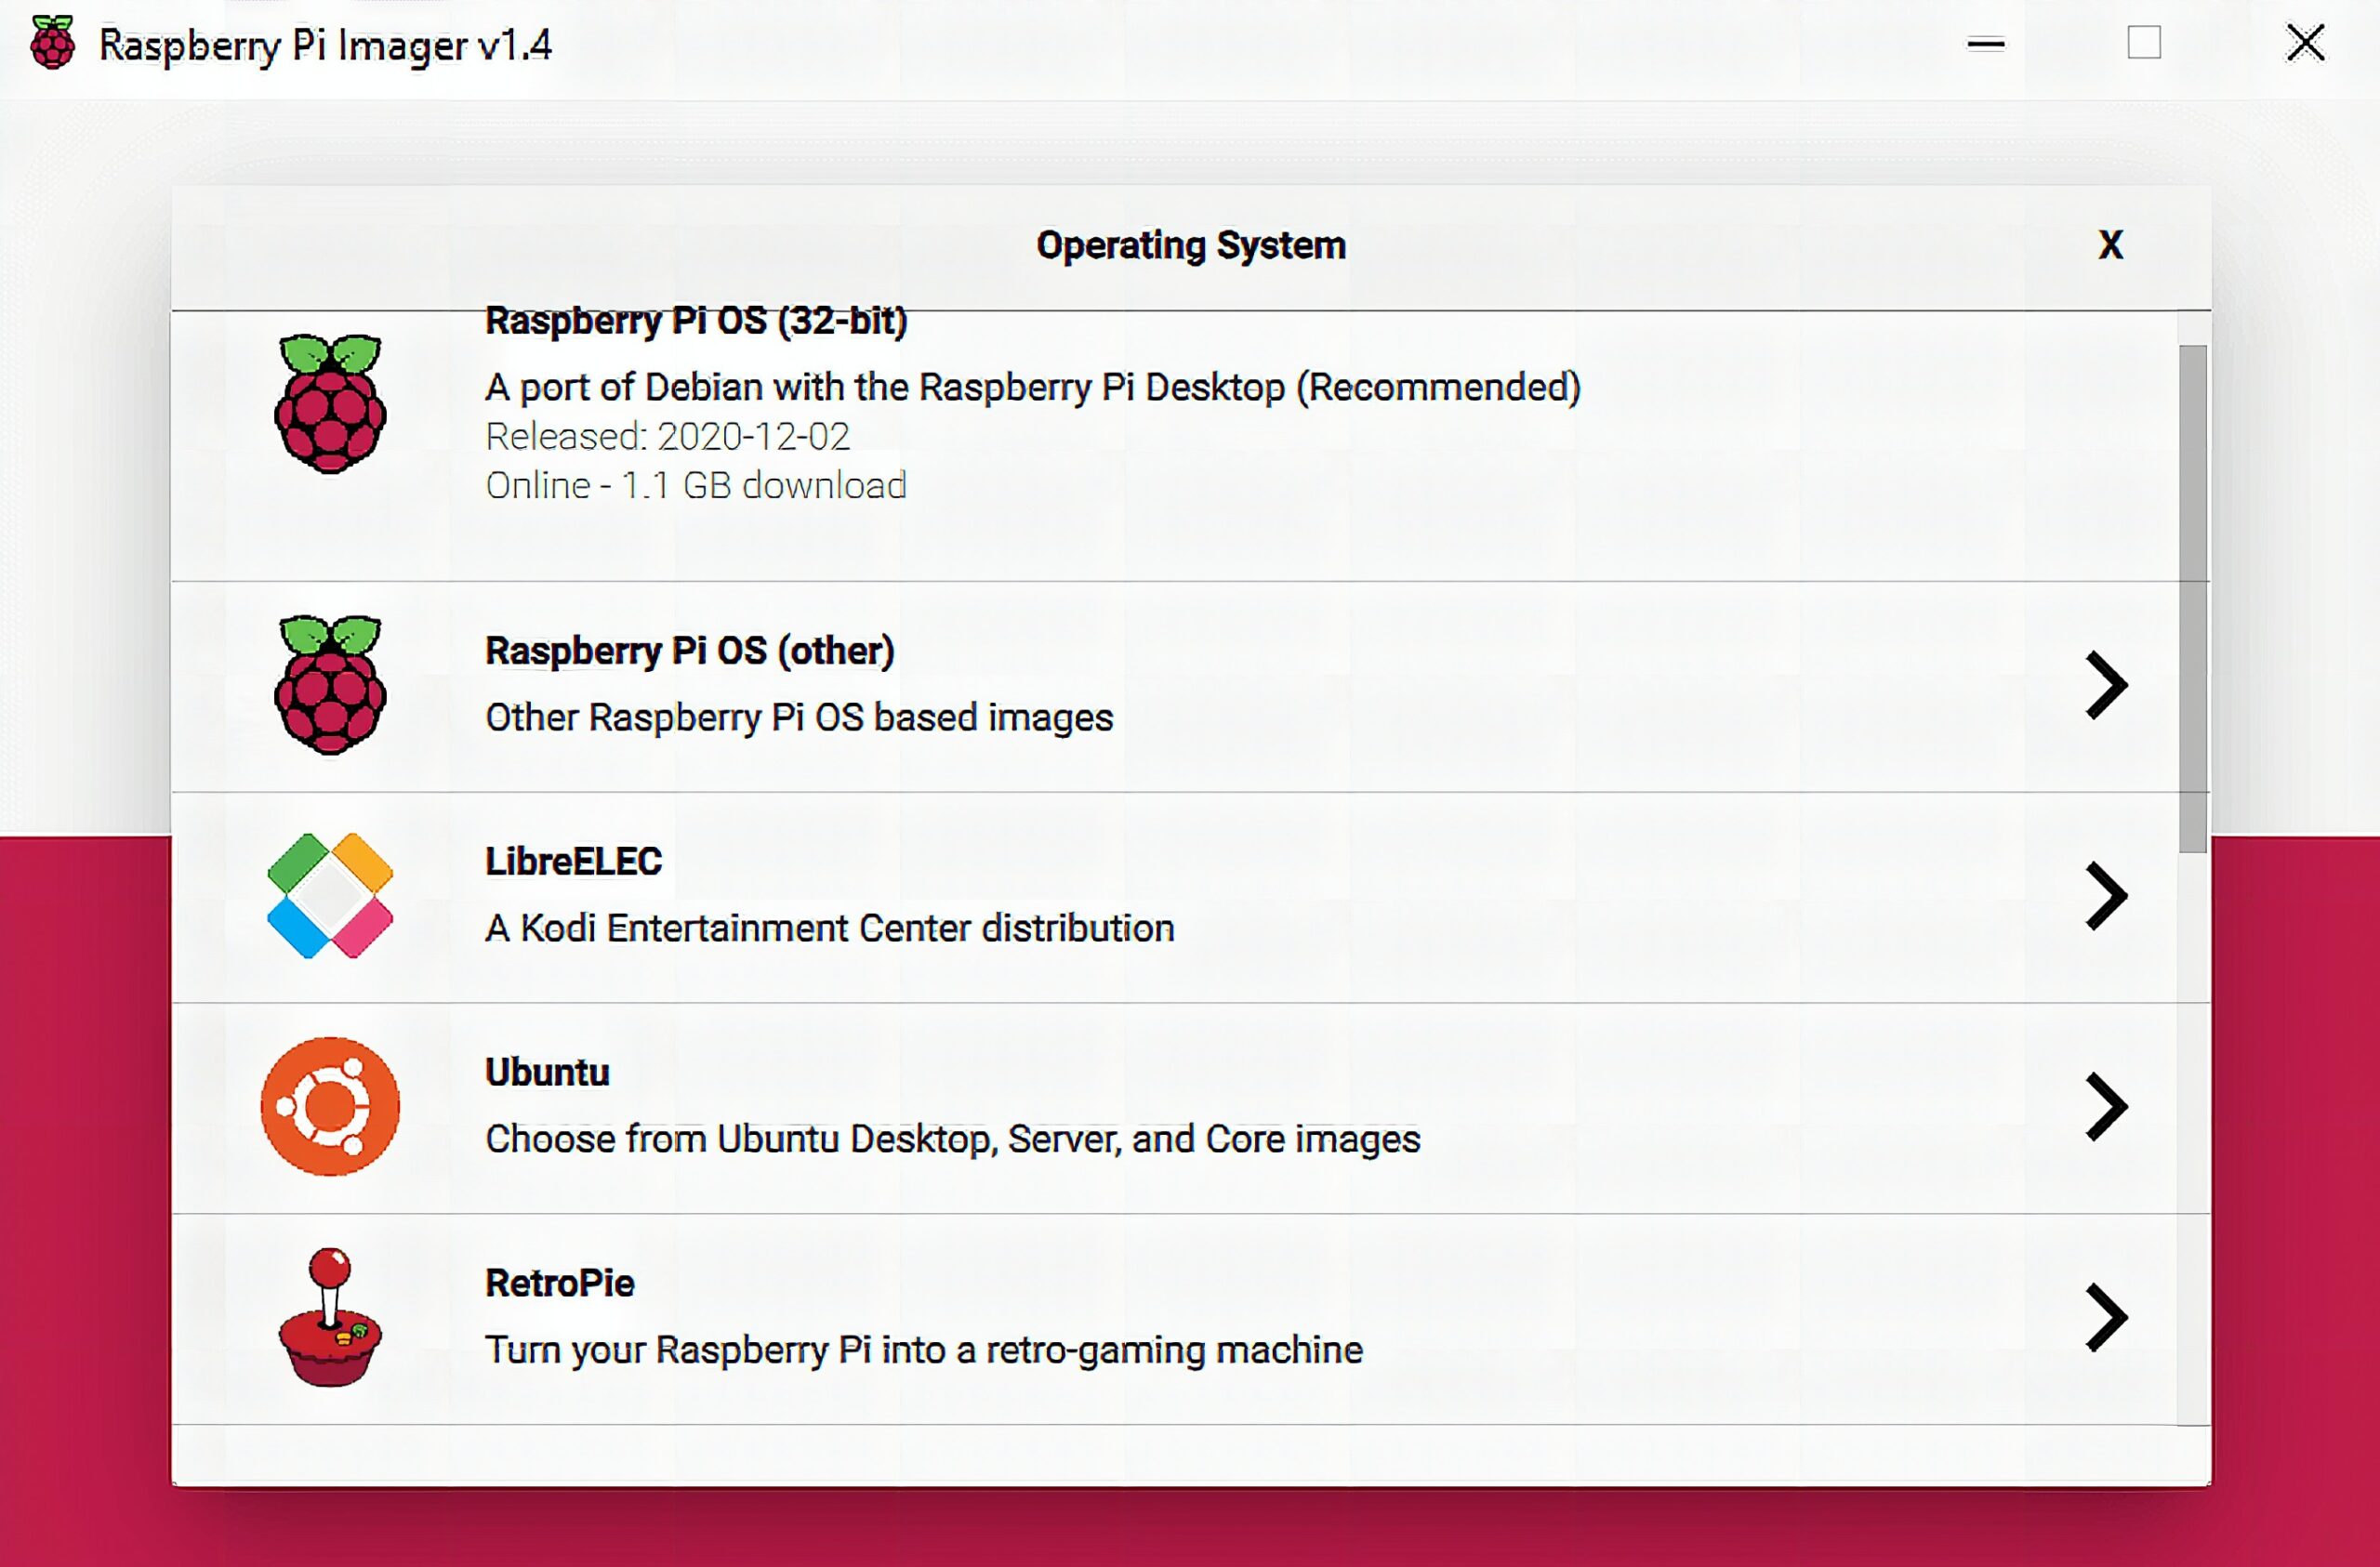
Under operating system, select Retropie.
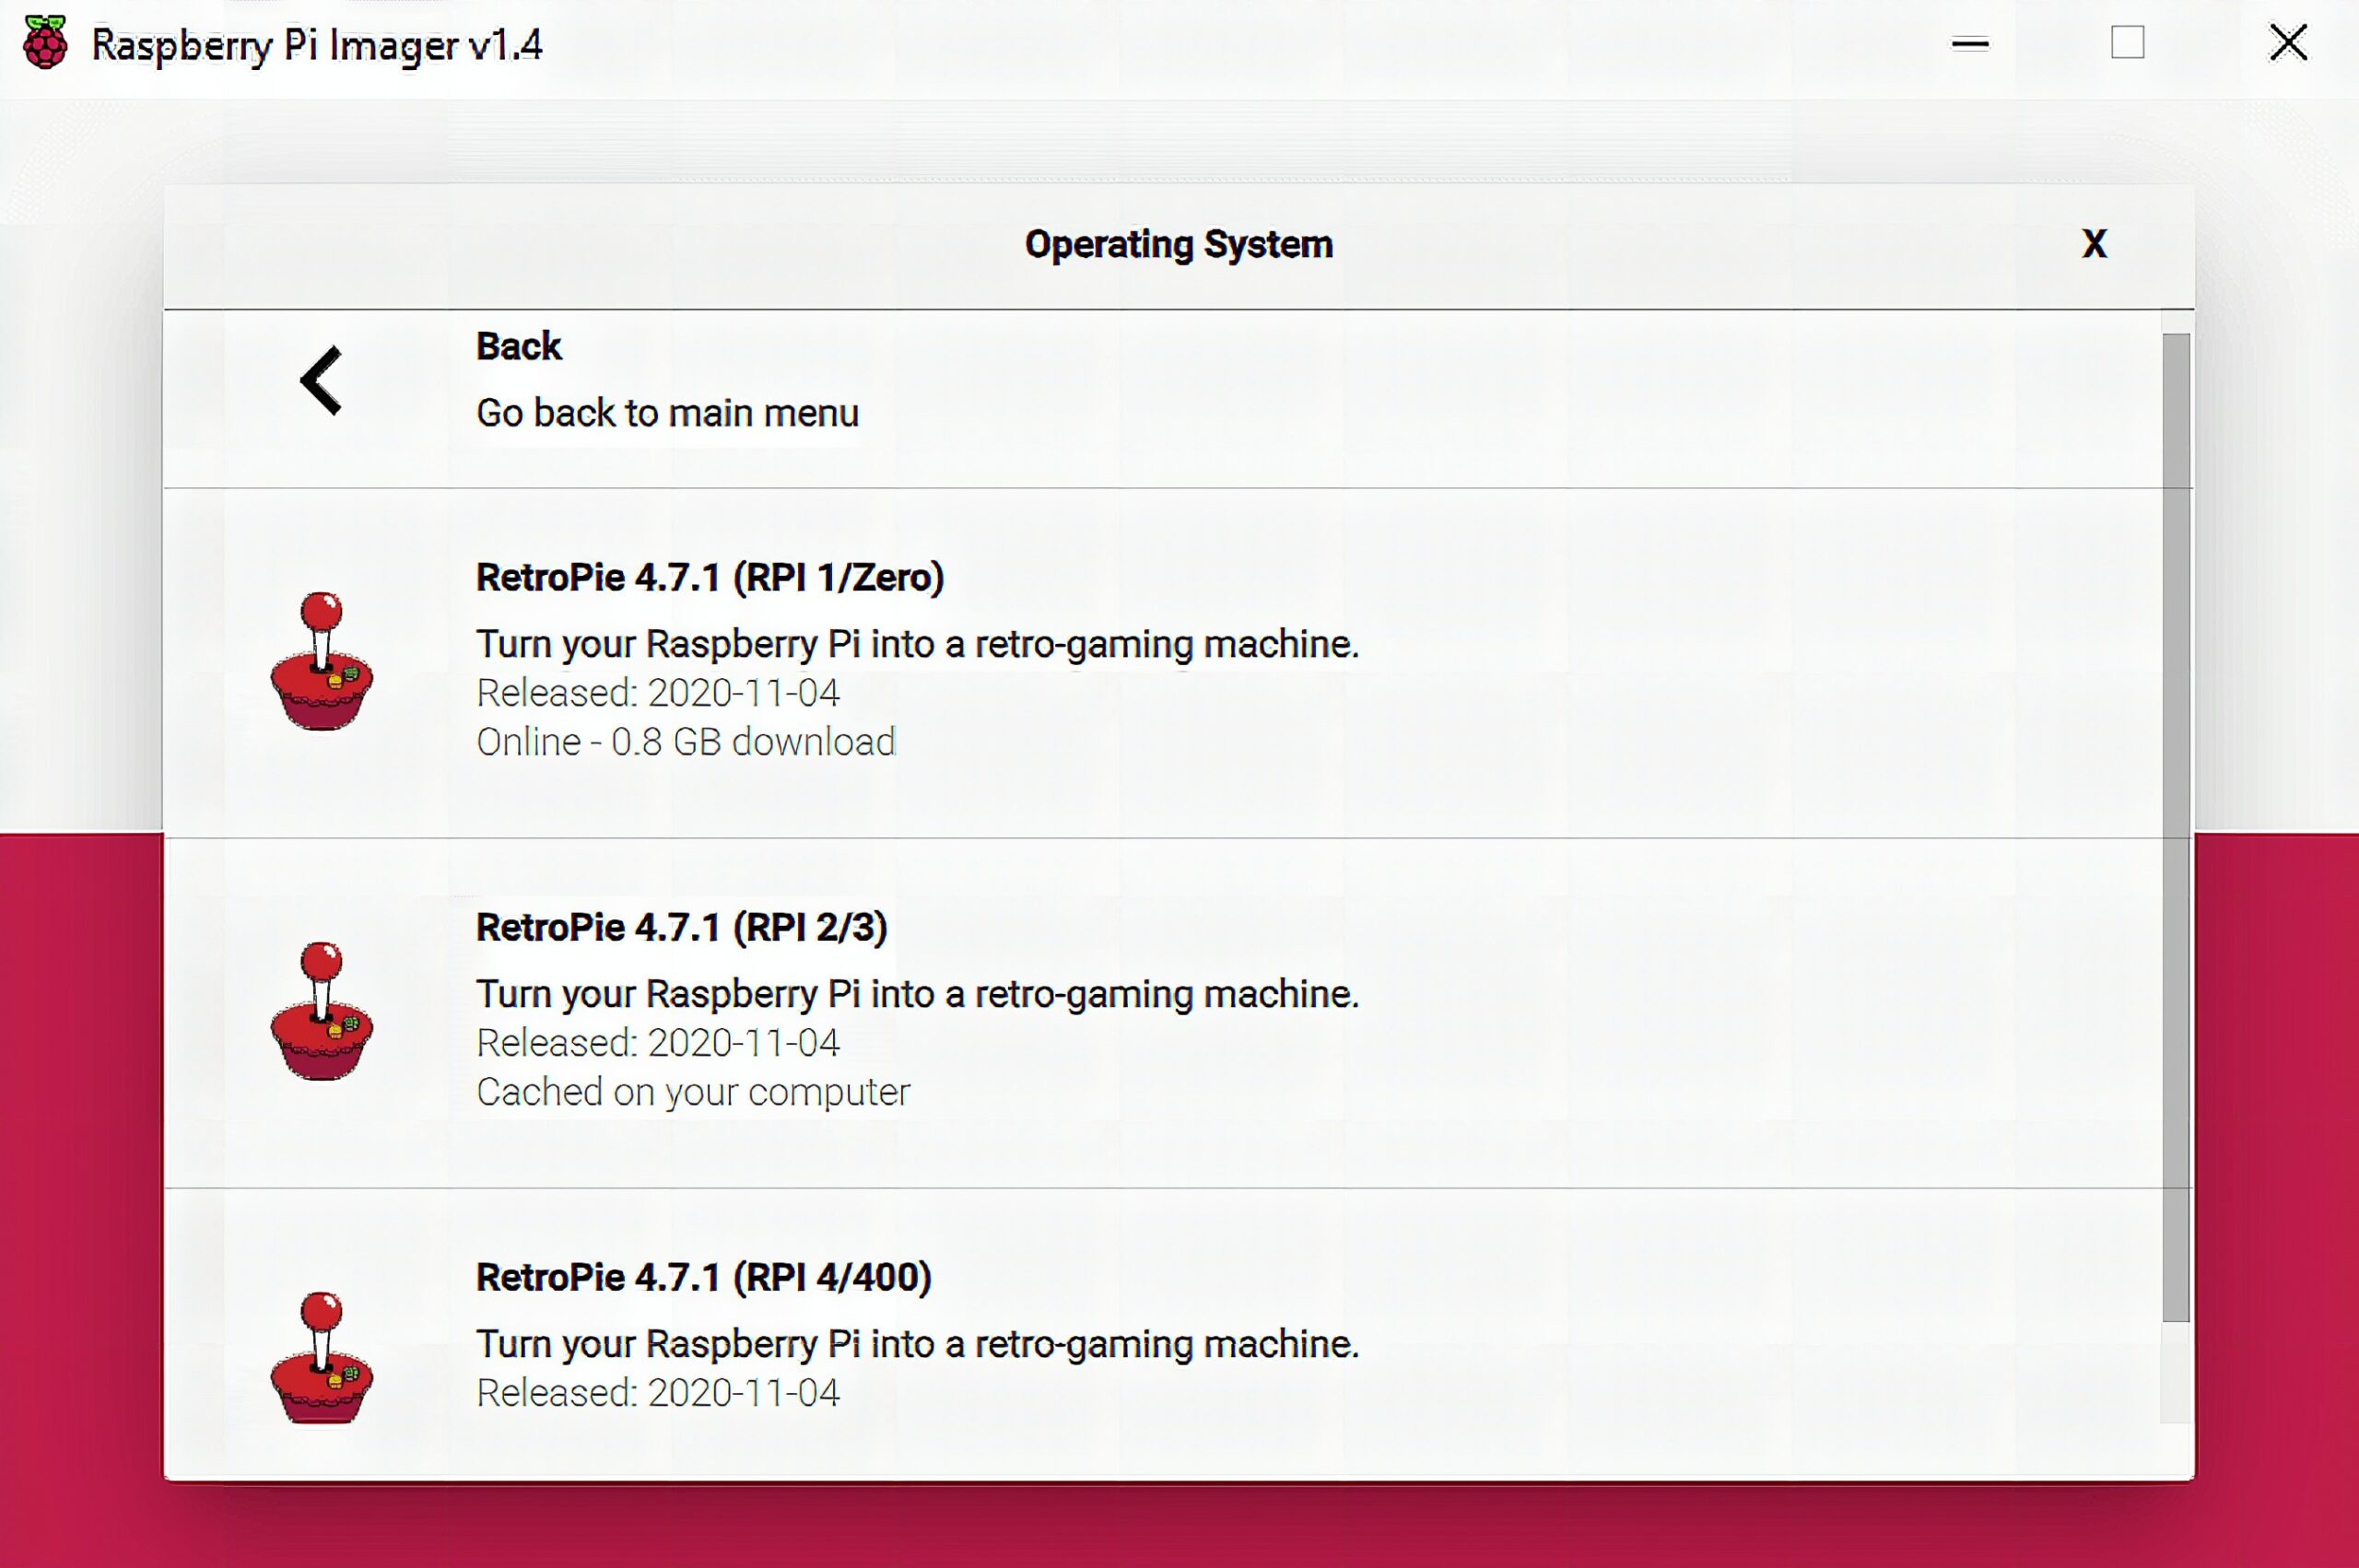
Next, select the version that fits your Raspberry Pi.
Raspberry Pi Imager will ask you if it’s okay to delete all files on the card. Click Yes to proceed. Wait for at least 7 minutes for the image writing and verification to finish. After that, your card will be automatically ejected.
We now have the system on our card. Insert it into the Raspberry Pi and let’s proceed to the first boot configuration.
Configuration
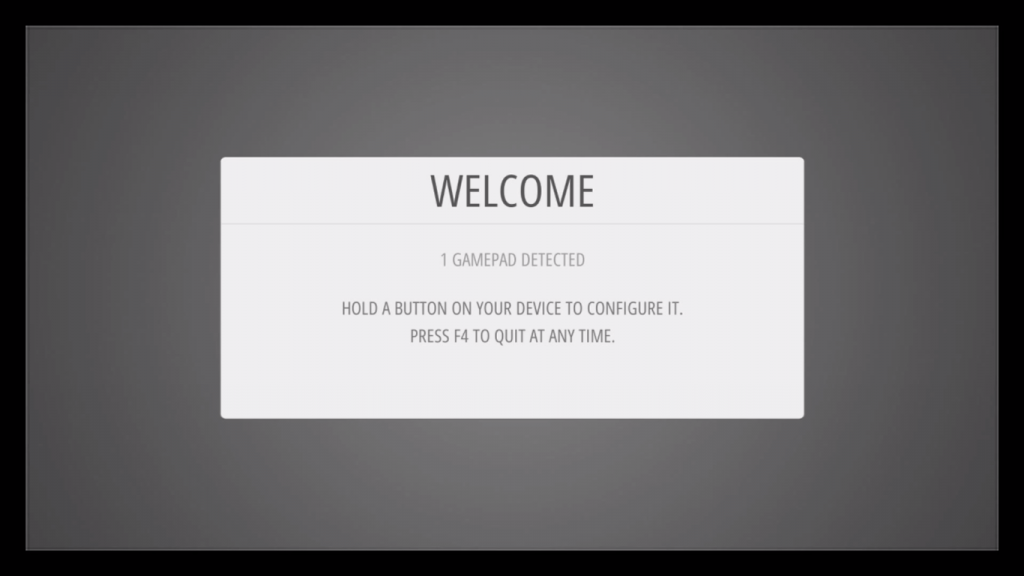
The first thing you need to do is controller configuration. You can use a keyboard or a USB game controller. You need this so that you can navigate your way inside the Retropie environment. Hold a button on your preferred input device to continue. Follow the on-screen instructions to configure it, and if you run out of buttons, hold down any button to skip. When you get to OK, press the button you have configured as “A.” Furthermore, you can press F4 to quit anytime. This will take you to the command line so that you can change system settings using the Linux environment. To return to the main menu, simply enter emulationstation on the terminal.
Basic Setup
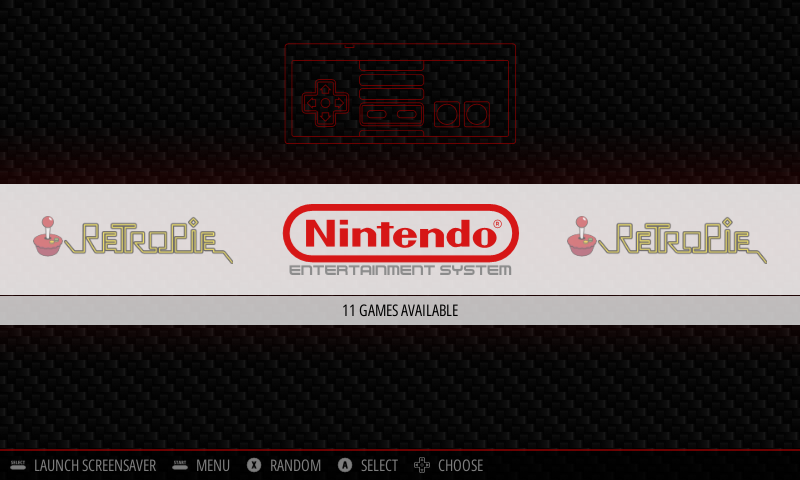
The main menu will show you Retropie settings and all the available emulators loaded with games. These settings allow you to adjust audio output and volume, connect Bluetooth and WiFi devices, access the file manager, and many more.
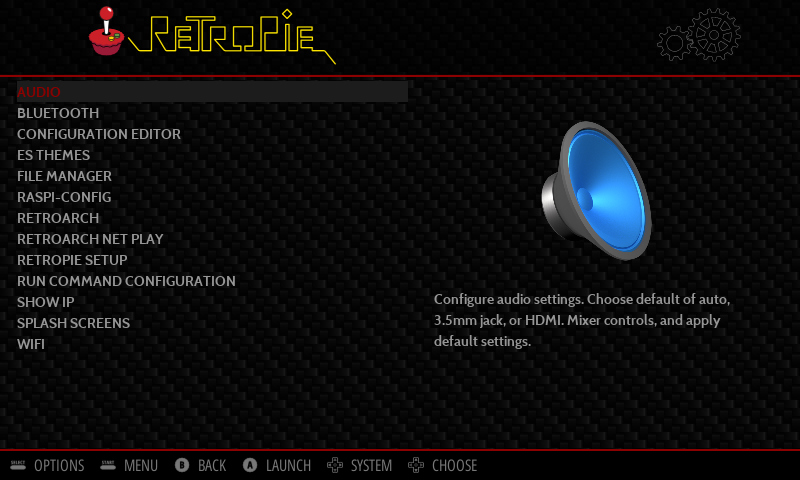
The preloaded SD image of the Retropie has the Wi-Fi disabled. To transfer ROMs over a wireless network instead of USB or Ethernet, you’ll need to connect to WiFI. This can be done by launching Wi-Fi on the menu.
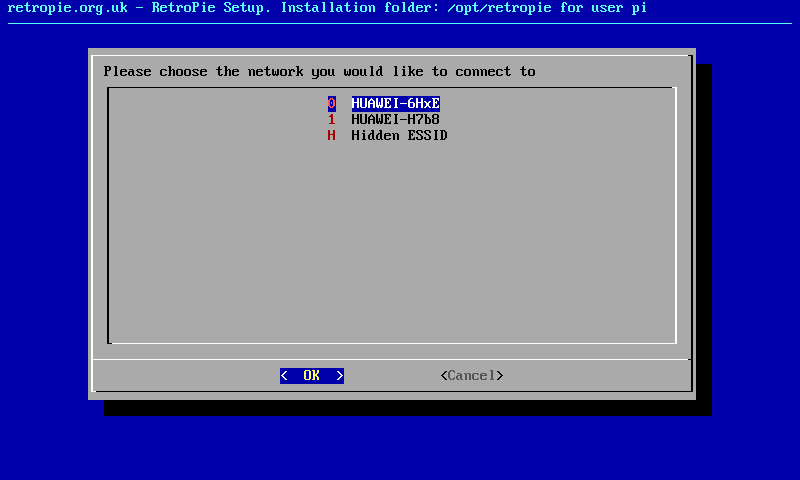
Next, connect to your WiFi by selecting your SSID or your WIFI Network’s name.
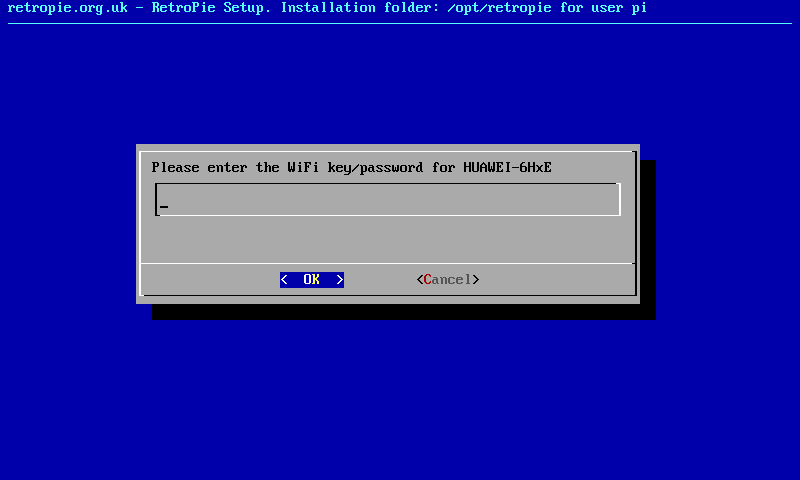
Then, enter the password for that Wi-Fi network. After the successful authentication, you will now be connected to the internet.
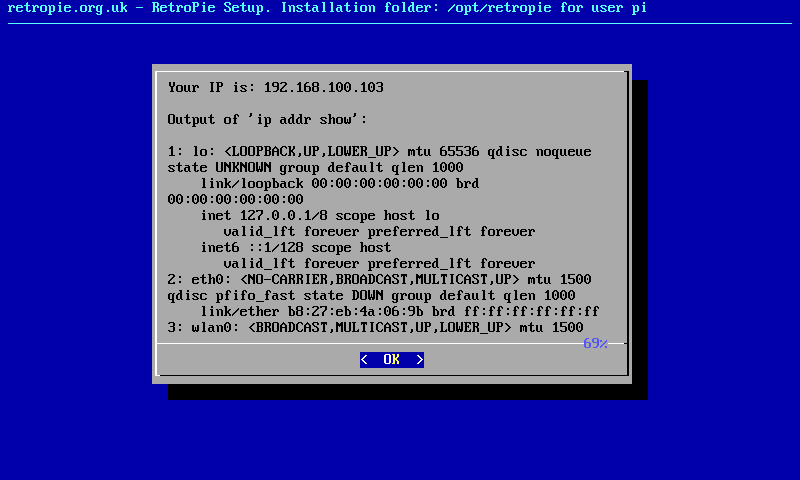
To get the IP address of your devices, select “Show IP” under Retropie settings. Alternatively, you can access the command line by pressing F4 and enter network commands such as ifconfig.
Next, enable SSH by entering raspi-config. You can do that using the command line or Retropie settings also. Go to interfaces, select SSH, and select yes to enable remote connection. With the IP address you got from the previous step, you can now access your Retropie using the command below:
ssh pi@"ip address"This is convenient because now you don’t need to connect the Pi to a monitor if you just want to add some games or update the system.
With that finished, let’s go to transferring downloaded games from our PC to the Pi.
Transferring Roms
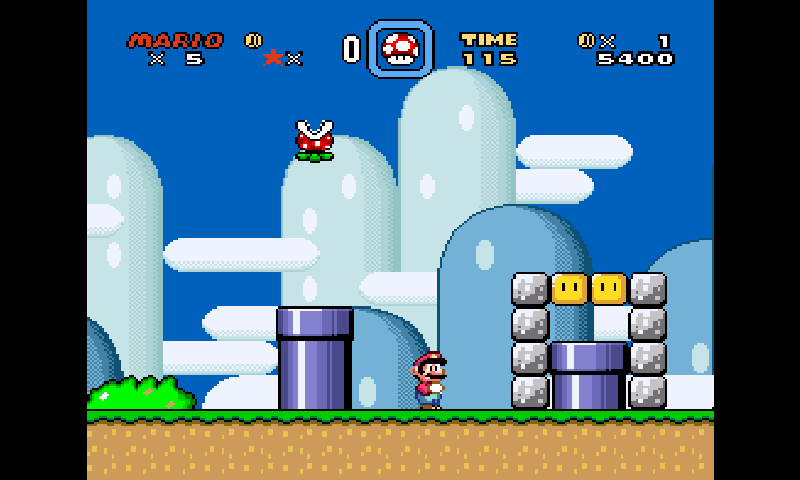
We will use Samba Share to add games to our DIY Retro Gaming Console. Basically, Samba is a software package that allows cross-system file sharing over a WiFi network. The best thing about it is that it comes pre-installed with Retropie. Just type retropie or "your IP address" in windows explorer and add your ROM to the ROMs folder according to what emulator you want to use. For instance, I have a Mario World ROM for a SNES emulator. I copy the file, go to retropie then paste it inside ROMs folder.

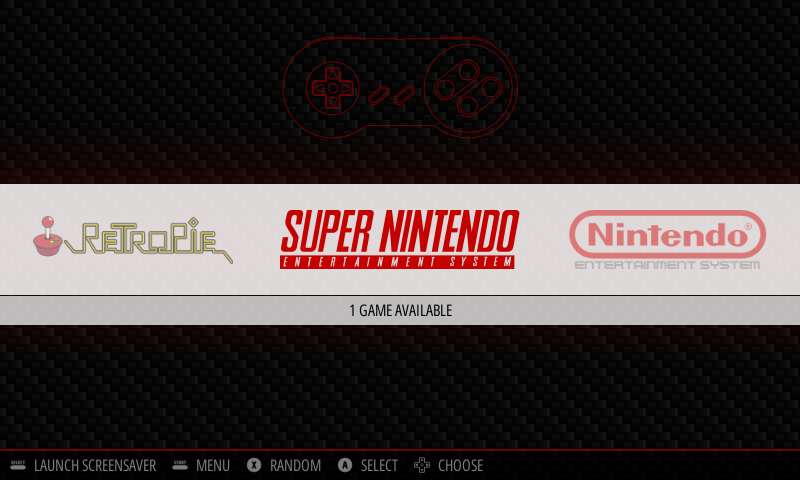
After a reboot, the SNES emulator shows up in the main menu with the Mario World I just copied.
And that’s it! You now have the knowledge to build your own Retro Gaming Console with a Raspberry Pi. Be sure to use it with caution as it is pretty darn addictive. Also, if you want to read more about troubleshooting and customization, visit their official website here. See you next week!
The RetroPie Project is primarily maintained by a few developers who develop the project in their free time. If you have found the RetroPie project useful please consider donating to the project here. As you become more familiar with RetroPie, pay it forward by helping others on the forum. The RetroPie Project is what it is today because of the many contributions of the community.
Frequently Asked Questions
What does this How to Build a Retro Gaming Console with Raspberry Pi tutorial cover?
Did you know you can use your Pi to revive beloved gaming consoles from your childhood? In this tutorial, you will learn how to build a Retro Gaming Console with Raspberry Pi.
Which Raspberry Pi model fits the How to Build a Retro Gaming Console with Raspberry Pi project?
Pi 4 (4GB) or Pi 5 for desktop apps and AI workloads. Pi Zero 2 W is enough for headless / sensor builds. Pi 3 B+ works but is slower for camera or ML.
How do I auto-start the How to Build a Retro Gaming Console with Raspberry Pi script on boot?
Use systemd. Create /etc/systemd/system/myproject.service with ExecStart=/usr/bin/python3 /home/pi/script.py and Restart=always. sudo systemctl enable myproject.