
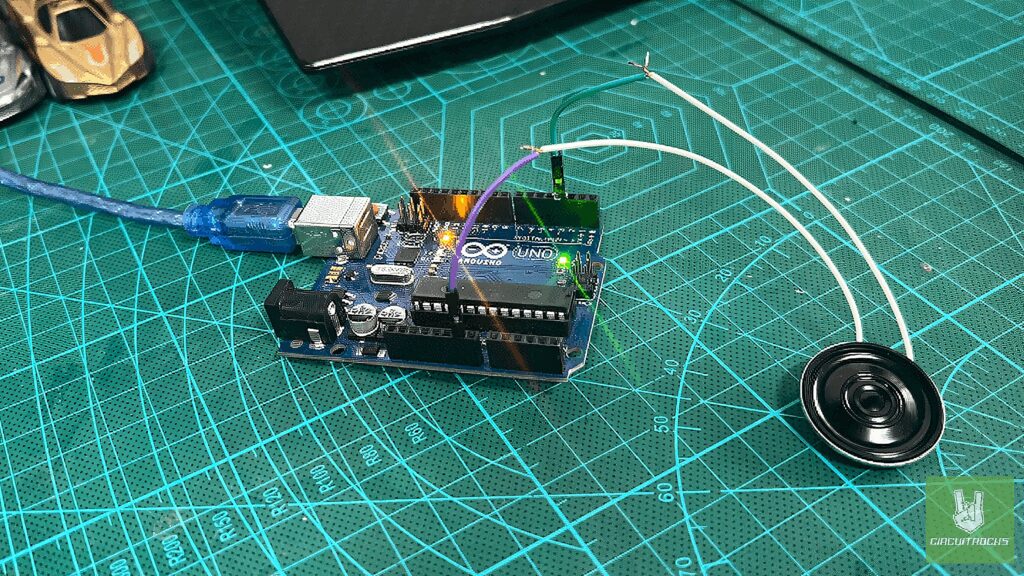
This melody player sounds way better once you swap in a proper speaker. I used the Mini Metal speaker from Adafruit and the difference is real. It’s a small speaker but the audio comes out clean and consistent, no crackle. Wiring it up is nothing fancy either. Two wires from the speaker straight to the Arduino and you’ve got a little playback rig going. Fun to see how much sound you can pull out of such a bare-bones setup.
Here’s the idea. The Arduino spits out specific frequencies that line up with musical notes. One array holds the notes, another array holds how long each note plays. There’s a small delay dropped in between notes so they don’t smear into each other, and that’s what keeps the melody sounding clean. It’s all just arrays and a loop, which is why this is a solid first project if you’re new to making sound with a microcontroller.
Once you’ve got the speaker talking to the Arduino, a lot of other audio stuff starts to make sense. Same building blocks show up in bigger projects. Get this one working and you’ve got a real handle on how tone generation works, which is half the battle with any sound project down the line.
Components:
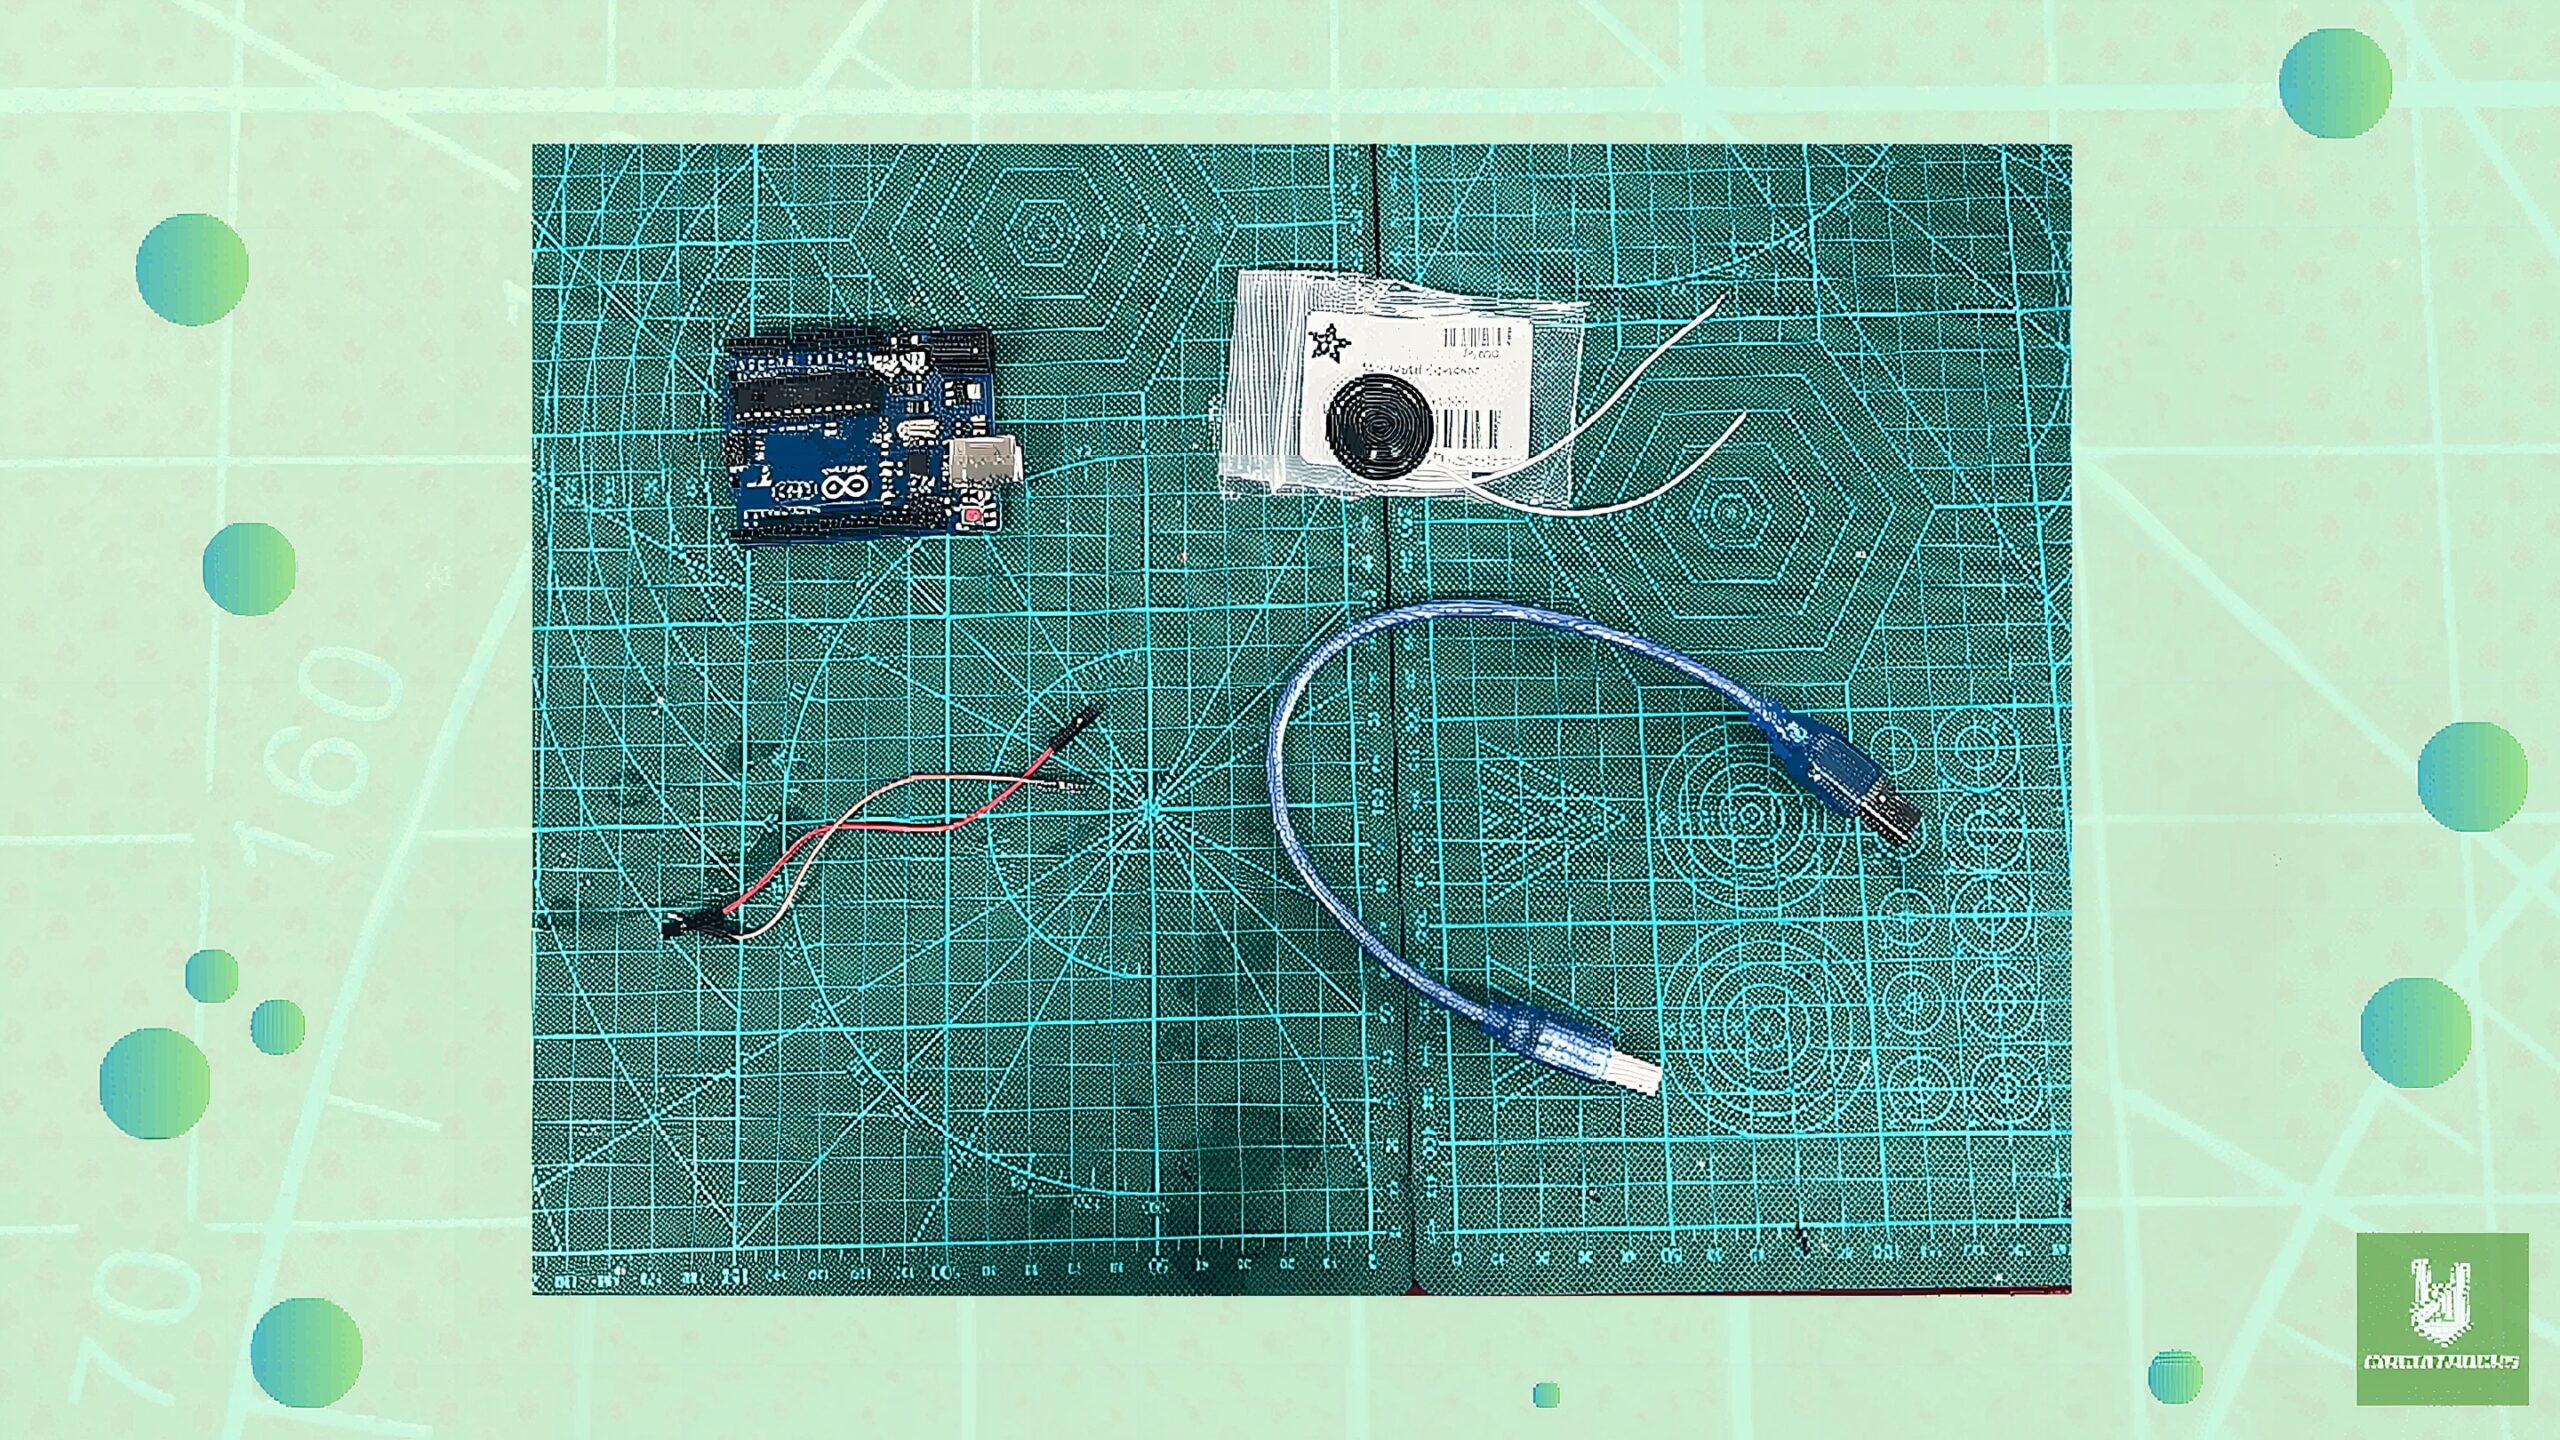
Components
Connections:
- Speaker Positive (+) Wire to Arduino Pin 8: Run the positive (usually red) wire of the M2850-8B-0L03R speaker to digital pin 8 on the Arduino. That’s the pin sending out the tone signals.
- Speaker Negative (-) Wire to Arduino Ground (GND): Run the negative (usually black) wire of the speaker to any GND pin on the Arduino. That closes the loop so the speaker can actually make noise.
Additional Notes:
If the sound comes out too quiet or distorted, drop a small resistor between the speaker’s positive wire and pin 8. It limits the current and keeps the Arduino pin safe.
Want it louder? Put a small amplifier circuit between the Arduino and the speaker. For plain melody playback though, wiring it straight is plenty.
Code:
#include "pitches.h" // notes in the melody:
int melody[] = { NOTE_C4, NOTE_G3, NOTE_G3, NOTE_A3, NOTE_G3, 0, NOTE_B3, NOTE_C4
}; // note durations: 4 = quarter note, 8 = eighth note, etc.:
int noteDurations[] = { 4, 8, 8, 4, 4, 4, 4, 4
}; void setup() { // iterate over the notes of the melody: for (int thisNote = 0; thisNote < 8; thisNote++) { // to calculate the note duration, take one second divided by the note type. //e.g. quarter note = 1000 / 4, eighth note = 1000/8, etc. int noteDuration = 1000 / noteDurations[thisNote]; tone(8, melody[thisNote], noteDuration); // to distinguish the notes, set a minimum time between them. // the note's duration + 30% seems to work well: int pauseBetweenNotes = noteDuration * 1.30; delay(pauseBetweenNotes); // stop the tone playing: noTone(8); }
} void loop() { // no need to repeat the melody.
}
QUICK LINK
Frequently Asked Questions
What does this Arduino Melody Player with Speaker tutorial cover?
The Arduino Melody Player with Speaker project becomes even more engaging thanks to the speaker from Adafruit.
What Arduino library does the Arduino Melody Player with Speaker tutorial use?
The sketch uses standard Wire.h (I2C) or SPI.h plus a part-specific library installable via Arduino IDE → Sketch → Include Library → Manage Libraries. See the Sample Code section.
Why does the Arduino Melody Player with Speaker act differently on USB power vs battery?
Battery voltage sags under load. Add a 100uF cap across the rails, use a 5V/2A regulator-backed pack, and never power motors from the Arduino's onboard regulator.