

In networking, learning how to control a computer from a distance is akin to a baby’s first steps. It’s the father of the skills a developer or a sysadmin should have. Fortunately, you can practice it using the Raspberry Pi. In this tutorial, we are going to control the Raspberry Pi remotely using SSH, FTP, and VNC technologies.
Introduction
Remote access means controlling a computer from a distance with either another computer or a completely different device. It is mainly used in network management and product development.
There are a lot of methods for remote access. In this tutorial, we focus on three: SSH (Secure Shell), FTP (File Transfer Protocol), and VNC (Virtual Network Computing).
SSH (Secure Socket Shell)
SSH, also known as Secure Socket Shell, is a network protocol that allows a user to access the command line of another computer or device on the same network.
Remote access using SSH requires knowledge in CLI (Command Line Interface). I already wrote a tutorial for this. If you want to understand everything in this tutorial entirely, you should learn Linux first. Check this link here.
SSH access is commonly used in shell scripts, backup systems, configuration, and by developers and sysadmins. Moreover, it only asks for a single sign-in. After that, you’re already able to perform system administration tasks and even file transfers securely.
1. Connect to your local network
The first thing you need to do is to make sure you are connected to your home network. Connect via WiFi or directly to the router then note down your device IP address using the ifconfig command.
2. Enable SSH
SSH is disabled by default on the Raspberry Pi. In order to activate it, follow the steps below:
- Press the Raspberry Pi Menu, on the top-left corner of your screen. Under Preferences, Launch Raspberry Pi Configuration.
- Select Interfaces.
- Click SSH then choose Enabled.
- Click OK.
Alternatively, you can use the command line:
- Enter
sudo raspi-config - Select Interfacing Options
- Select SSH
- Choose Yes
- Click OK
- Click Finish
Another way is to use systemctl:
sudo systemctl enable ssh
sudo systemctl start ssh
4. Set up client
In SSH terms, a client means the computer or the interface you’re going to use to access the Pi. Again, there are various options for this. Let’s start with the simplest one – using your operating system’s native terminal.
Windows 10
- To connect to your Raspberry Pi from a Windows 10 computer via SSH, you need to install a third-party application. Go to Settings > Apps > Apps & features > Optional features > Add a feature, and scroll down to find OpenSSH Client.
- Then, open Command Prompt. Enter the following command into the terminal window but replace the IP address with your Raspberry Pi’s.
ssh pi@192.168.1.7- You can replace
piif you are using another user on your Raspberry Pi. For instance, if the username isruzellramirez:
ssh ruzellramirez@192.168.1.7- You will see a security warning when your computer successfully connects. Type yes to continue. Don’t worry you will only see this the first time you connect.
- Enter your password when prompted. After that, you’re already in!

Linux and Mac OS X
- Linux and Mac OS X do not need additional software to connect to your Raspberry Pi SSH server. Simply open the terminal and enter the same command from before.
ssh user@ipaddress- You will also see a security warning when your computer successfully connects. Type yes to continue.
- Lastly, enter your password. After that, you already have access to the Pi!
VS Code
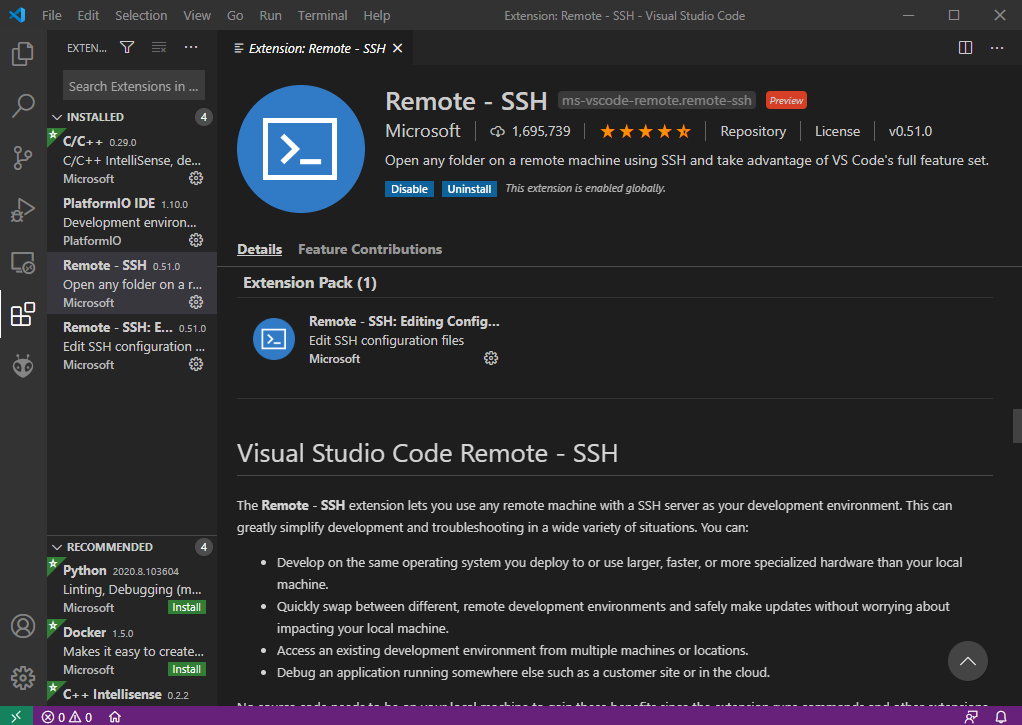
The native terminal solution is simple but also limited. If you’re planning to develop software via SSH using the Raspberry Pi, you may need additional tools to make your life easier. One software that I can recommend is Visual Studio Code. VS Code is my go-to code editor. It’s open-source so it’s supported by developers worldwide. You can download the app here.
- After installation, go to Extensions on the left side toolbar. You can also use the shortcut key “X.” Next, Install Remote – SSH.
- Open the Command Palette (CTRL+SHift+P) or (F1). Search for Remote-SSH: Connect to Host.
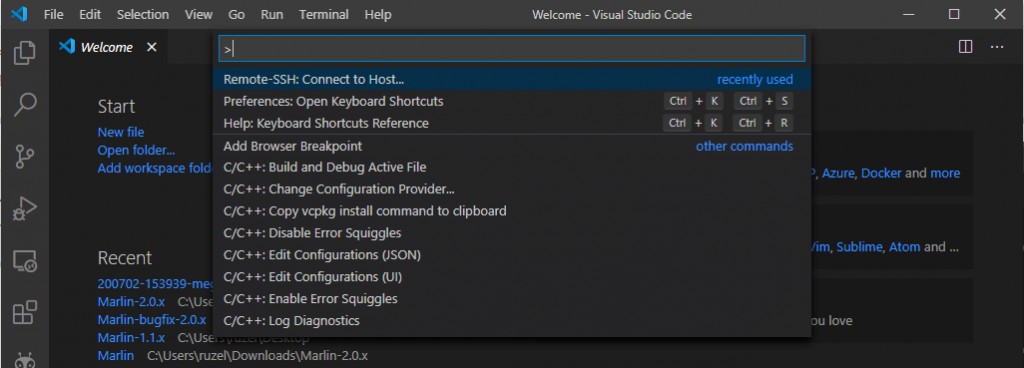
- Select Add New SSH Host. Connect using
ssh username@host. For instance, my username is pi and my computer’s name is ruzellramirez. So the whole command I need to enter isssh pi@ruzellramirez. No need to enter your IP address using VS Code. A password prompt will appear if you’re successfully connected.
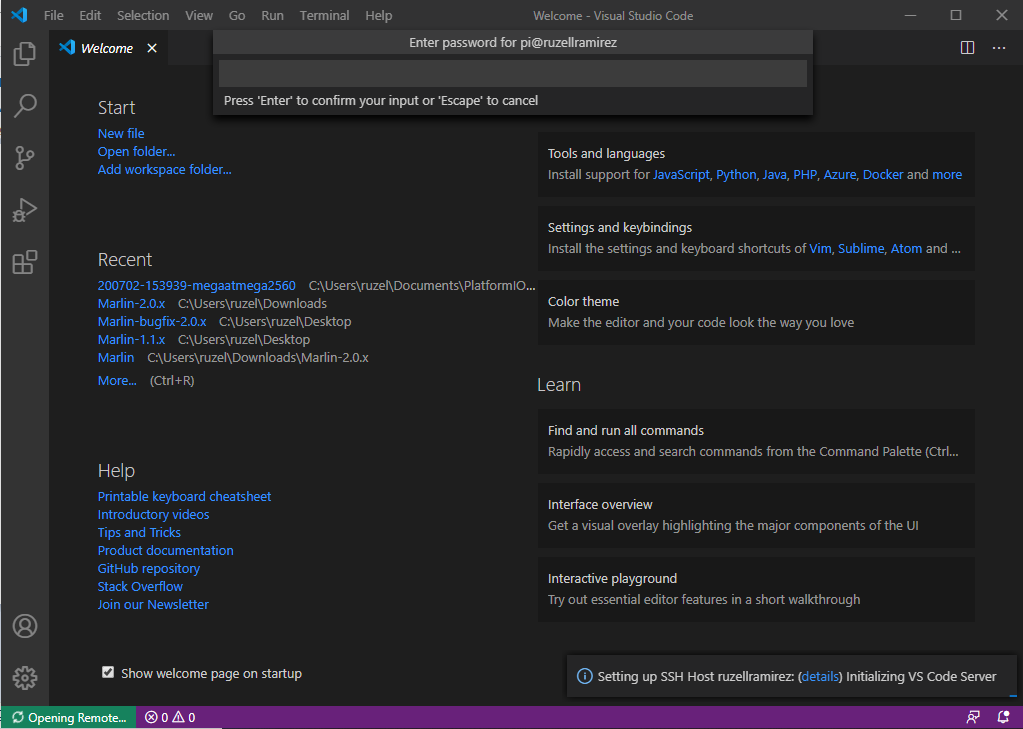
- Once you’re in, you can open a new terminal by the Terminal on the Menu bar or the shortcut (Ctrl+Shift+`).
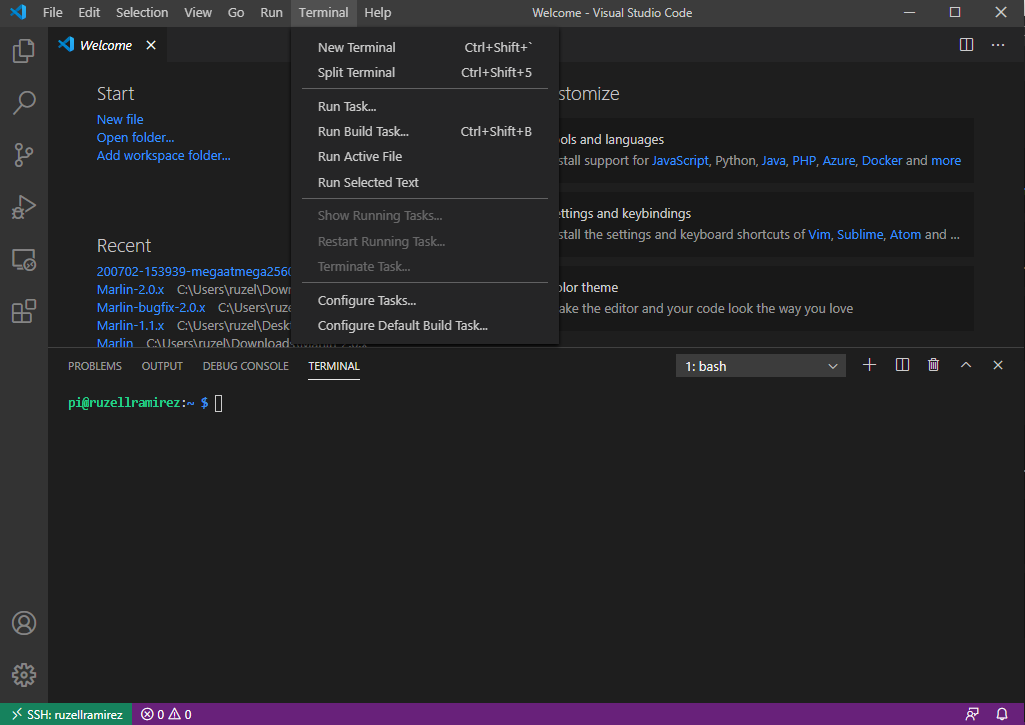
- Additionally, you can open your Pi’s directory by using the open file and open folder option on the File Menu.
FTP (File Transfer Protocol)
FTP, also known as File Transfer Protocol, is the standard network protocol for file transfer between a client and a server. There’s also SFTP or SSH FTP, which does the same thing but over an SSH server. We will discuss how to do both in this section.
First, to setup an FTP server, follow the steps below:
FTP
- Pure-FTPd is a standard FTP server in Unix systems, including the Raspberry Pi OS. To install Pure-FTPd, open the terminal, and enter the command below.
sudo apt install pure-ftpd- We need to create a new user group named
ftpgroupand a new user namedftpuserfor FTP users, and make sure this “user” has no login privilege and no home directory.
sudo groupadd ftpgroup
sudo useradd ftpuser -g ftpgroup -s /sbin/nologin -d /dev/null- Create a new directory for the first user.
sudo mkdir /home/pi/FTP- Change the ownership of the directory to ftpuser using
chowncommand and a recursive switch.
sudo chown -R ftpuser:ftpgroup /home/pi/FTP- Create a virtual user named upload, mapping the virtual user to ftpuser and ftpgroup, setting the home directory
/home/pi/FTP, and record password of the user in the database.
sudo pure-pw useradd upload -u ftpuser -g ftpgroup -d /home/pi/FTP -m- Next, enter your desired password for the virtual user.
- Then, set up a virtual user database by entering the command below.
sudo pure-pw mkdb- Finally, define an authentication method by creating a link file
/etc/pure-ftpd/conf/PureDB.
sudo ln -s /etc/pure-ftpd/conf/PureDB /etc/pure-ftpd/auth/60puredb- To initialize the changes, restart Pure-FTPd.
sudo service pure-ftpd restart- Test the FTP server using any device connected to your home network. Open a web browser and enter the following url:
ftp://192.168.1.7
Note: Replace the IP address with the address of your Raspberry Pi.
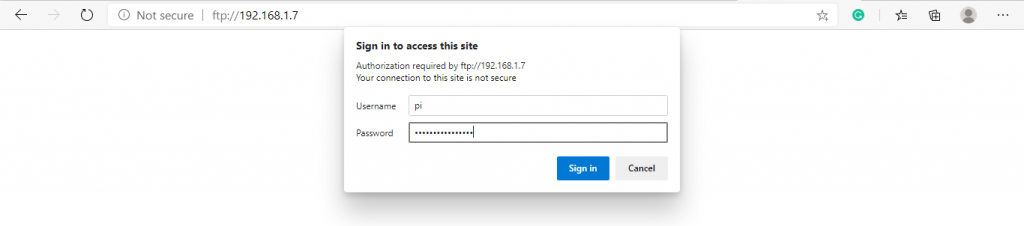
The web browser interface lets you download files from the Raspberry Pi to your device. It only allows one-sided file transfer. If you like to send a file from your computer to the Raspberry Pi, you should use a different client. One of the most popular software for this is Filezilla.

SFTP
Filezilla is a free, open-source FTP, FTPS, and SFTP server. With SFTP, you can transfer files using SSH encryption, which adds a layer of security to your files. You can get the app here.
- After installation, open FileZilla. Enter your IP address, username, password, and the port number just like below. Port 22 is the designated port number for SSH protocol in Linux systems.

- Now, after pressing the Quick connect button, you already see the contents of your Raspberry Pi.
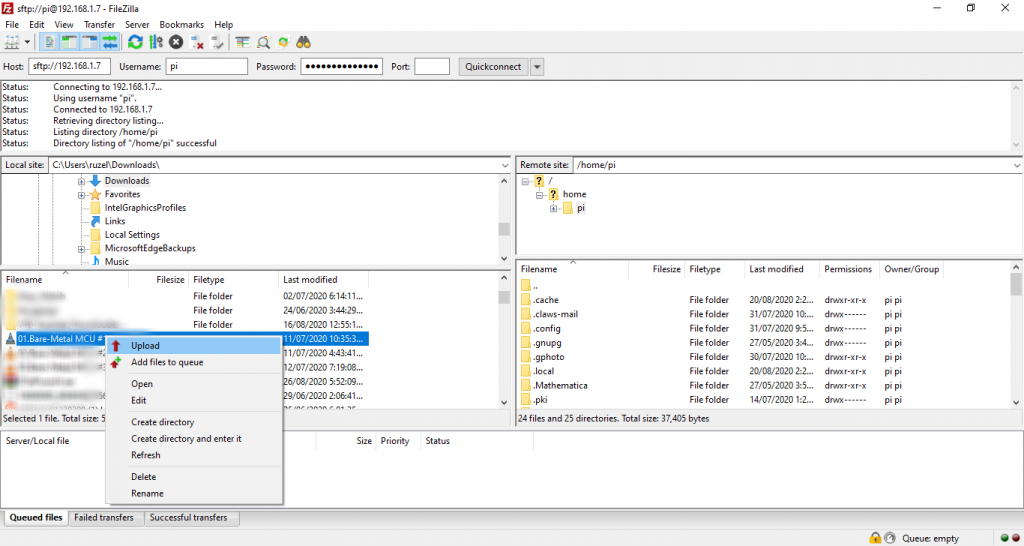
- Choose the file you want to transfer from either device. Right click its file name and select upload.
We already know how to access the command line via SSH and perform file transfer using FTP and SFTP protocols. But what if you need to access the GUI as well?
VNC (Virtual Network Computing)
VNC, also known as Virtual Network Computing, is a type of software that allows you to remotely control another computer over a network connection. Keyboard and mouse input are relayed to the other computer as well, allowing you to manage the device without being in the same physical location.
For a VNC system to work, you need to install VNC viewer (Client) on the computer you want to control from, and VNC server on the computer you want to control. In our case, our client is our computer and the server is our Raspberry Pi.
1. Install VNC
First, install a VNC viewer on the device you’ll use to control the Pi. We are going to use VNC Connect by RealVNC, download the installer here.
The reason why we’re using RealVNC is that VNC Connect comes as default with the Raspberry Pi OS. Moreover, the application package already contains both the VNC Viewer and VNC Server.
If somehow VNC is still not installed on your Pi, simply enter the following command in the terminal.
sudo apt update
sudo apt install realvnc-vnc-server realvnc-vnc-viewer
Alternatively, you can install VNC using the Recommended Software option in the Pi Menu.
2. Enable VNC server
To enable the Pi’s VNC server, we need to access raspi-config just like when we enabled SSH.
sudo raspi-configNext, go to Interfacing Options. Select VNC and click Yes.
Alternatively, you can access it via graphical desktop: Select Menu > Preferences > Raspberry Pi Configuration > Interfaces.
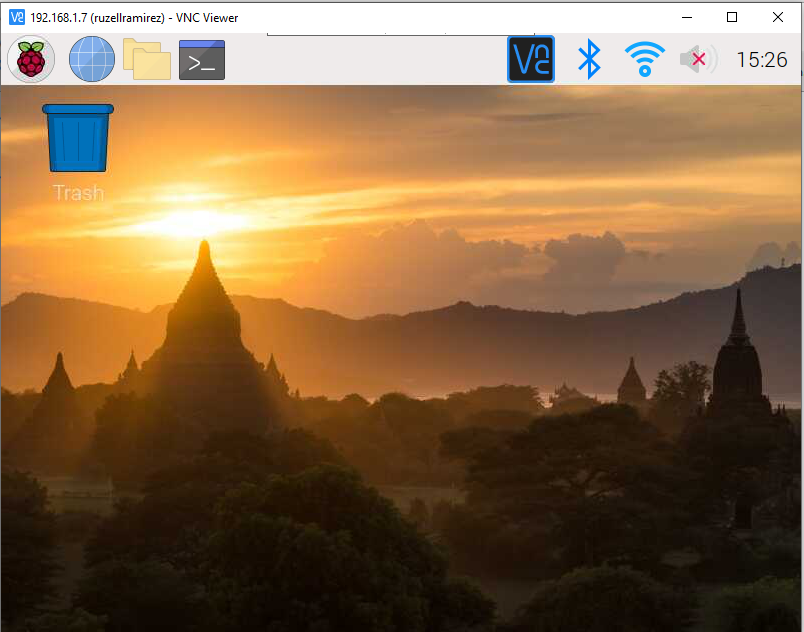
3. Connect to your Raspberry Pi with VNC Viewer
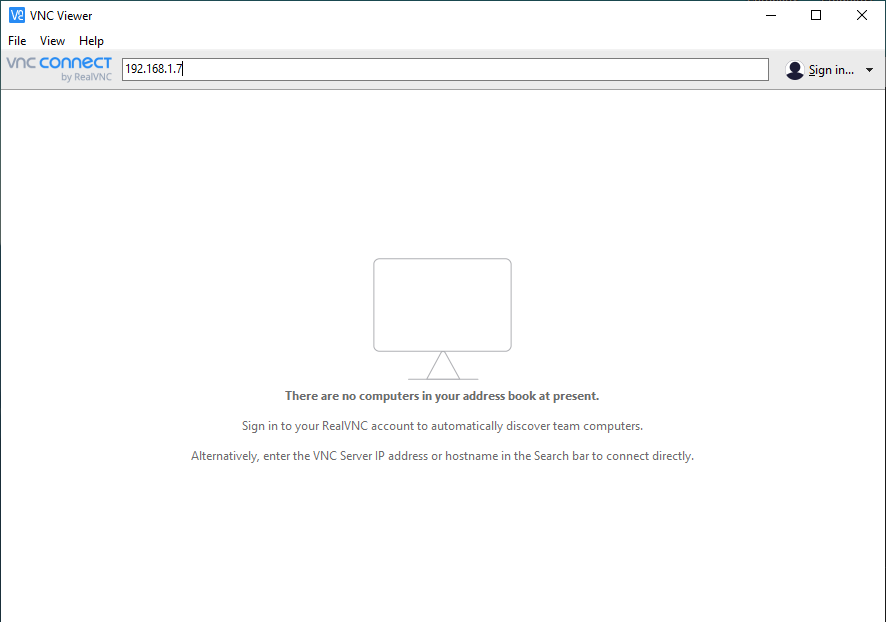
- First, enter your Pi’s IP address into VNC viewer.
- A security warning should appear if it’s the first time you’re connecting to the Pi. Just click Continue to proceed.
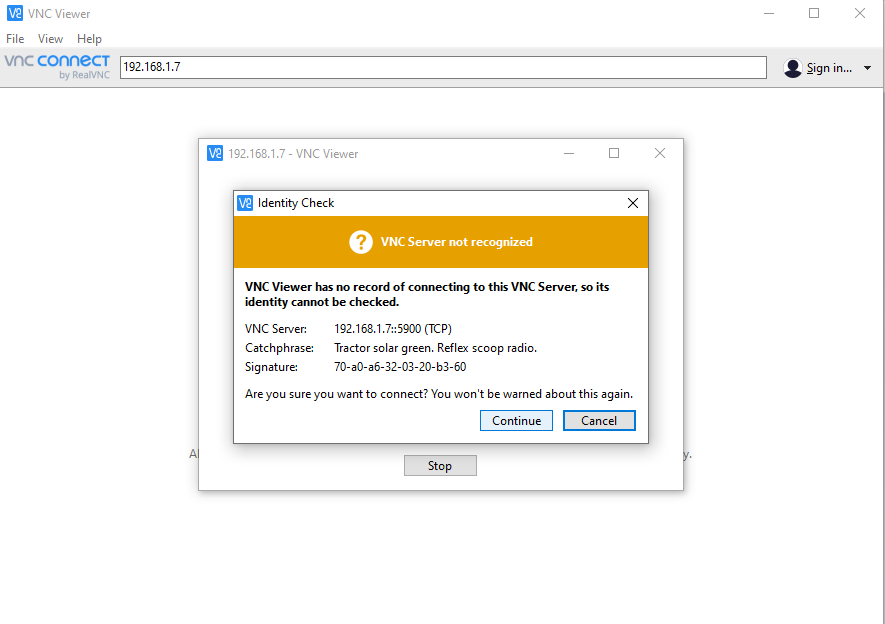
- And that’s it! Now you can already control your Pi as if you’re sitting right in front of it.
Reference
Frequently Asked Questions
[faq] [faq_q]What is the difference between SSH, FTP, and VNC?[/faq_q] [faq_a]SSH is a remote terminal (text). FTP transfers files. VNC is a remote desktop (full GUI). Each fits a different use case: SSH for servers, FTP for file work, VNC when you need to see the desktop.[/faq_a][faq_q]Is SSH on Raspberry Pi enabled by default?[/faq_q] [faq_a]No, since 2016. Enable it in raspi-config or by placing an empty file named ssh on the boot partition before first boot. After enabling, SSH listens on port 22.[/faq_a][faq_q]Should I use a password or SSH key for remote access?[/faq_q] [faq_a]SSH key. Passwords are vulnerable to brute force, especially if your Pi is exposed to the internet. Generate a key on your laptop, copy it with ssh-copy-id, then disable password login.[/faq_a][faq_q]Why does my VNC connection look squished?[/faq_q] [faq_a]The Pi default resolution is small when no monitor is connected. Set a fixed resolution in /boot/config.txt (hdmi_force_hotplug=1, hdmi_group=2, hdmi_mode=82 for 1080p) so VNC sees a sensible display size.[/faq_a][faq_q]Can I access my Raspberry Pi from outside my network?[/faq_q] [faq_a]Yes, but exposing SSH or VNC directly to the internet is risky. Use a VPN (WireGuard or Tailscale) or a tunnel service for secure access.[/faq_a][/faq]Frequently Asked Questions
What does this How to Control the Raspberry Pi Remotely tutorial cover?
In networking, learning how to control a computer from a distance is akin to a baby’s first steps.
Which Raspberry Pi model fits the How to Control the Raspberry Pi Remotely project?
Pi 4 (4GB) or Pi 5 for desktop apps and AI workloads. Pi Zero 2 W is enough for headless / sensor builds. Pi 3 B+ works but is slower for camera or ML.
How do I auto-start the How to Control the Raspberry Pi Remotely script on boot?
Use systemd. Create /etc/systemd/system/myproject.service with ExecStart=/usr/bin/python3 /home/pi/script.py and Restart=always. sudo systemctl enable myproject.