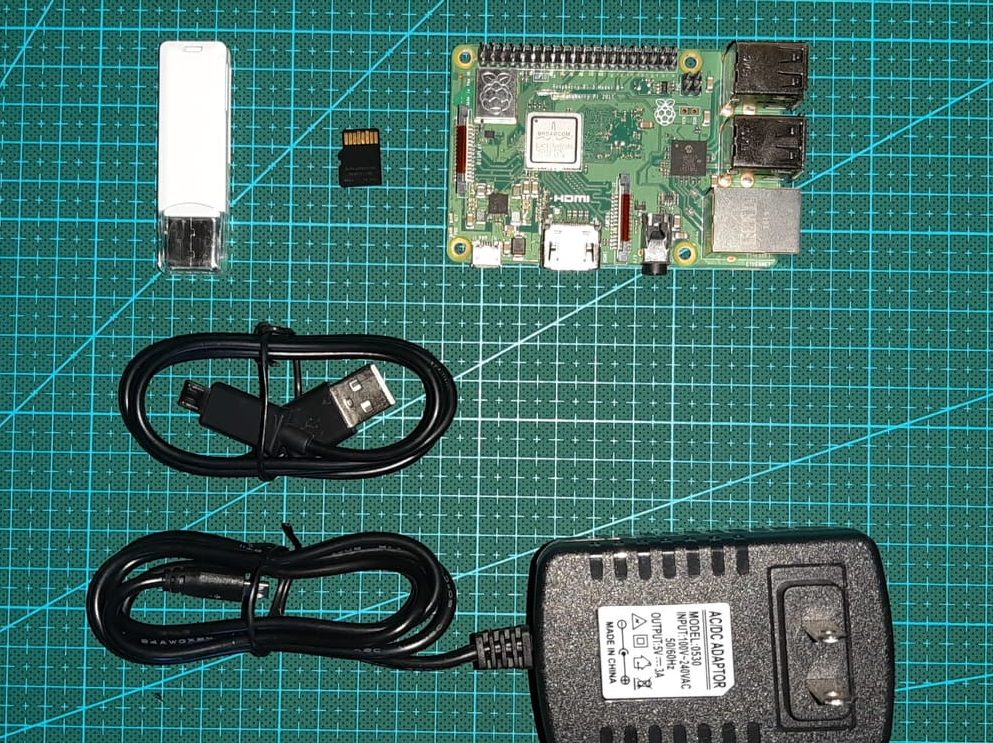
An interesting upgrade that a 3D Printing enthusiast can make is to remotely monitor and control a 3D printer. Please keep in mind, however, that we strongly advise against leaving a 3D printer without supervision for long periods of time. Octoprint provides a means to connect your 3D printer to your home network and even through the internet. The first step is to setup the hardware required. Below, you will find what you will need, both hardware and software, and how to start.
What you will need:
Hardware
- Raspberry Pi
- With the latest OctoPi image, the preferred RPi versions are 3B, 3B+, and the 4B. Recommended RAM size is 2GB.
- Power Supply
- The recommended power supply for a Raspberry Pi running wirelessly is 5V and AT LEAST 2.5A.
- Micro SD Card
- 8GB is recommended, especially if capturing images and videos is the goal.
- Card Reader
- Any card reader that would allow you to connect your SD card to your computer.
- USB Cable
- The USB cable needs to be compatible with your 3D printer.

Software
- OctoPi Image
- You may download the latest OctoPi image through the official Octoprint website, here.
- Etcher (Balena Etcher)
- When creating the boot disk for your Raspberry Pi, simply copy-pasting the files onto the MicroSD card WILL NOT work. In order to successfully create a boot disk, a tool is needed to FLASH the MicroSD card. Etcher is a free tool, available for both Windows and MacOS.
Getting Started!
- Download the latest OctoPi image here.
- Unzip the file and install the image (.img) file onto the SD card using the Etcher. Important: Do not format the SD card
- Configure WiFi settings.
- Access the files on the root folder of the flashed MicroSD card. Edit the file named “octopi-wpa-supplicant.txt” using text editors such as Notepad++. Important: Do not use WordPad or TextEdit.
- Boot the OctoPi.
- Insert the MicroSD card into the Raspberry Pi. Connect the power supply and boot the OctoPi.
- Log into the OctoPi
- Access the OctoPi GUI by entering “octopi.local” (if your computuer supports Bonjour Print Services) or the IP addressed that the router has assigned to the OctoPi.
- More information on setting up OctoPi may be found in the links included in the sources.
Sources:
- n.a. (n.d.). Download & setup OctoPrint. Retrieved from: https://octoprint.org/download/
- Zack. (February 20, 2021). OctoPrint: Control your 3D printer remotely with Raspberry Pi and OctoPi. Retrieved from: https://howchoo.com/g/y2rhnzm3odz/control-your-3d-printer-with-octoprint-and-raspberry-pi
- Foosel. (March 13, 2017). Can’t access at octopi.local or ip address. Retrieved from: https://github.com/guysoft/OctoPi/issues/275#issuecomment-286049630


