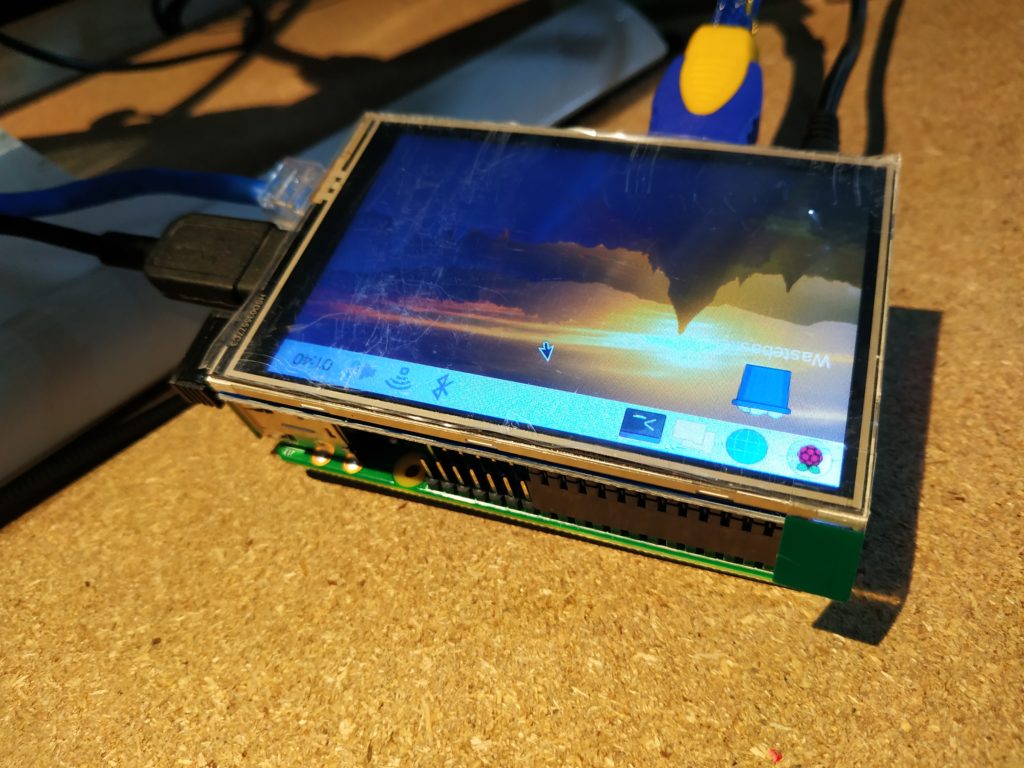
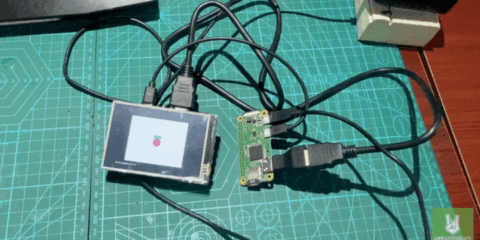
You don’t have to pull out the big guns in every project you make. Sometimes, a small fry is enough, if not better. This guide features the LCD TFT 3.5 inch 320×480 Touchscreen for Raspberry Pi, an ideal display for your image, video, and IOT monitoring needs!
Driver Installation
In order to make this LCD for raspberry pi work, we need to install the device’s driver, let’s first update your Raspbian OS.
Update your system’s package list.
sudo apt updateThen, upgrade all your packages:
sudo apt full-upgradeThis will make your currently installed Raspbian release up to date but it will not update from one release to another. If you need to change your Raspbian OS release, or for additional details on updating and upgrading, you can visit the official Raspberry site here:
https://www.raspberrypi.org/documentation/raspbian/updating.md
After updating your OS, configure your Pi.
sudo raspi-config- Select Boot Options
- Desktop / CLI => Desktop Autologin
Install the LCD driver
git clone https://github.com/waveshare/LCD-show.git
cd LCD-show/
Initialize the driver to your Pi
chmod +x LCD35-show
./LCD35-show
Note: Internet connection is required
After system rebooting, the Raspberry Pi LCD is ready to use.

Change between LCD and HDMI display
If you want to return to using HDMI,
cd LCD-show/
./LCD-hdmi
If you want to use the LCD again,
cd LCD-show/
chmod +x LCD35-show
./LCD35-show
And that’s it! You can now use the LCD as a remote development screen or for anything IoT. Sky is the limitation. Be sure to stay tuned on Learn to get updated on simple device tests and fun projects. I did an analysis of the basic arduino schematic diagram. You might want to check it out here. Keep circuit rockin’!


