
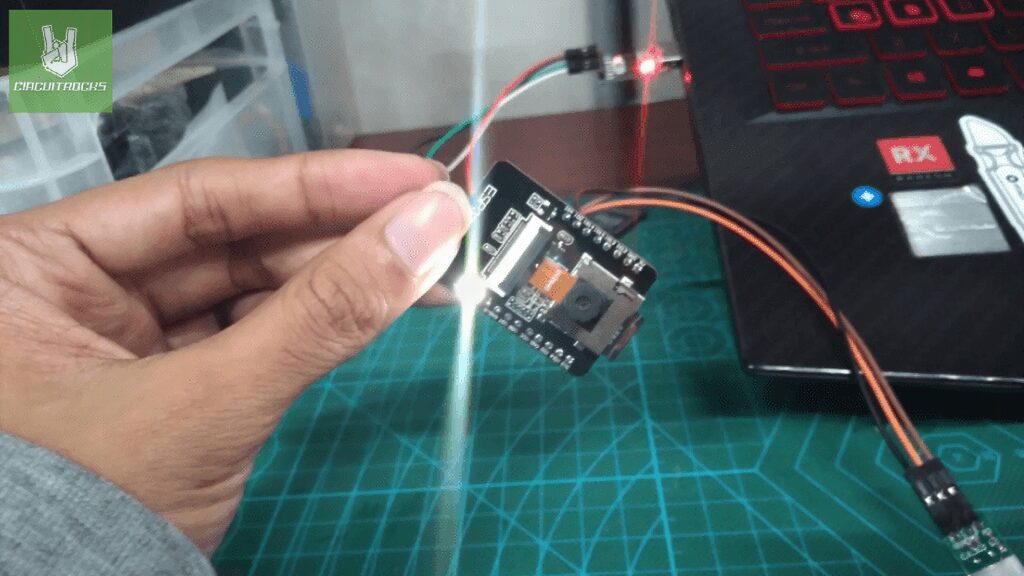
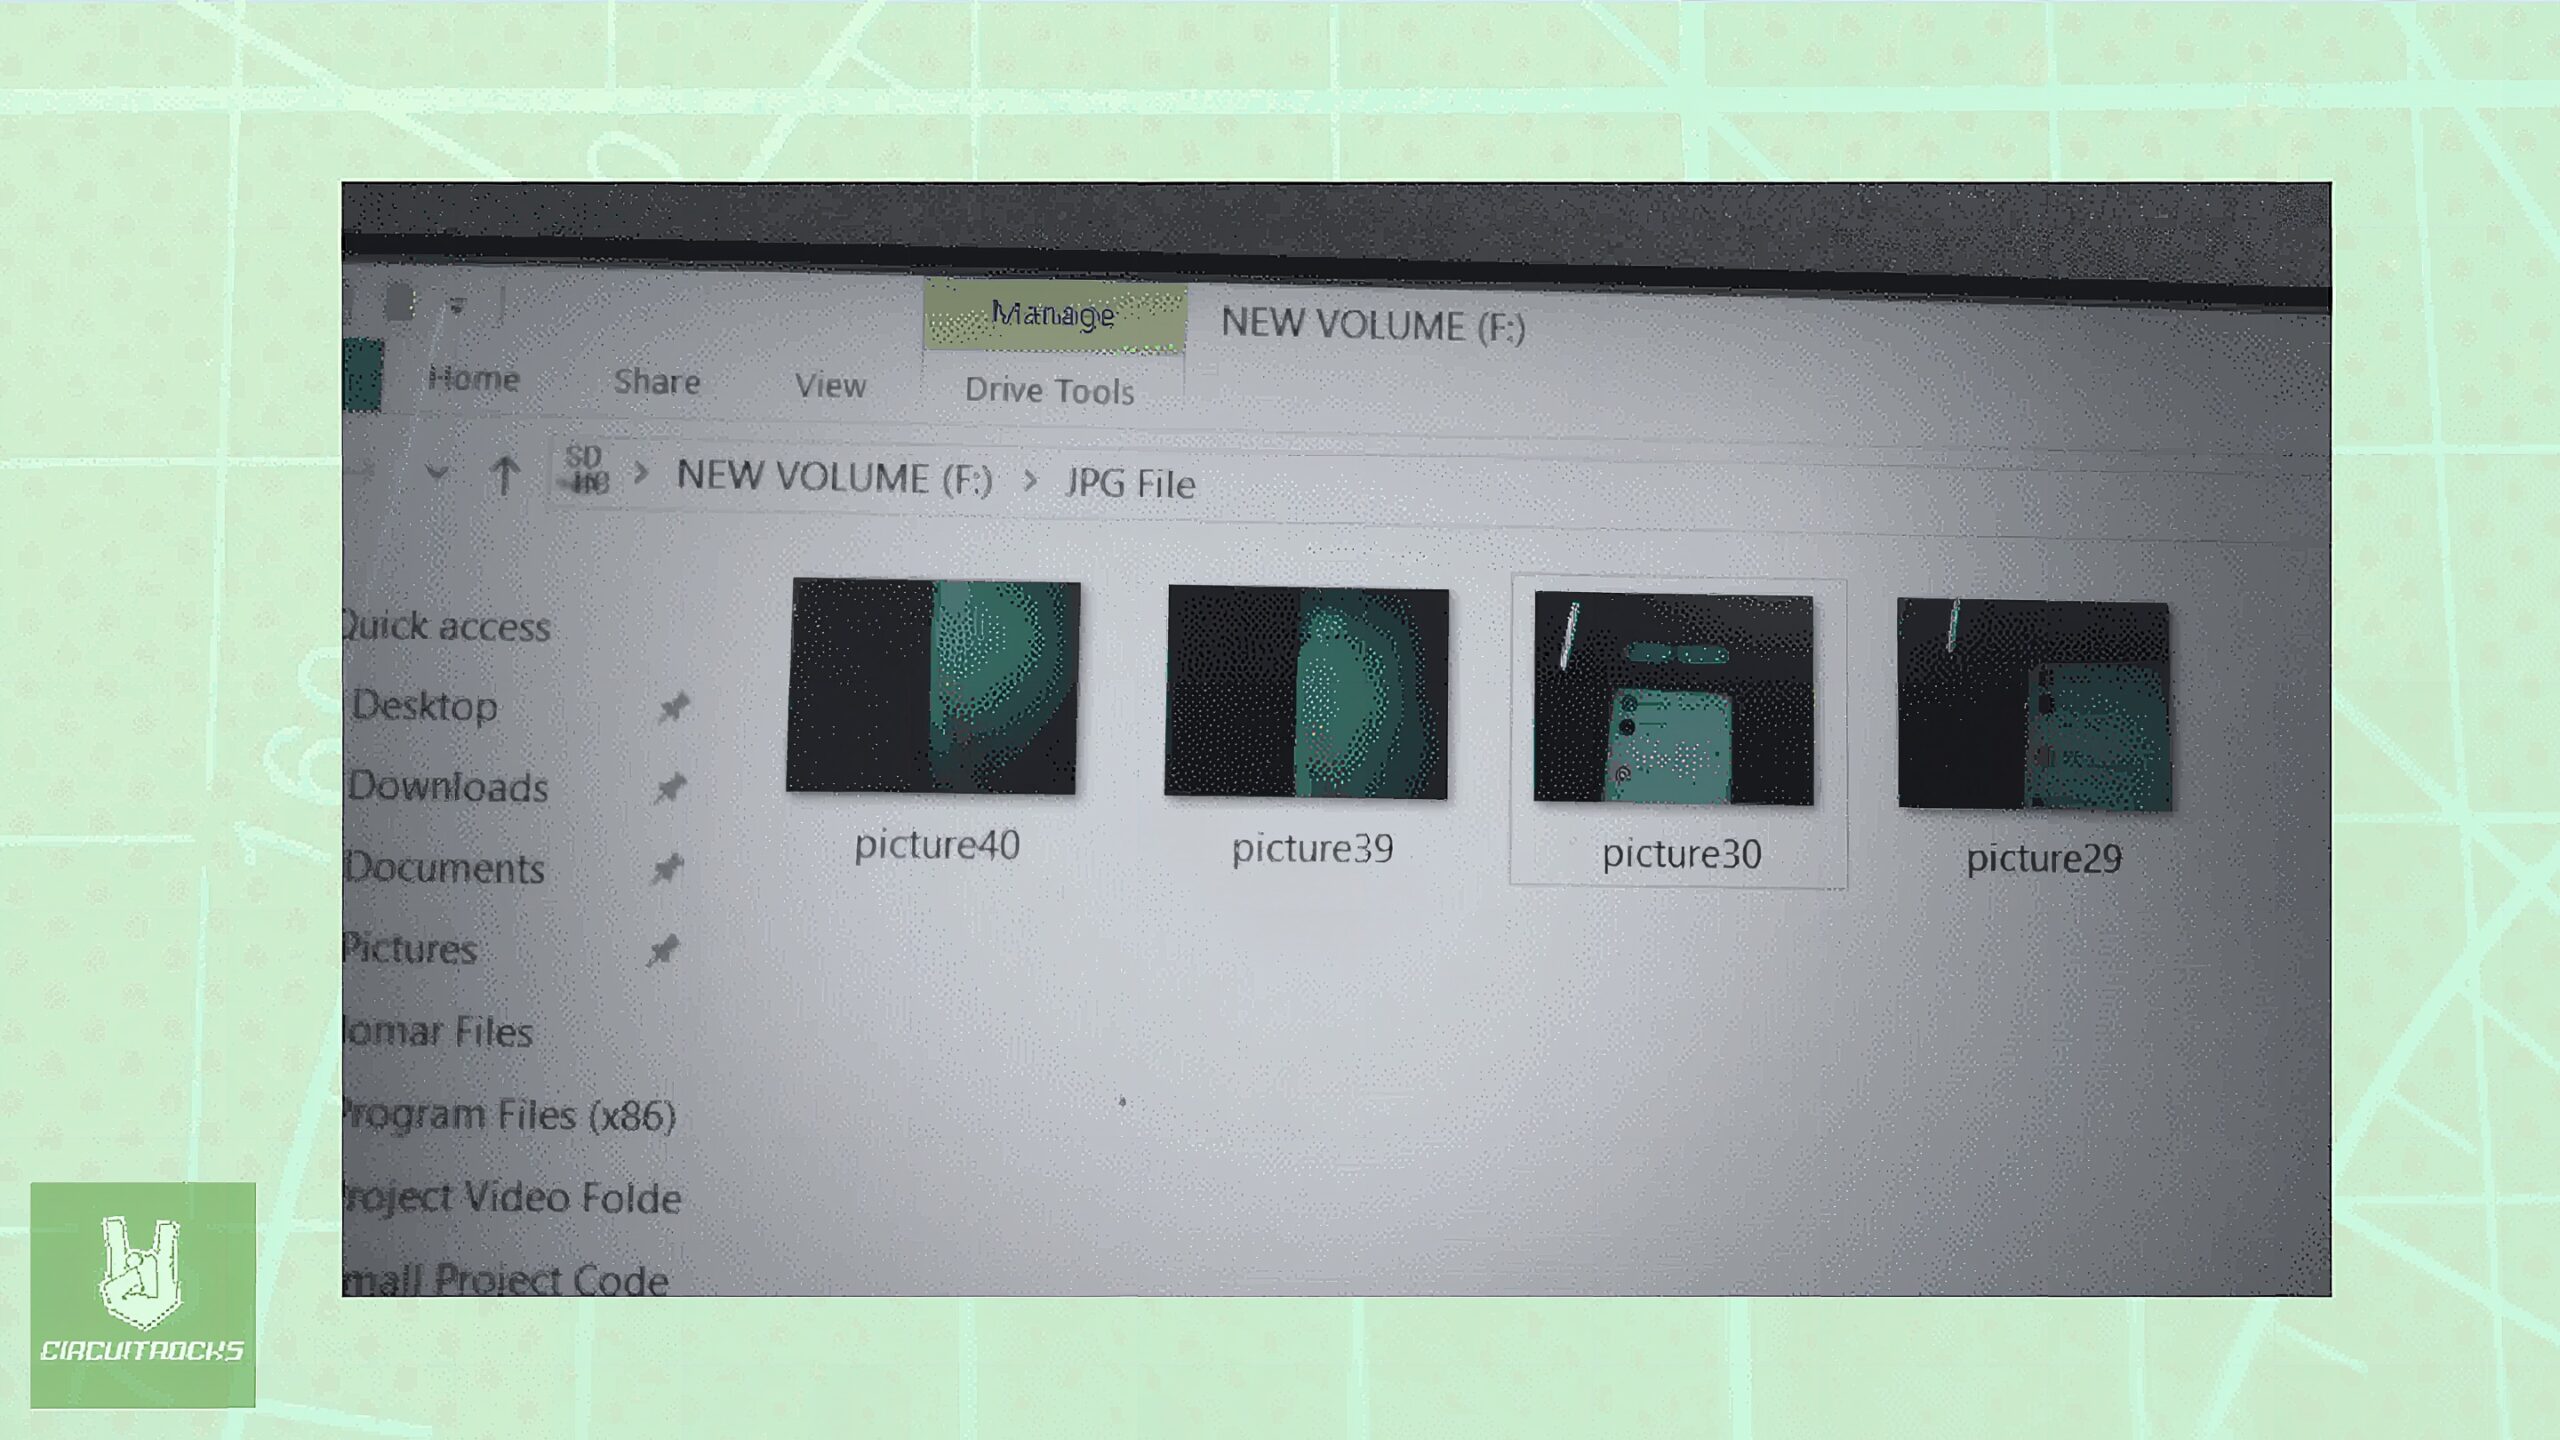
The ESP32-CAM is a small board with a built-in camera, making it ideal for many projects. For example, it can shoot and store high-quality images when needed most. In addition, when combined with a PIR motion detector, it can sense movement and automatically take pictures. As a result, images are saved directly onto an SD card without needing extra steps.
The main function of this system is to capture images using the ESP32-CAM whenever specific events happen. First, the PIR sensor detects movement and triggers the camera module. Then, the camera captures images in JPEG format, ready for processing or saving. Because the images are stored on an SD card, there’s no need for an internet connection to save them.
This setup is especially useful for many applications. For instance, it works well in security systems, wildlife monitoring, or any remote observation project. Moreover, the SD card integration means you can save large amounts of data without needing constant connectivity. Finally, this simple approach makes it easy to review images later and ensures your project is reliable and efficient.
Components
Connections:
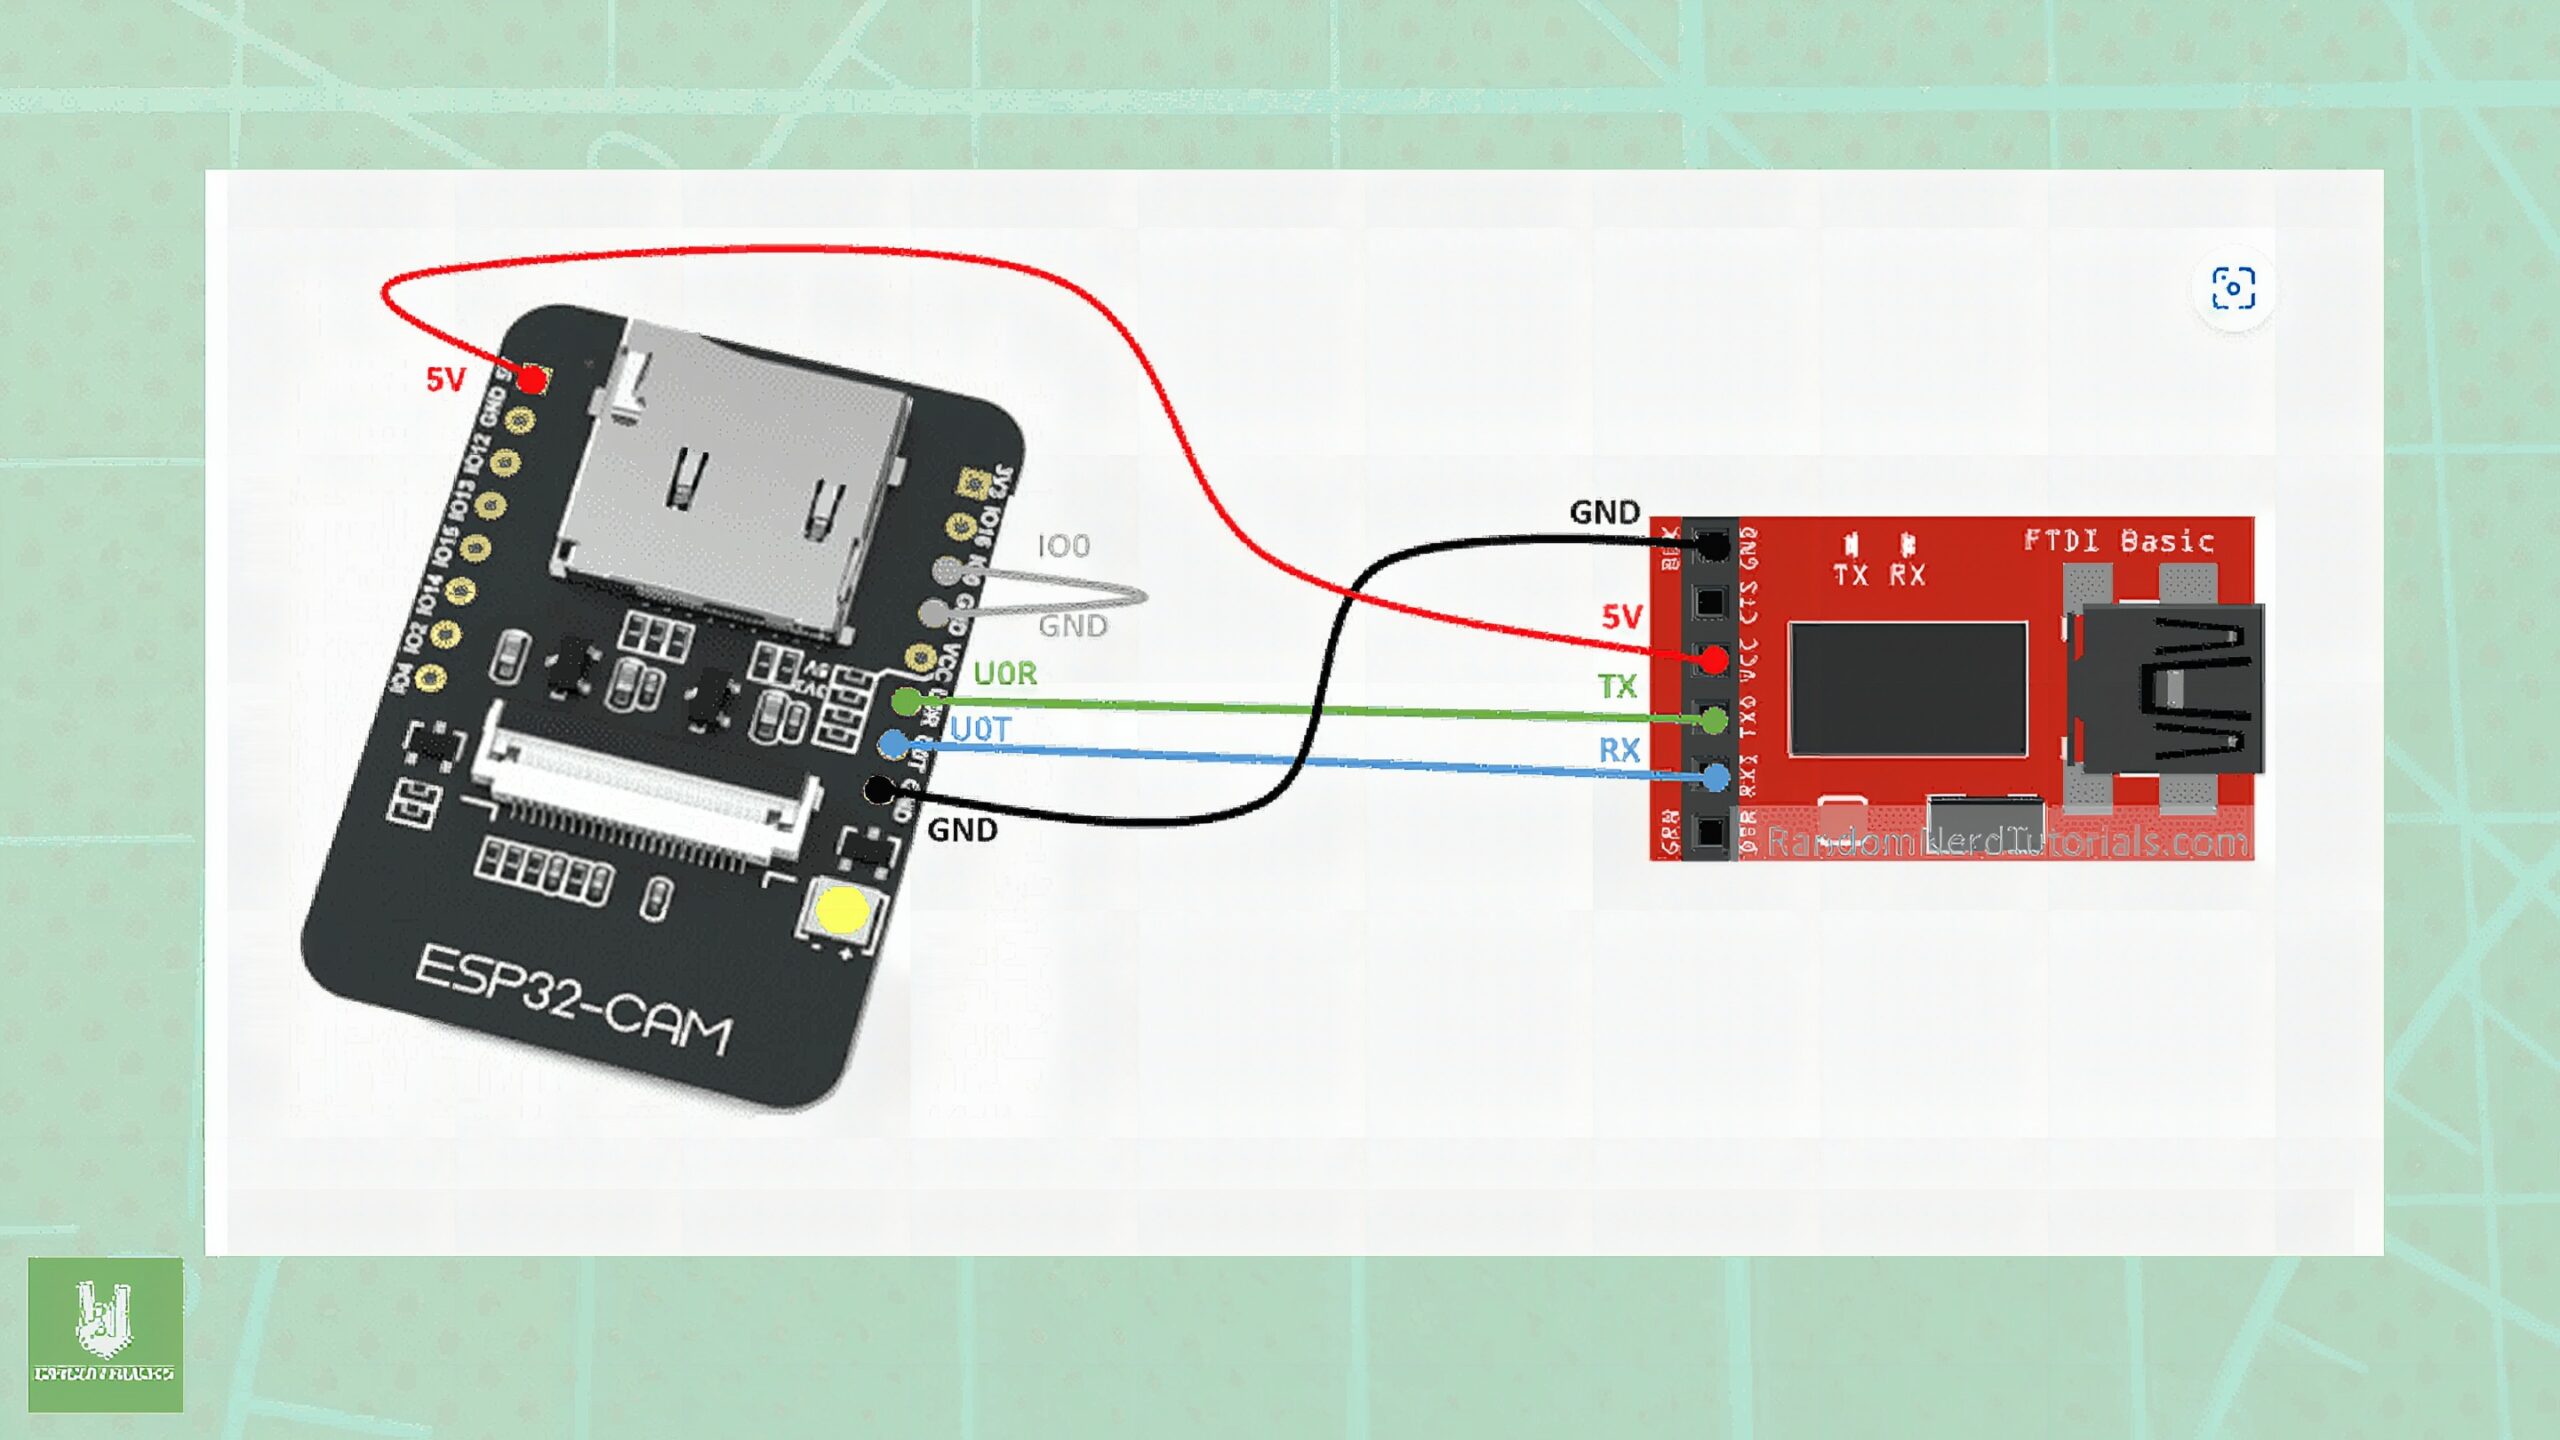
ESP32 CAM – UART CP2102
ESP32 CAM – PIR Motion Sensor
| ESP 32 CAM | PIR Motion Sensor |
| 3.3V | VCC |
| GND | GND |
| GPIO 13 | OUT |
Note:
- First, open Tools > Board and choose AI-Thinker ESP32-CAM to set your board type.
- Next, select Tools > Port and pick the COM port connected to your ESP32.
- Then, navigate to Files > Examples > ESP32 CAM > Camera and choose CameraWebServer to load the example sketch.
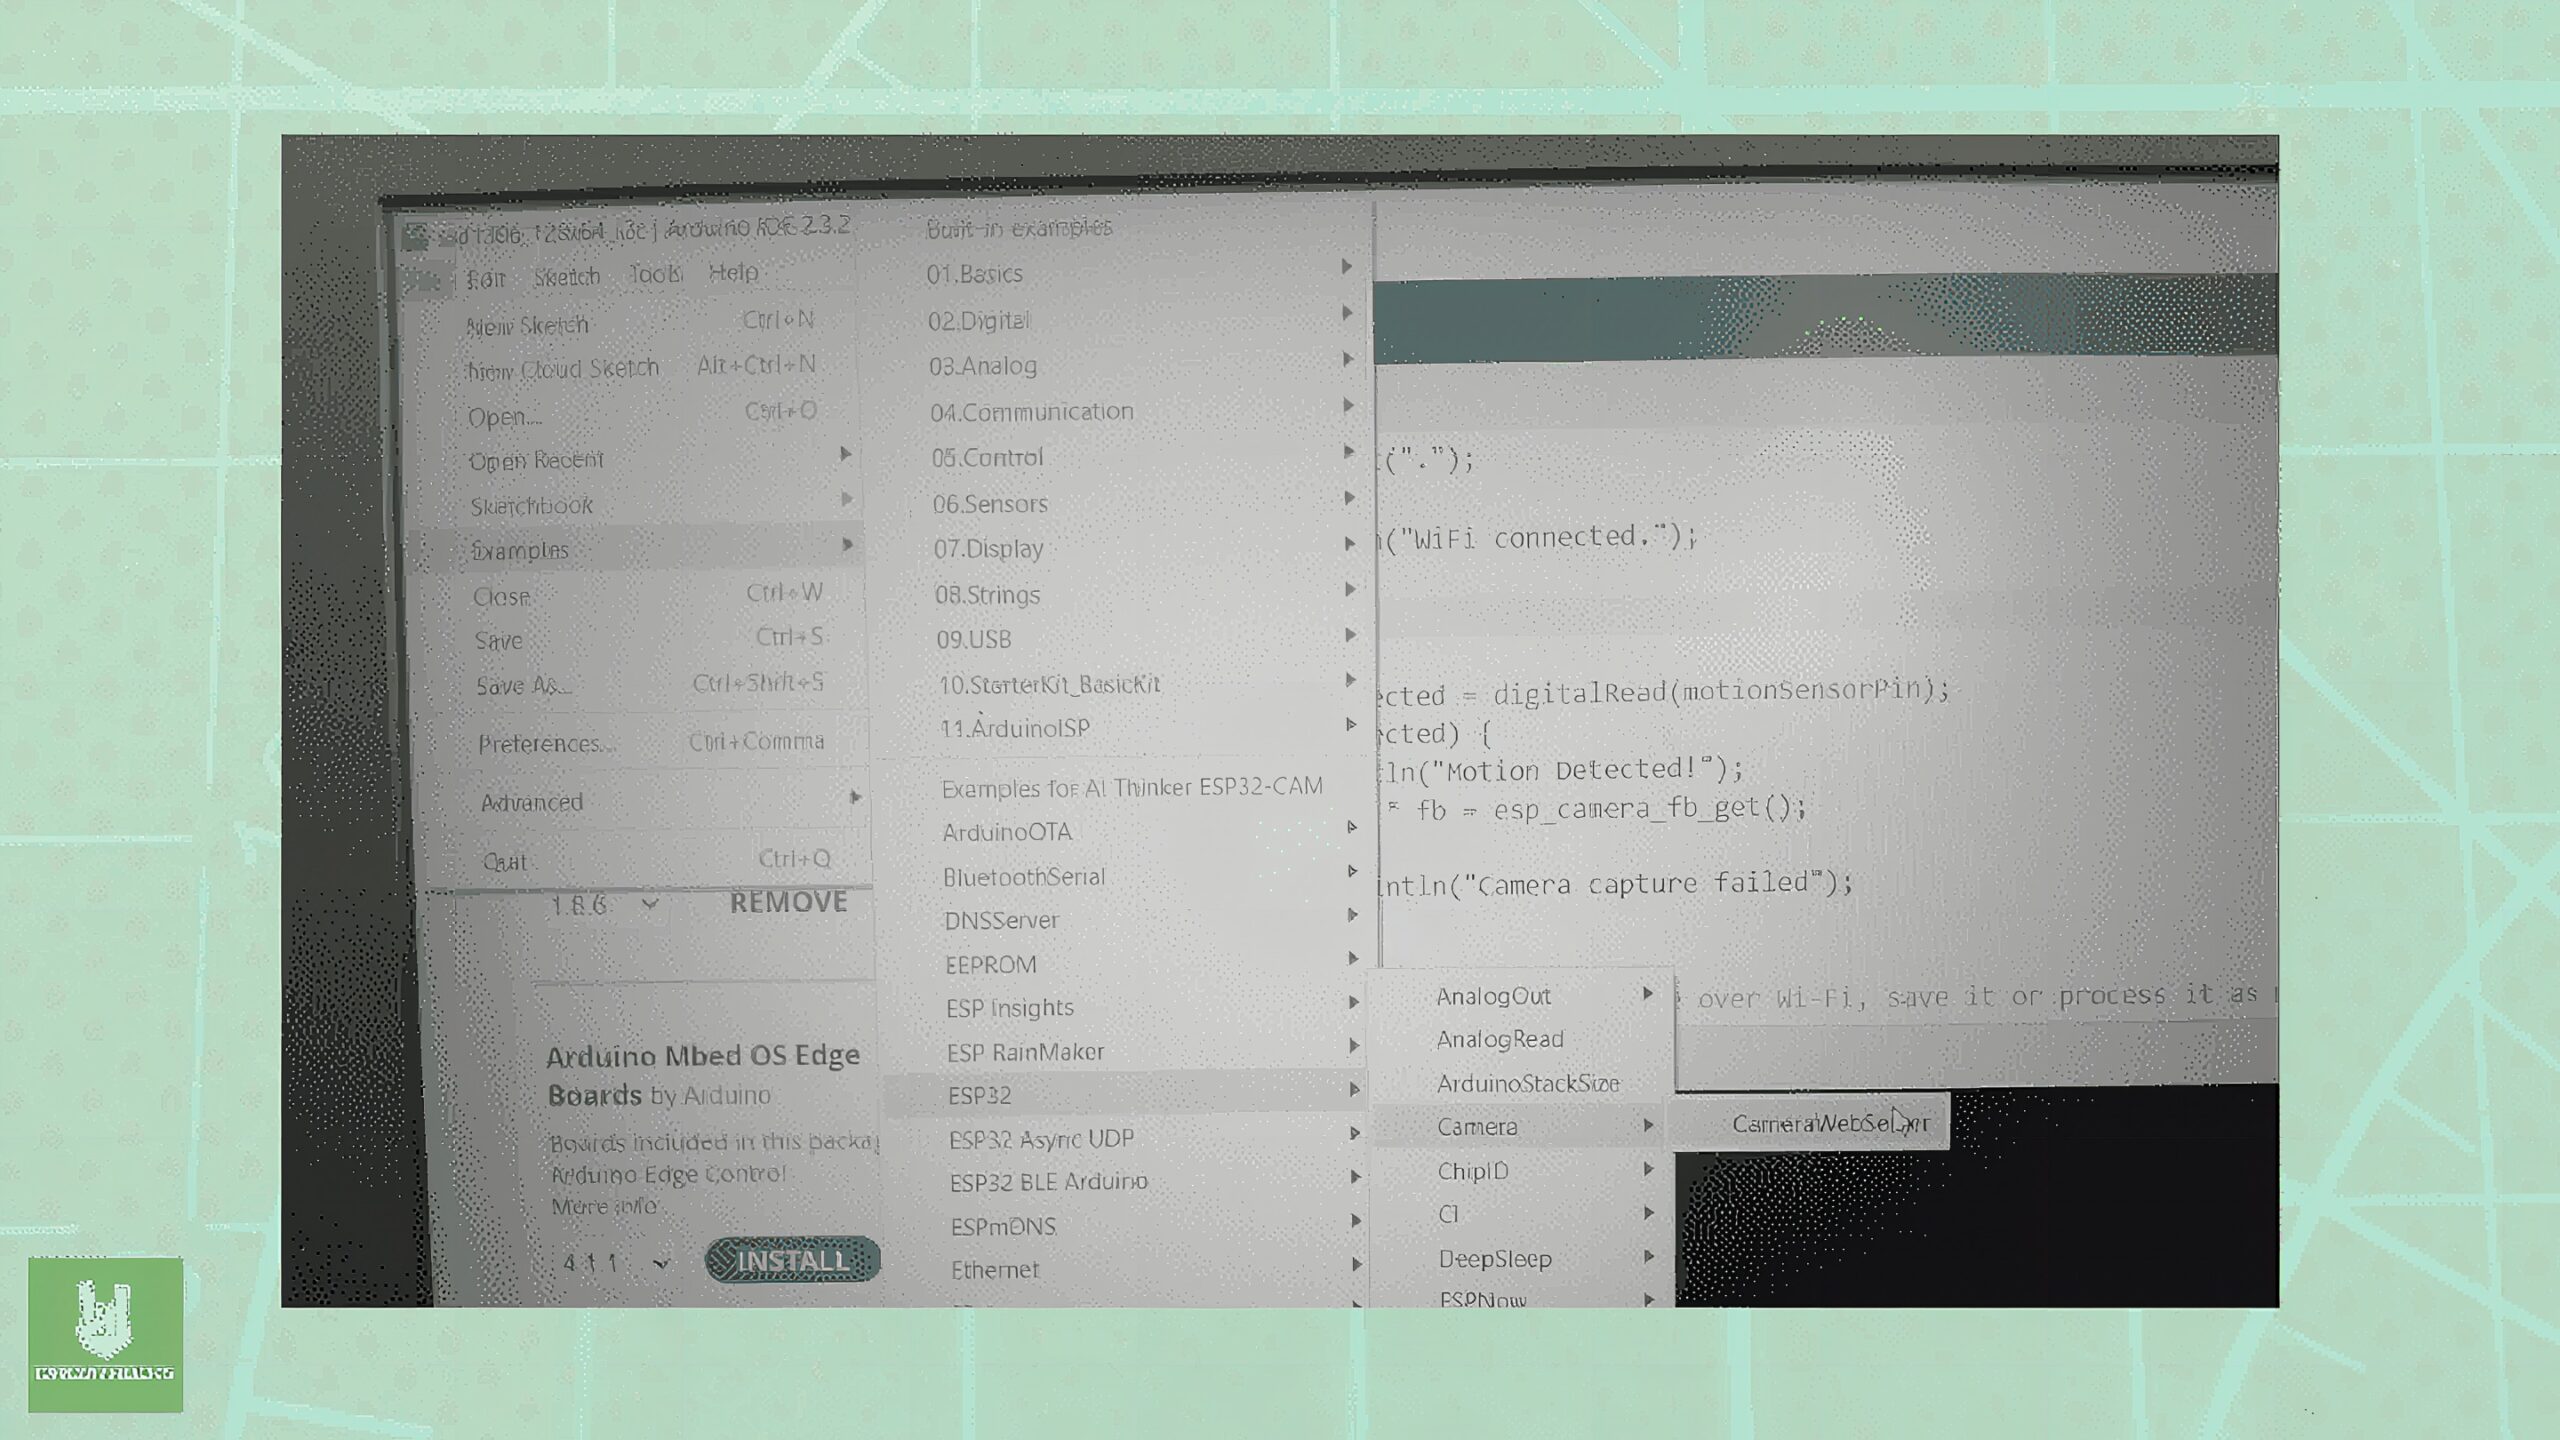
- Go to CameraWebServer.ino. Remove the default code and copy the code below.
- 100 and GND need to connect to successfully upload.
- Upon upload the code, remove 100 pins and GND pins. To successfully start the system restart the ESP32 CAM.
Code:
#include "esp_camera.h"
#include "Arduino.h"
#include "FS.h" // SD Card ESP32
#include "SD_MMC.h" // SD Card ESP32
#include "soc/soc.h" // Disable brownour problems
#include "soc/rtc_cntl_reg.h" // Disable brownour problems
#include "driver/rtc_io.h"
#include <EEPROM.h> // read and write from flash memory
// define the number of bytes you want to access
#define EEPROM_SIZE 1 RTC_DATA_ATTR int bootCount = 0; // Pin definition for CAMERA_MODEL_AI_THINKER
#define PWDN_GPIO_NUM 32
#define RESET_GPIO_NUM -1
#define XCLK_GPIO_NUM 0
#define SIOD_GPIO_NUM 26
#define SIOC_GPIO_NUM 27
#define Y9_GPIO_NUM 35
#define Y8_GPIO_NUM 34
#define Y7_GPIO_NUM 39
#define Y6_GPIO_NUM 36
#define Y5_GPIO_NUM 21
#define Y4_GPIO_NUM 19
#define Y3_GPIO_NUM 18
#define Y2_GPIO_NUM 5
#define VSYNC_GPIO_NUM 25
#define HREF_GPIO_NUM 23
#define PCLK_GPIO_NUM 22 int pictureNumber = 0; void setup() { WRITE_PERI_REG(RTC_CNTL_BROWN_OUT_REG, 0); //disable brownout detector Serial.begin(115200); Serial.setDebugOutput(true); camera_config_t config; config.ledc_channel = LEDC_CHANNEL_0; config.ledc_timer = LEDC_TIMER_0; config.pin_d0 = Y2_GPIO_NUM; config.pin_d1 = Y3_GPIO_NUM; config.pin_d2 = Y4_GPIO_NUM; config.pin_d3 = Y5_GPIO_NUM; config.pin_d4 = Y6_GPIO_NUM; config.pin_d5 = Y7_GPIO_NUM; config.pin_d6 = Y8_GPIO_NUM; config.pin_d7 = Y9_GPIO_NUM; config.pin_xclk = XCLK_GPIO_NUM; config.pin_pclk = PCLK_GPIO_NUM; config.pin_vsync = VSYNC_GPIO_NUM; config.pin_href = HREF_GPIO_NUM; config.pin_sscb_sda = SIOD_GPIO_NUM; config.pin_sscb_scl = SIOC_GPIO_NUM; config.pin_pwdn = PWDN_GPIO_NUM; config.pin_reset = RESET_GPIO_NUM; config.xclk_freq_hz = 20000000; config.pixel_format = PIXFORMAT_JPEG; pinMode(4, INPUT); digitalWrite(4, LOW); rtc_gpio_hold_dis(GPIO_NUM_4); if(psramFound()){ config.frame_size = FRAMESIZE_UXGA; // FRAMESIZE_ + QVGA|CIF|VGA|SVGA|XGA|SXGA|UXGA config.jpeg_quality = 10; config.fb_count = 2; } else { config.frame_size = FRAMESIZE_SVGA; config.jpeg_quality = 12; config.fb_count = 1; } // Init Camera esp_err_t err = esp_camera_init(&config); if (err!= ESP_OK) { Serial.printf("Camera init failed with error 0x%x", err); return; } Serial.println("Starting SD Card"); delay(500); if(!SD_MMC.begin()){ Serial.println("SD Card Mount Failed"); //return; } uint8_t cardType = SD_MMC.cardType(); if(cardType == CARD_NONE){ Serial.println("No SD Card attached"); return; } camera_fb_t * fb = NULL; // Take Picture with Camera fb = esp_camera_fb_get(); if(!fb) { Serial.println("Camera capture failed"); return; } // initialize EEPROM with predefined size EEPROM.begin(EEPROM_SIZE); pictureNumber = EEPROM.read(0) + 1; // Path where new picture will be saved in SD Card String path = "/picture" + String(pictureNumber) +".jpg"; fs::FS &fs = SD_MMC; Serial.printf("Picture file name: %sn", path.c_str()); File file = fs.open(path.c_str(), FILE_WRITE); if(!file){ Serial.println("Failed to open file in writing mode"); } else { file.write(fb->buf, fb->len); // payload (image), payload length Serial.printf("Saved file to path: %sn", path.c_str()); EEPROM.write(0, pictureNumber); EEPROM.commit(); } file.close(); esp_camera_fb_return(fb); delay(1000); // Turns off the ESP32-CAM white on-board LED (flash) connected to GPIO 4 pinMode(4, OUTPUT); digitalWrite(4, LOW); rtc_gpio_hold_en(GPIO_NUM_4); esp_sleep_enable_ext0_wakeup(GPIO_NUM_13, 0); Serial.println("Going to sleep now"); delay(1000); esp_deep_sleep_start(); Serial.println("This will never be printed");
}
Troubleshooting:
- Upon upload the code, remove 100 pins and GND pins. To successfully start the system restart the ESP32 CAM.
- Use the serial monitor to watch for debug prints and errors during testing. This will provide insights if something goes wrong.
- Make sure the SD card is formatted correctly (typically FAT32) and ensure that the card is not corrupted. This is important for successful mounting and file operations.
QUICK LINKS
Reference Tutorial: Credits to the code provided by Rui Santos
Frequently Asked Questions
What does this ESP32-CAM Image Capture and SD Storage tutorial cover?
The ESP32-CAM is a small board with a built-in camera, making it ideal for many projects.
Why does my ESP32-CAM fail to flash with 'Failed to connect'?
Hold the GPIO0 button (or jumper IO0 to GND) while clicking Upload. The ESP32-CAM has no auto-reset — manual flash-mode entry is required every upload.
What microSD card works with the ESP32-CAM?
Class 10 / U1 cards up to 32GB formatted FAT32. Larger cards work if formatted FAT32 manually. Sandisk Ultra and Samsung Evo are reliable picks.