
The Arduino IDE is the most user-friendly platform for studying embedded systems, electronics, and programming. We know that a code editor is necessary to create code, that programming software is needed to convert that code into machine or file forms that the microcontroller can understand, and that programming software is needed to load these firmware files onto the microcontroller. Combining all of them with a few more features, including console access and debugging support, results in an integrated development environment. The Arduino IDE is incredibly simple to use and comes with a feature-rich code editor, compiler, programmer, serial interface, and many other utilities.
If you are a first-time user and wondering “How to Set Up Arduino IDE”…, this article will assist you in this regard. Every step of the process, including downloading, installing, and configuring, is covered in detail in the comprehensive guide.
Arduino IDE – Overview
Users can develop, build, and upload code (referred to as sketches) to Arduino boards using the Arduino IDE software. It offers:
- C/C++ language support for simple coding
- Libraries which are built in, like sensors, motors, displays, and more.
- It is compatible with multiple Arduino boards
- For compiling and debugging code, it is easy to use.
For first-time users, it is widely recommended because it requires fewer complex setup steps required in traditional ones.
Steps to Install Arduino IDE
Step 1. Download Arduino IDE
Simply install the most recent version of the Arduino IDE on your computer to get started. When you browse, several versions are available, including Linux, Mac, and Windows.
For Windows:
- Visit the official website of Arduino
- Choose version
- Click download
For MacOS:
- Download the.dmg file from the official website
- Drag the Arduino app into the applications
For Linux:
- You have to download the suitable bit version, which is 32 or 64 bits.
- Extract the download package and run the script of installation script (install.sh)
Step 2 Arduino Driver Installation
One of the most common questions people have when they first start using Arduino software is how to install the board driver. In reality, however, you don’t have to worry about it. The installer will immediately load all necessary files and install the drivers as soon as you connect the board to the PC.
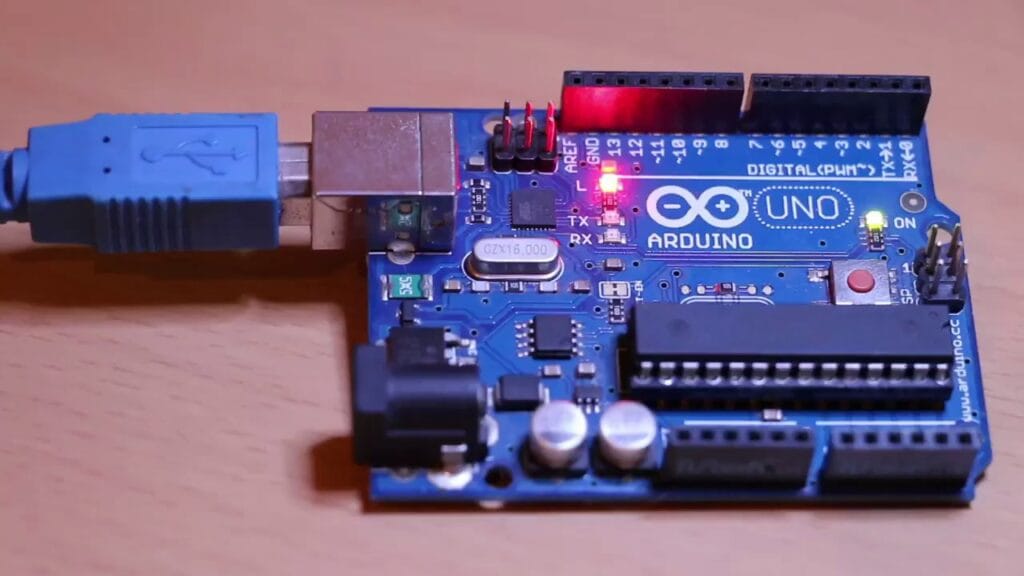
Step 3: Connect the Arduino Board
A USB cable can be used to connect your Arduino board. You may verify that the board is powered on by looking at the power LED glow after connecting to the USB port. There is no need to worry because the system will identify and install the board driver.
Step 4: Launch Arduino IDE
Once installed, you may double-click on it to start it from the application or from the Start menu.
You will see:
- Window where you write code
- Toolbar buttons for verifying your code or saving and uploading.
- Status, errors, and upload success message area.
Step 5: Selecting your Board
The selection of the appropriate Arduino board is a crucial step because the compilation directives will use it. For that:
Click on *Tools* > *Board* > *Arduino AVR Boards* > you can check the options of the board you want to select.
Step 6: Arduino Serial Port
The serial port that the Arduino board is attached to must be chosen; otherwise, you won’t be able to upload the code to the board. For that:
Select *Tools* – > *Port* – > then select the correct COM Port. If not sure, you can disconnect and reconnect the board to see which port appears.
Step 7: Testing with Blink Example Codes
To ensure your setup is working, run the blink sketch, the “Hello World” of Arduino. For that:
Go to *Files* -> *Examples* -> *.1 Basics* -> *Blink*
After that new window opens with Blink, where you can see two functions
- Void setup()
- Void loop()
The Void Setup() function will run when the Arduino is powered on, and the Void Loop() will repeat the function.
Step 8: Install Libraries
It has already been mentioned that Arduino IDE comes with built-in libraries; still, if you need more:
Go to *Sketch* -> *Include Library* -> *Manage Library*
Once they are installed, they will be included in your code using #include.
Some of the common Issues and troubleshooting
- Board not found – make sure the USB cable is connected to the correct port selection
- Permission error – Add user to dial out group.
- Driver Issues – always install the latest driver for smooth flow
- Upload error – ensure the correct board and port are selected if programming is not supported.
Benefits of using Arduino IDE for Beginners
- Free and Open Source
- Beginner-Friendly
- Cross-Platform
- Community Support
- Expandable
Finally
Learning programming and electronics is really simple. Simply plug and play, the Arduino board is a great method to learn about microcontrollers if you’ve never used one before.
FAQs
- To use Arduino IDE, do I need internet access…
Once the Arduino IDE is installed, you don’t need any internet; you can code offline.
Is there an option of using Arduino IDE on Mobile also…
There are apps like ArduinoDroid that you can use, but it is recommended for beginners that they should try it on a desktop.
What if my Arduino board stops working… Is there an option to reset…
You just press the reset button on the board, or you can upload the sketch again to reset.
What is the main reason for showing an upload error in Arduino IDE…
There are lots of reasons, but the main reason is wrong COM port selection.
Frequently Asked Questions
What does this How to Set Up Arduino IDE for First tutorial cover?
The Arduino IDE is the most user-friendly platform for studying embedded systems, electronics, and programming.
What Arduino library does the How to Set Up Arduino IDE for First tutorial use?
The sketch uses standard Wire.h (I2C) or SPI.h plus a part-specific library installable via Arduino IDE → Sketch → Include Library → Manage Libraries. See the Sample Code section.
Why does the How to Set Up Arduino IDE for First act differently on USB power vs battery?
Battery voltage sags under load. Add a 100uF cap across the rails, use a 5V/2A regulator-backed pack, and never power motors from the Arduino's onboard regulator.