

Get rid of the nasty folders you store your sketches into on your computer. In this tutorial, you are going to learn how to do proper version control using Git and GitHub.
Things Required:
- Computer
- Familiarity with Linux commands. If you need a review, check this previous tutorial first.
Git and GitHub
Git is an open-source version control software (VCS) that tracks file changes inside a working directory. It can detect as much as a modified line to a single additional space in any of your code files. It also allows you to revert to a previous version of your code, which is especially useful in programming.
Version Control Systems are not only useful in software development, but you could even say it is required, especially Git. I don’t know the statistics, but I am pretty sure that everyone, from designers to developers, uses Git to work on their projects.
On the other hand, GitHub is like an online Git. It is a web service that hosts your coding files and folders so that you can make them visible to other developers. It is especially helpful when you’re developing a project with a team. With GitHub, everyone can work on a project simultaneously without the risk of messing up each other’s codes. It creates a centralized file system where everyone can build, edit, and manage files.
The Git Process
To understand how to use both Git and GitHub, we need to start with the basics of version control first.
Creating a Repository
1. First, install Git from this link. Download the executable file that supports the operating system you are working on.
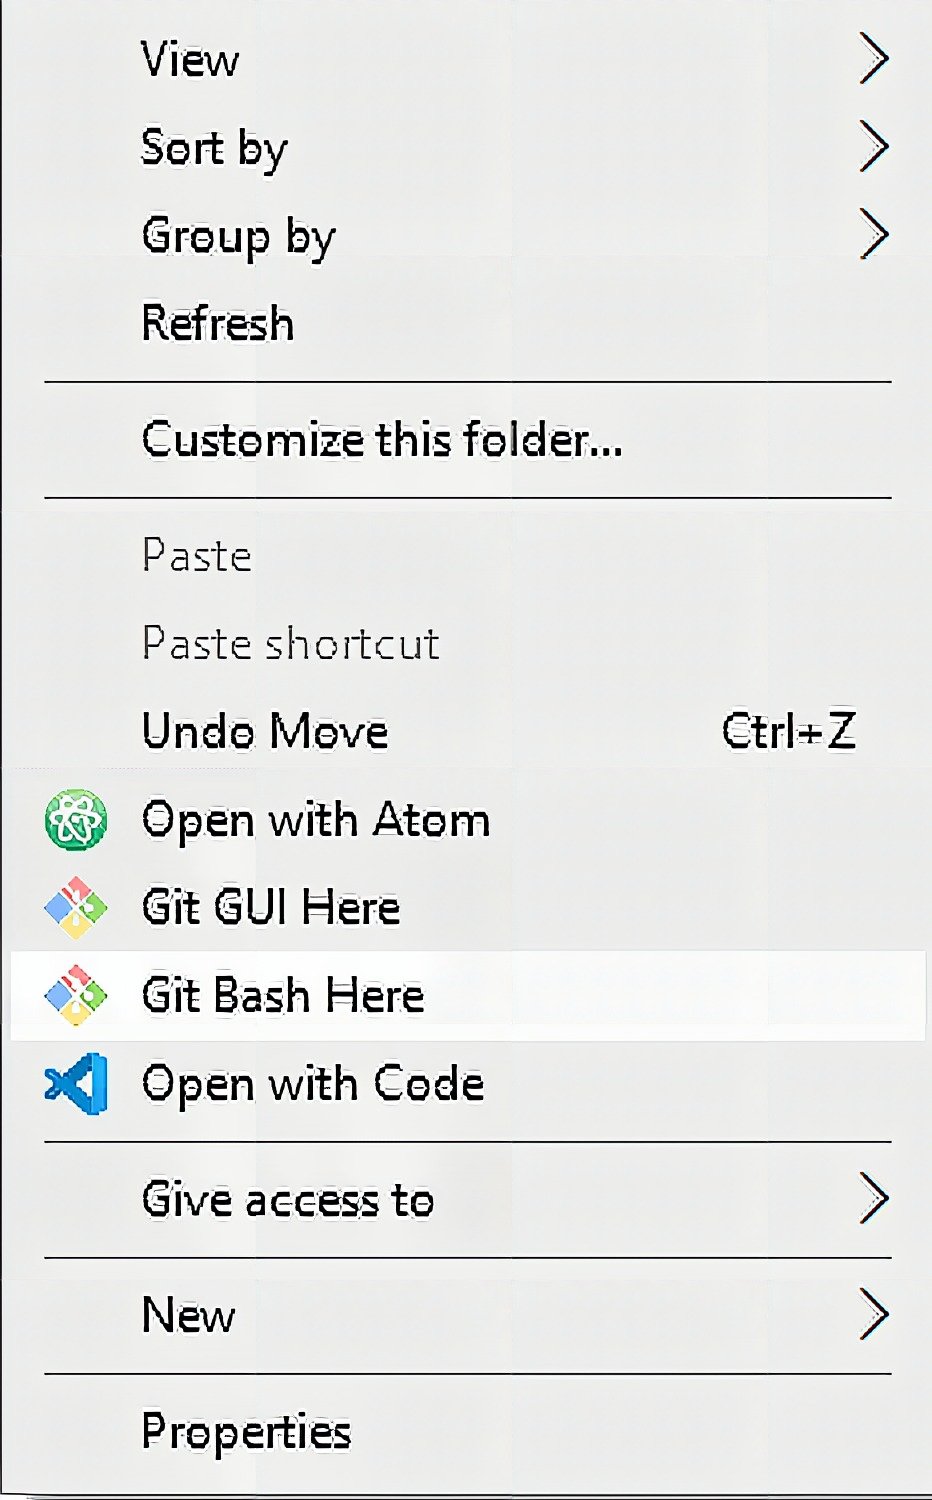
2. Then, create a repository on your target folder/directory. Think of the repository as a storage for all the files you need for your project. For instance, I have these project files for an Autonomous Robot I made before in my computer. I stored them into another folder named GitSample and opened Git using the right mouse button (See Figures 1 and 2).

Alternatively, you can open Git from the Desktop or Start Menu but note that it will transport you to your user’s home directory and not your target directory. You have to use the command cd in the terminal to navigate your way back to GitSample.
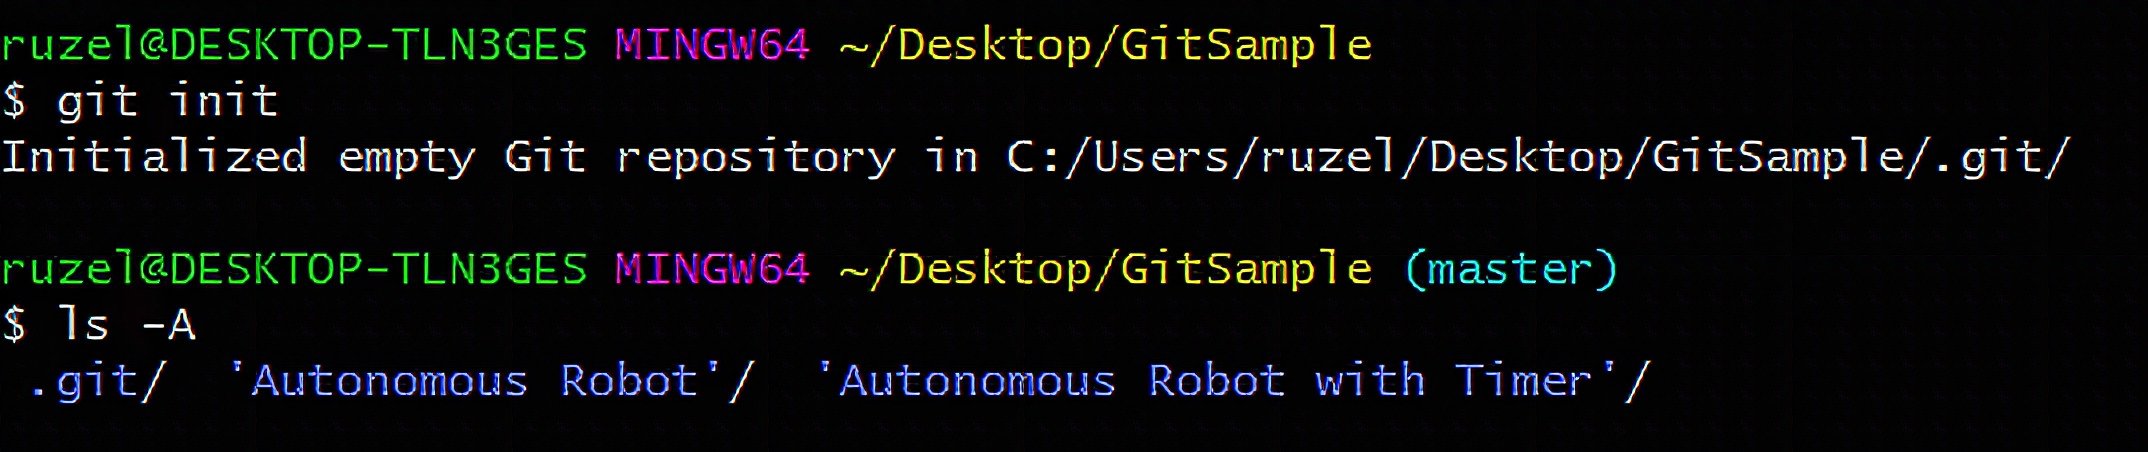
Now to create the repository, enter git init. You can check if the git file is created with ls -A (-A means including hidden files).
Adding the files you want to track
3. Next, to save the current version of your files you need to create a commit. Before you start a commit though, you must add first the files you want to include in the commit using git add. These files are the ones you want to save. If you don’t add a file to commit, Git won’t track its changes and you can’t revert to its previous version. Additionally, to check the files you have modified, you can use git status (see Figure 4).
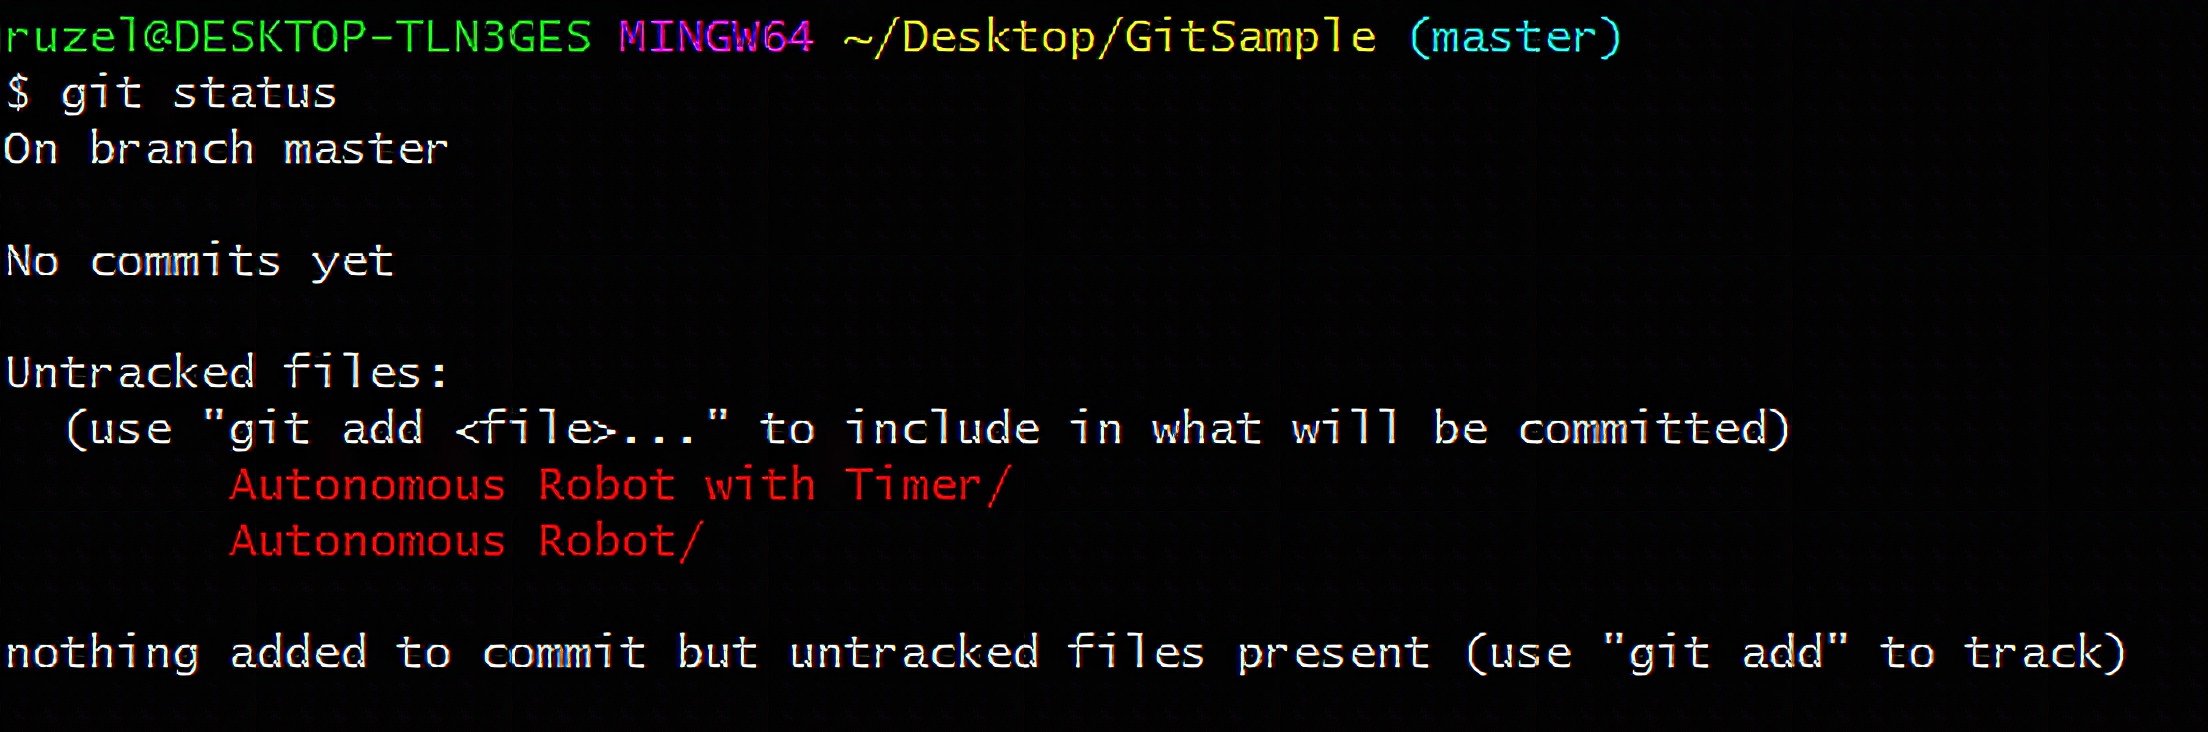
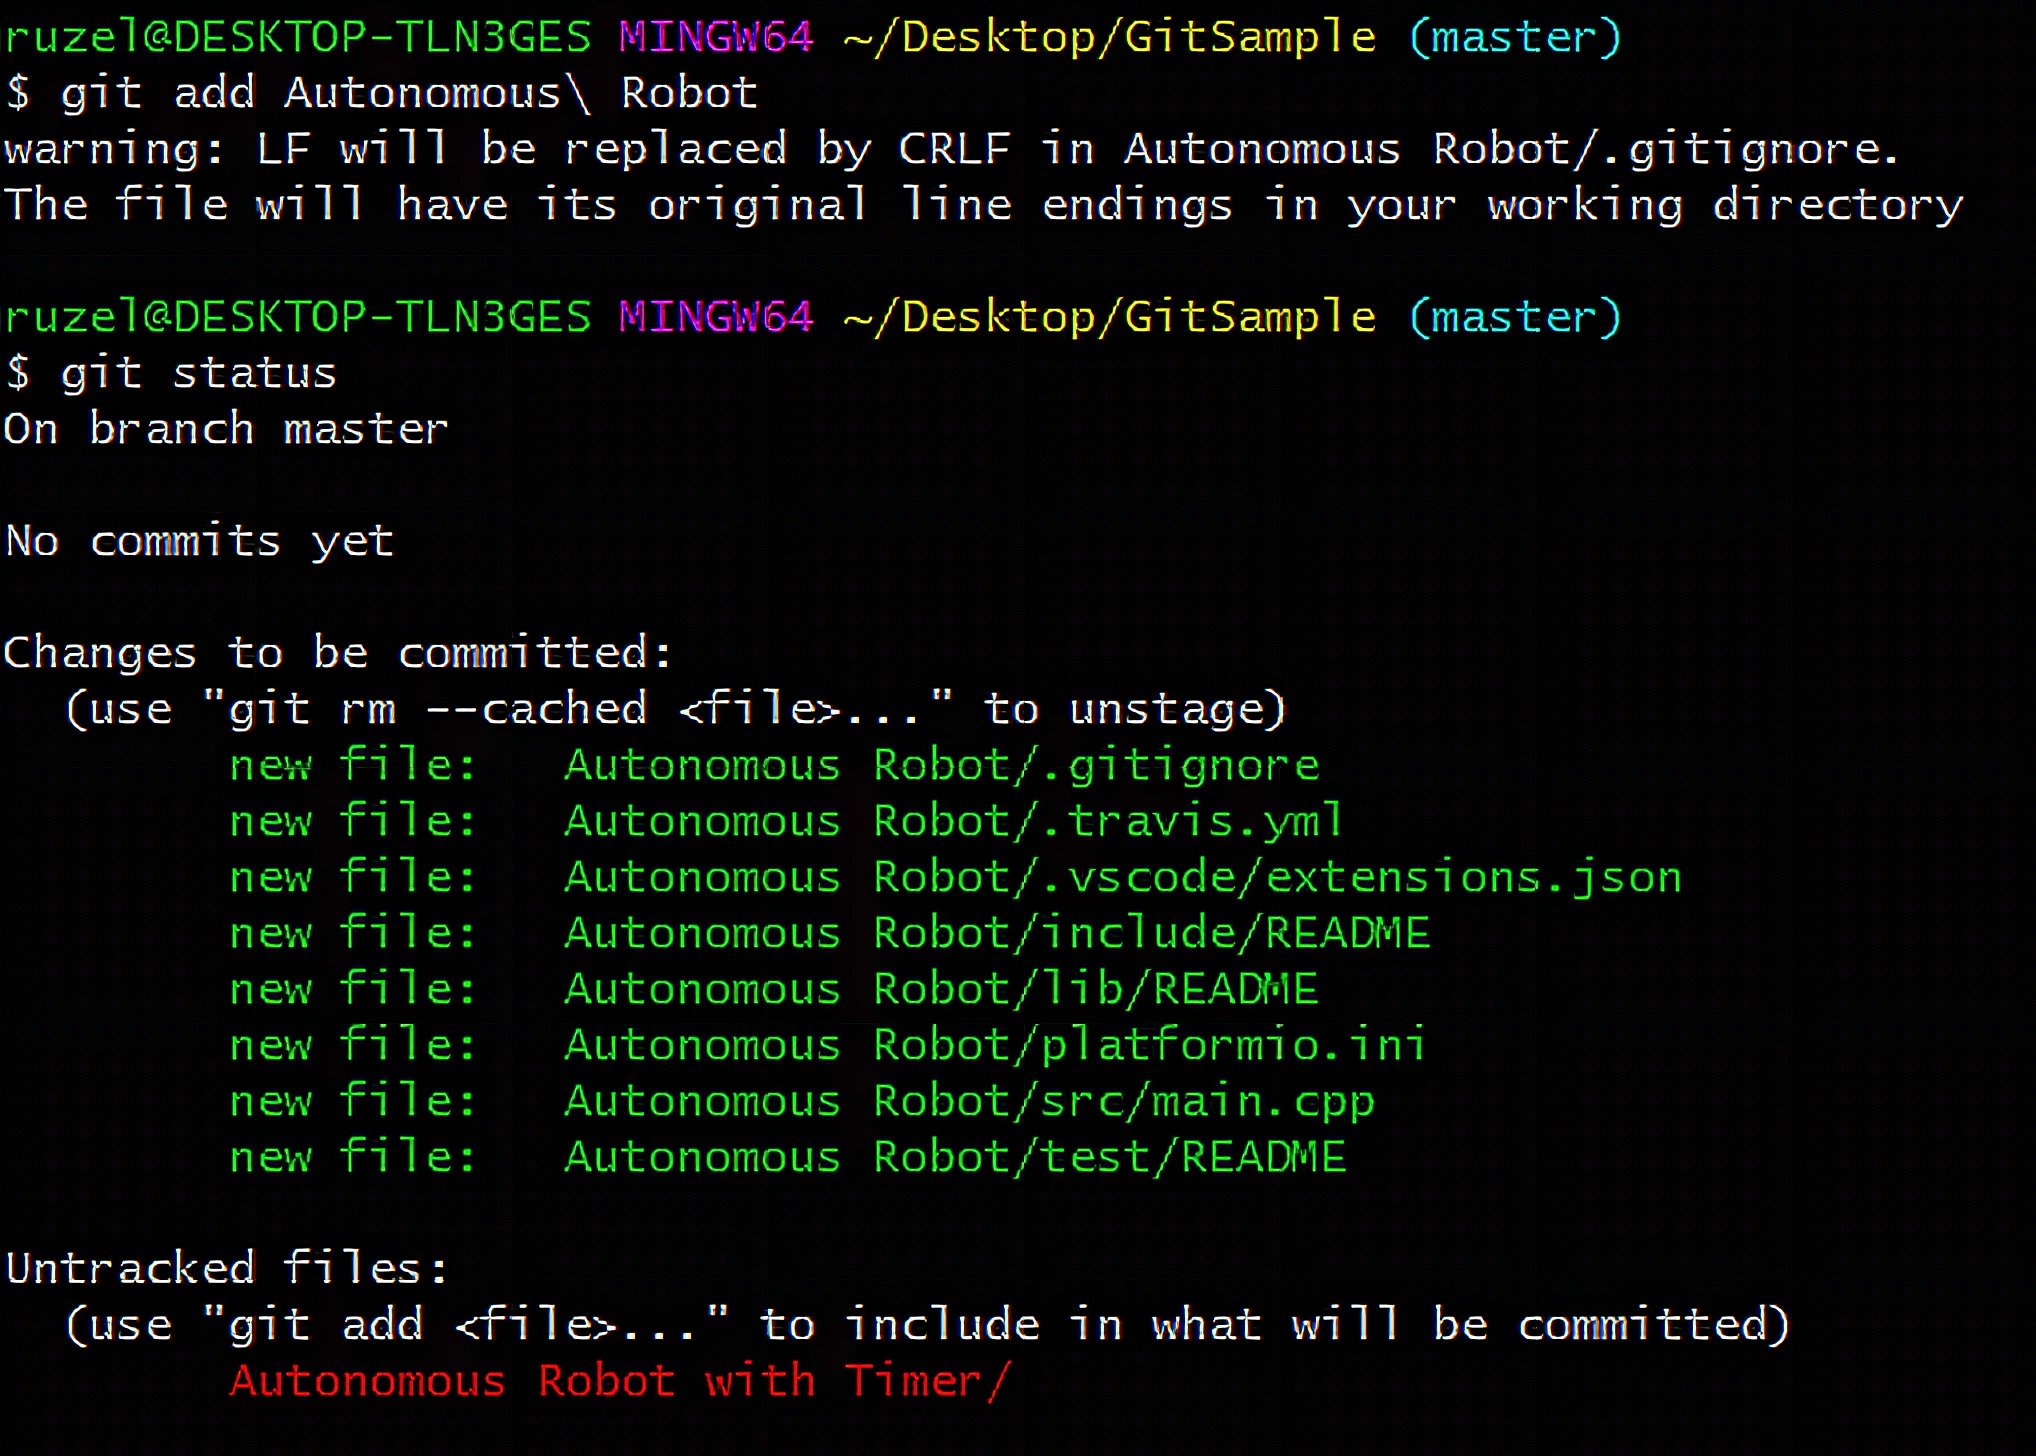
Notice everything is still in red and there are no added files yet to your commit. Now observe if I add the directory Autonomous Robot, the files inside turned green and the other folder is still in the red (see Figure 5). The green files are now in the staging environment. This means that you are about to save the current version of these files. Moreover, if you want to unstage or remove a file to your commit, enter the command git rm --cached filename.
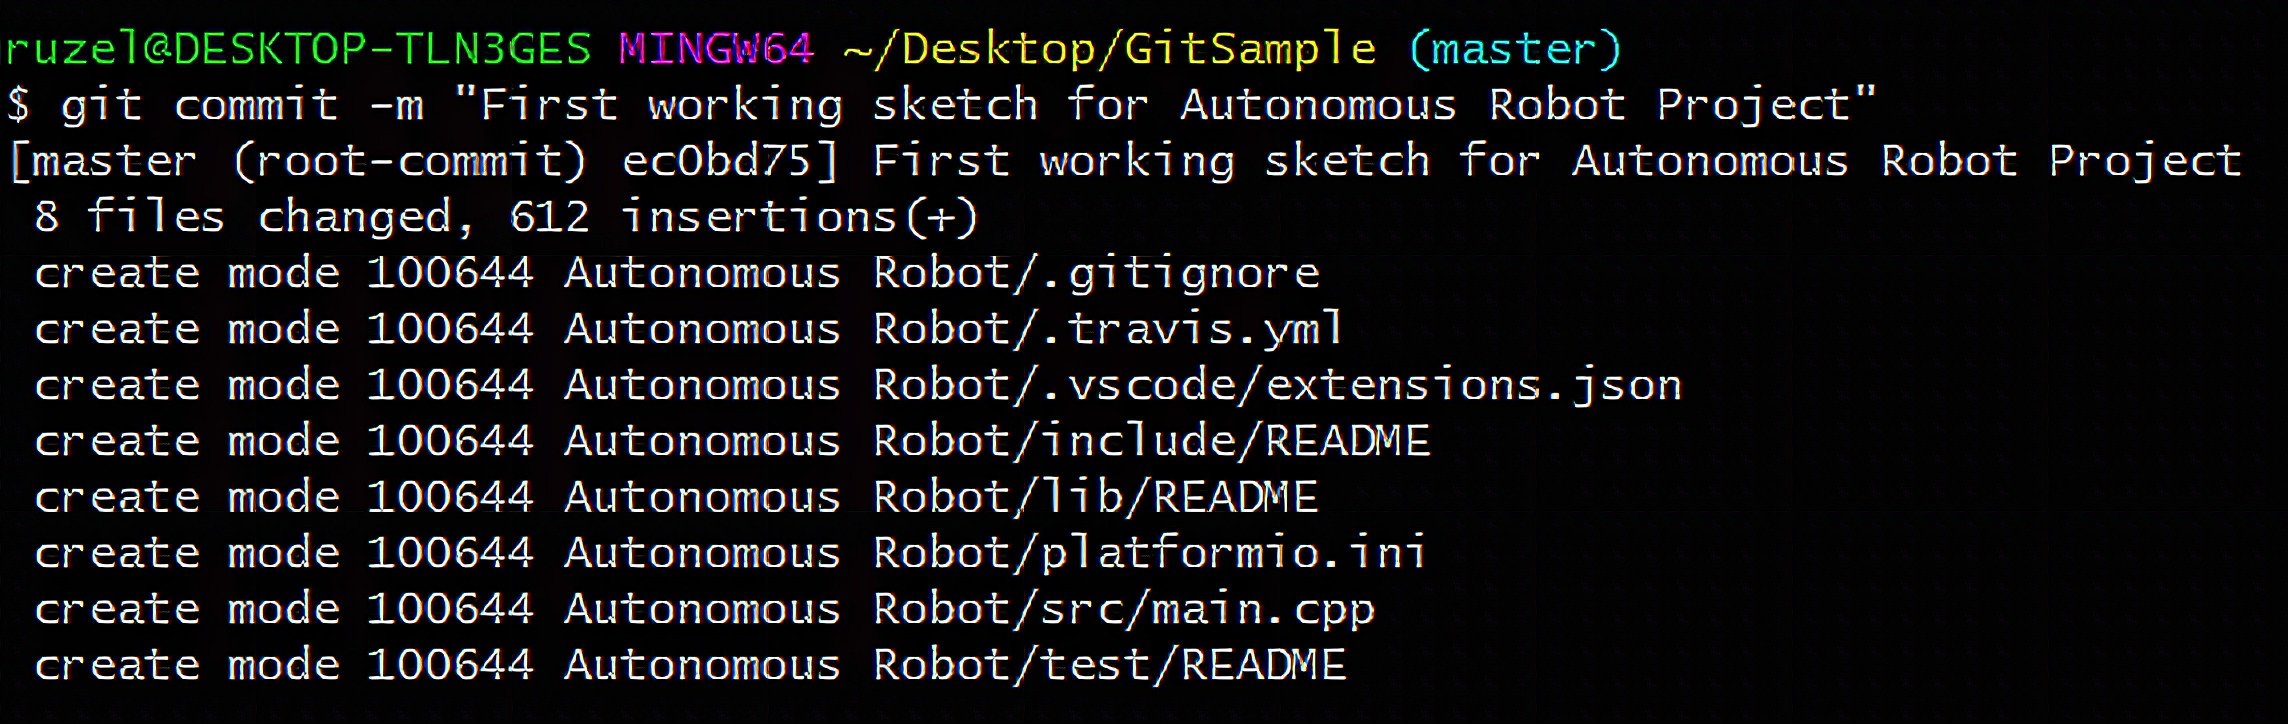
Creating a commit
4. To save the current version of the files inside the stage, enter git commit -m "short description of this current version". You can save a commit without a description by excluding the -m switch, but remember, you may forget what the version is about, especially in a large project with multiple commits, and most especially in a collaborated project with even more commits. So yeah just forget that the command still works without -m. Always put a message with your commits!
Making a branch
5. Branches are – how can I put this – used when you want to play around a commit. For instance, I already have a working version of my project in my current commit but I still want to add an integrated timer and I’m not sure if it will work. The best thing to do is to create a branch. To get started with branching, enter git branch to view all current branches. As you can see in Figure 7, there’s only the master branch as I never created a branch before in this repository. To create a branch, include a filename like git branch integratedtimer. Now you’ve created integratedtimer but you are still on the master branch (Notice the names in blue) so use git checkout integratedtimer to change to the working branch.

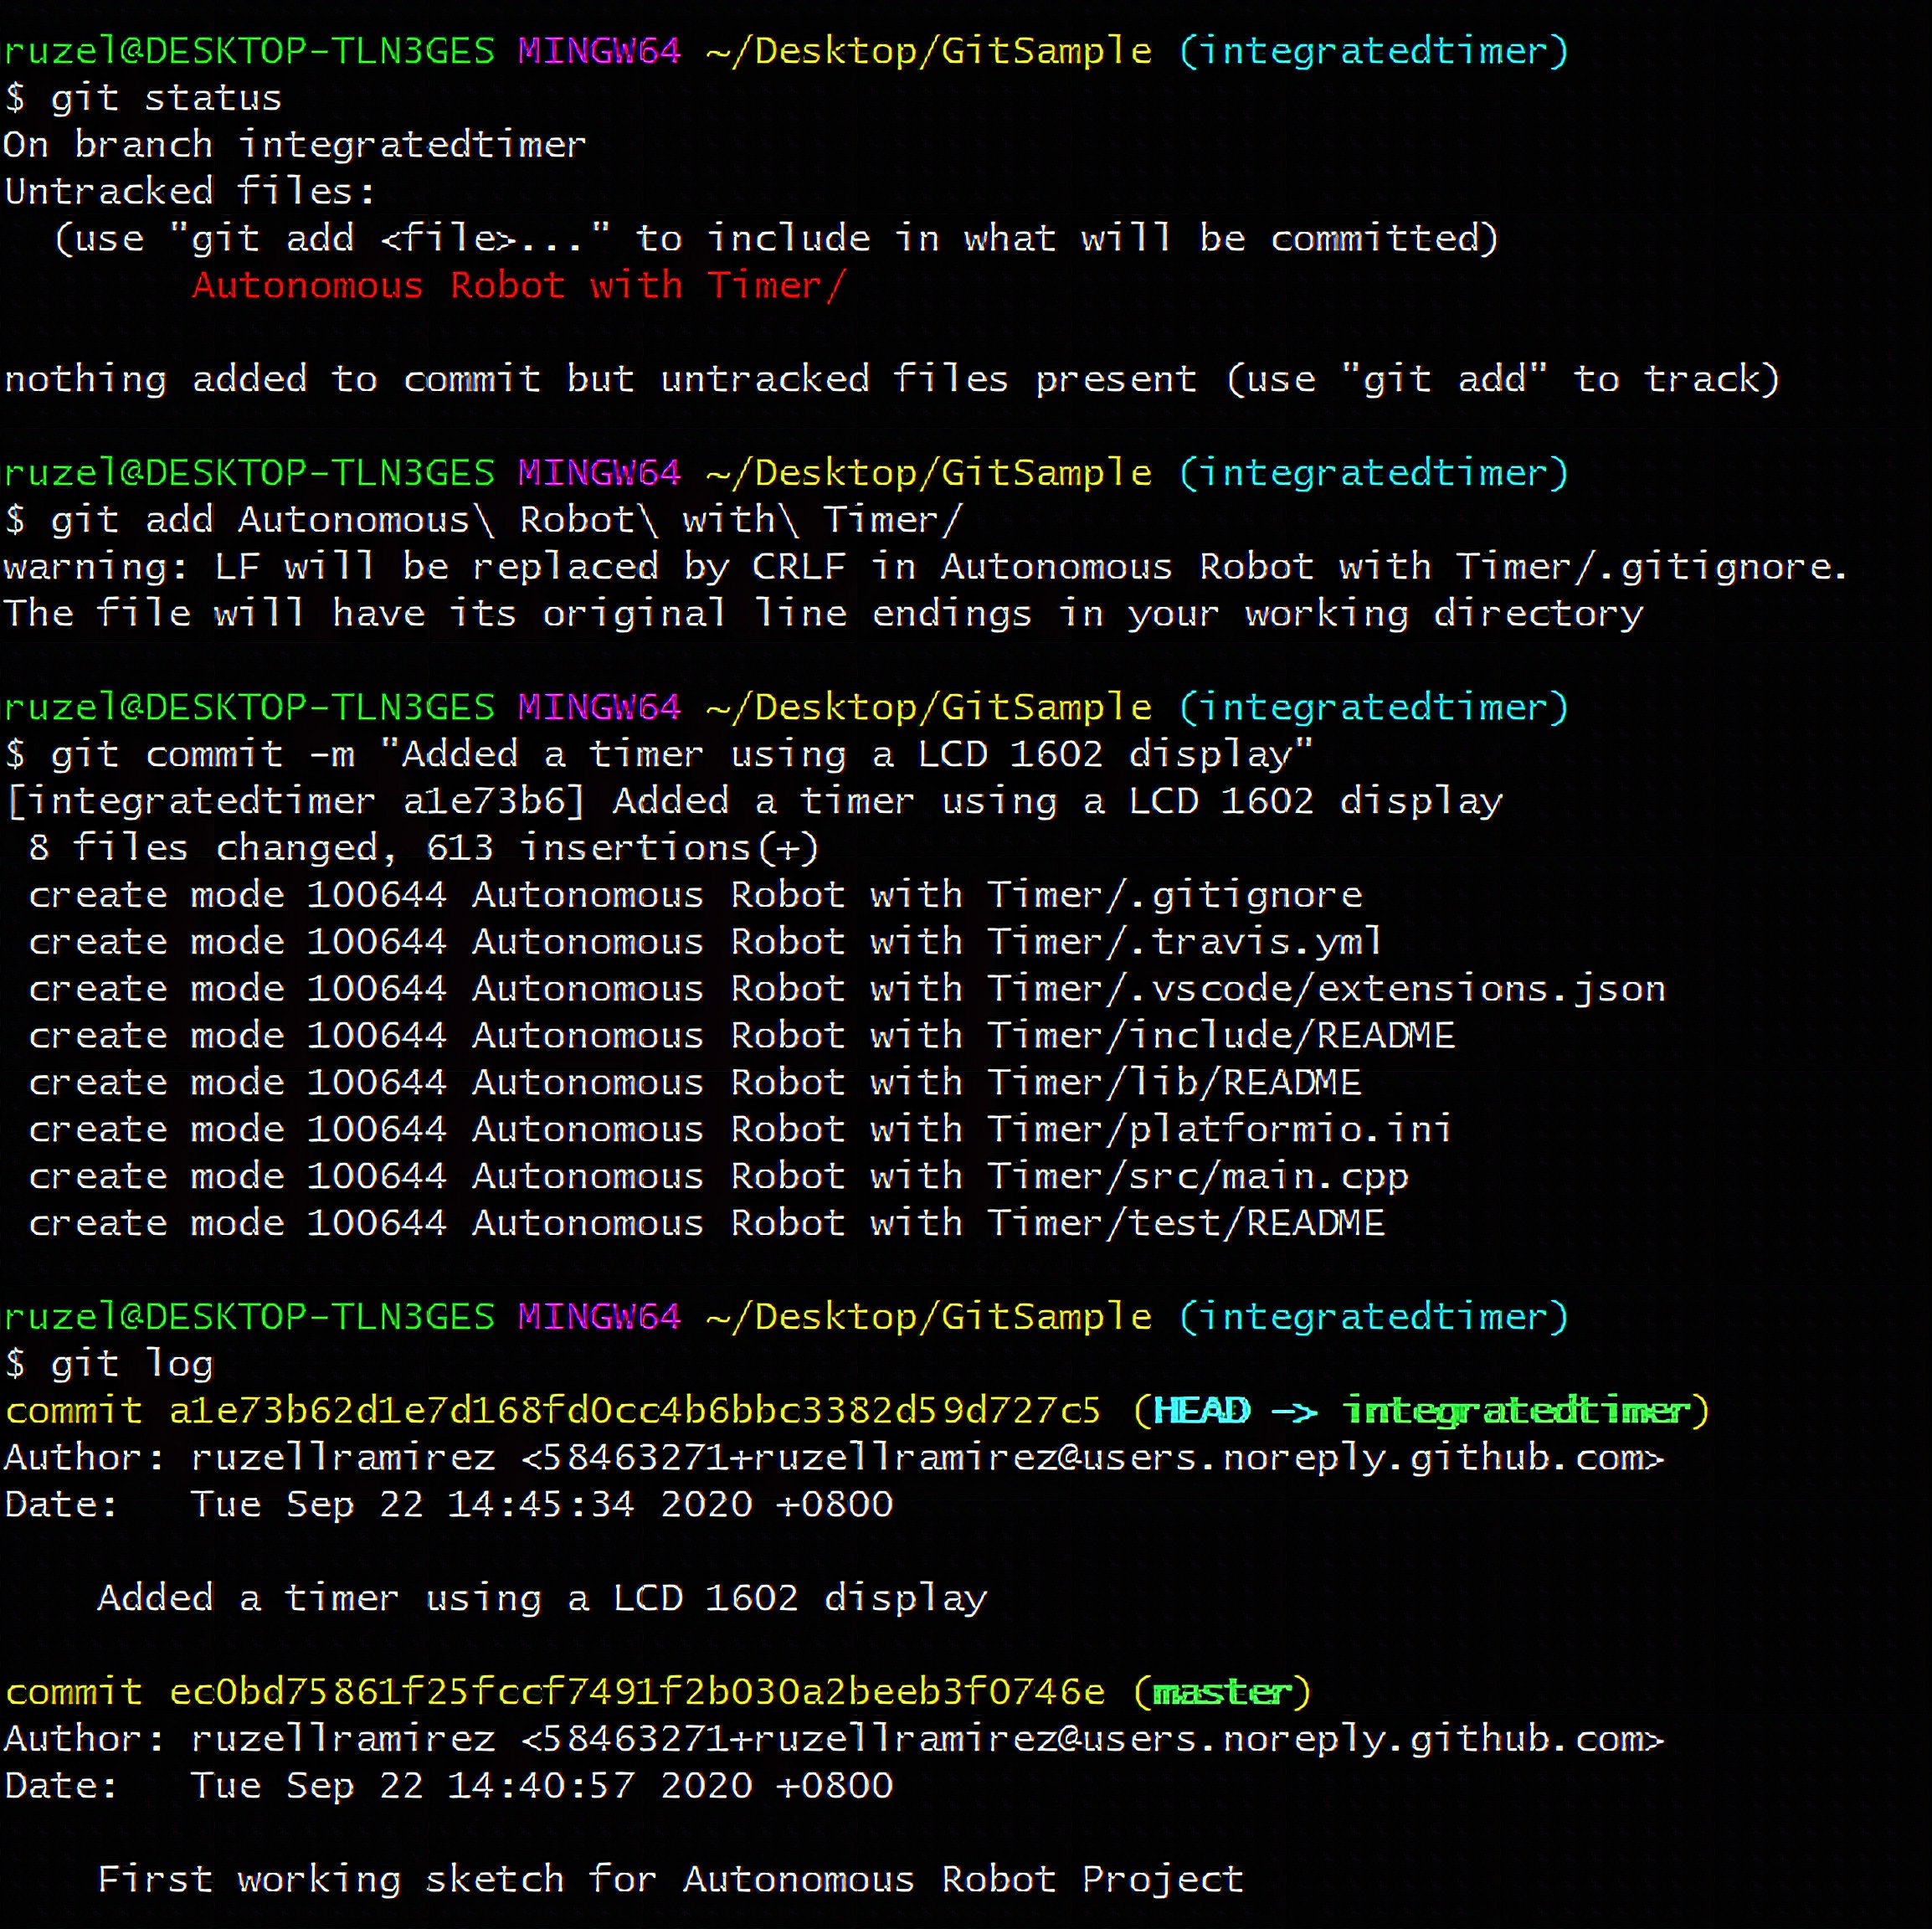
Checking out the Previous Versions
6. Now that we’re inside integratedtimer, suppose we start coding the additional feature. Then, we finish and store the files inside the Autonomous Robot with Timer folder. We add the files to a commit using git add then save their version using git commit -m and now we want to see the previous versions of the repository to review. Enter git log. Git log is simply a command that shows you the history of your branch. And since it is a branch that stemmed from master, the previous commit that we had will also appear in the log (see Figure 8).
7. If we return to the master branch and enter git log, there should be no additional features included (see Figure 9). This is the beauty of branches. It doesn’t overwrite your working commit so you are free to experiment without the risk of introducing chaos on your project.

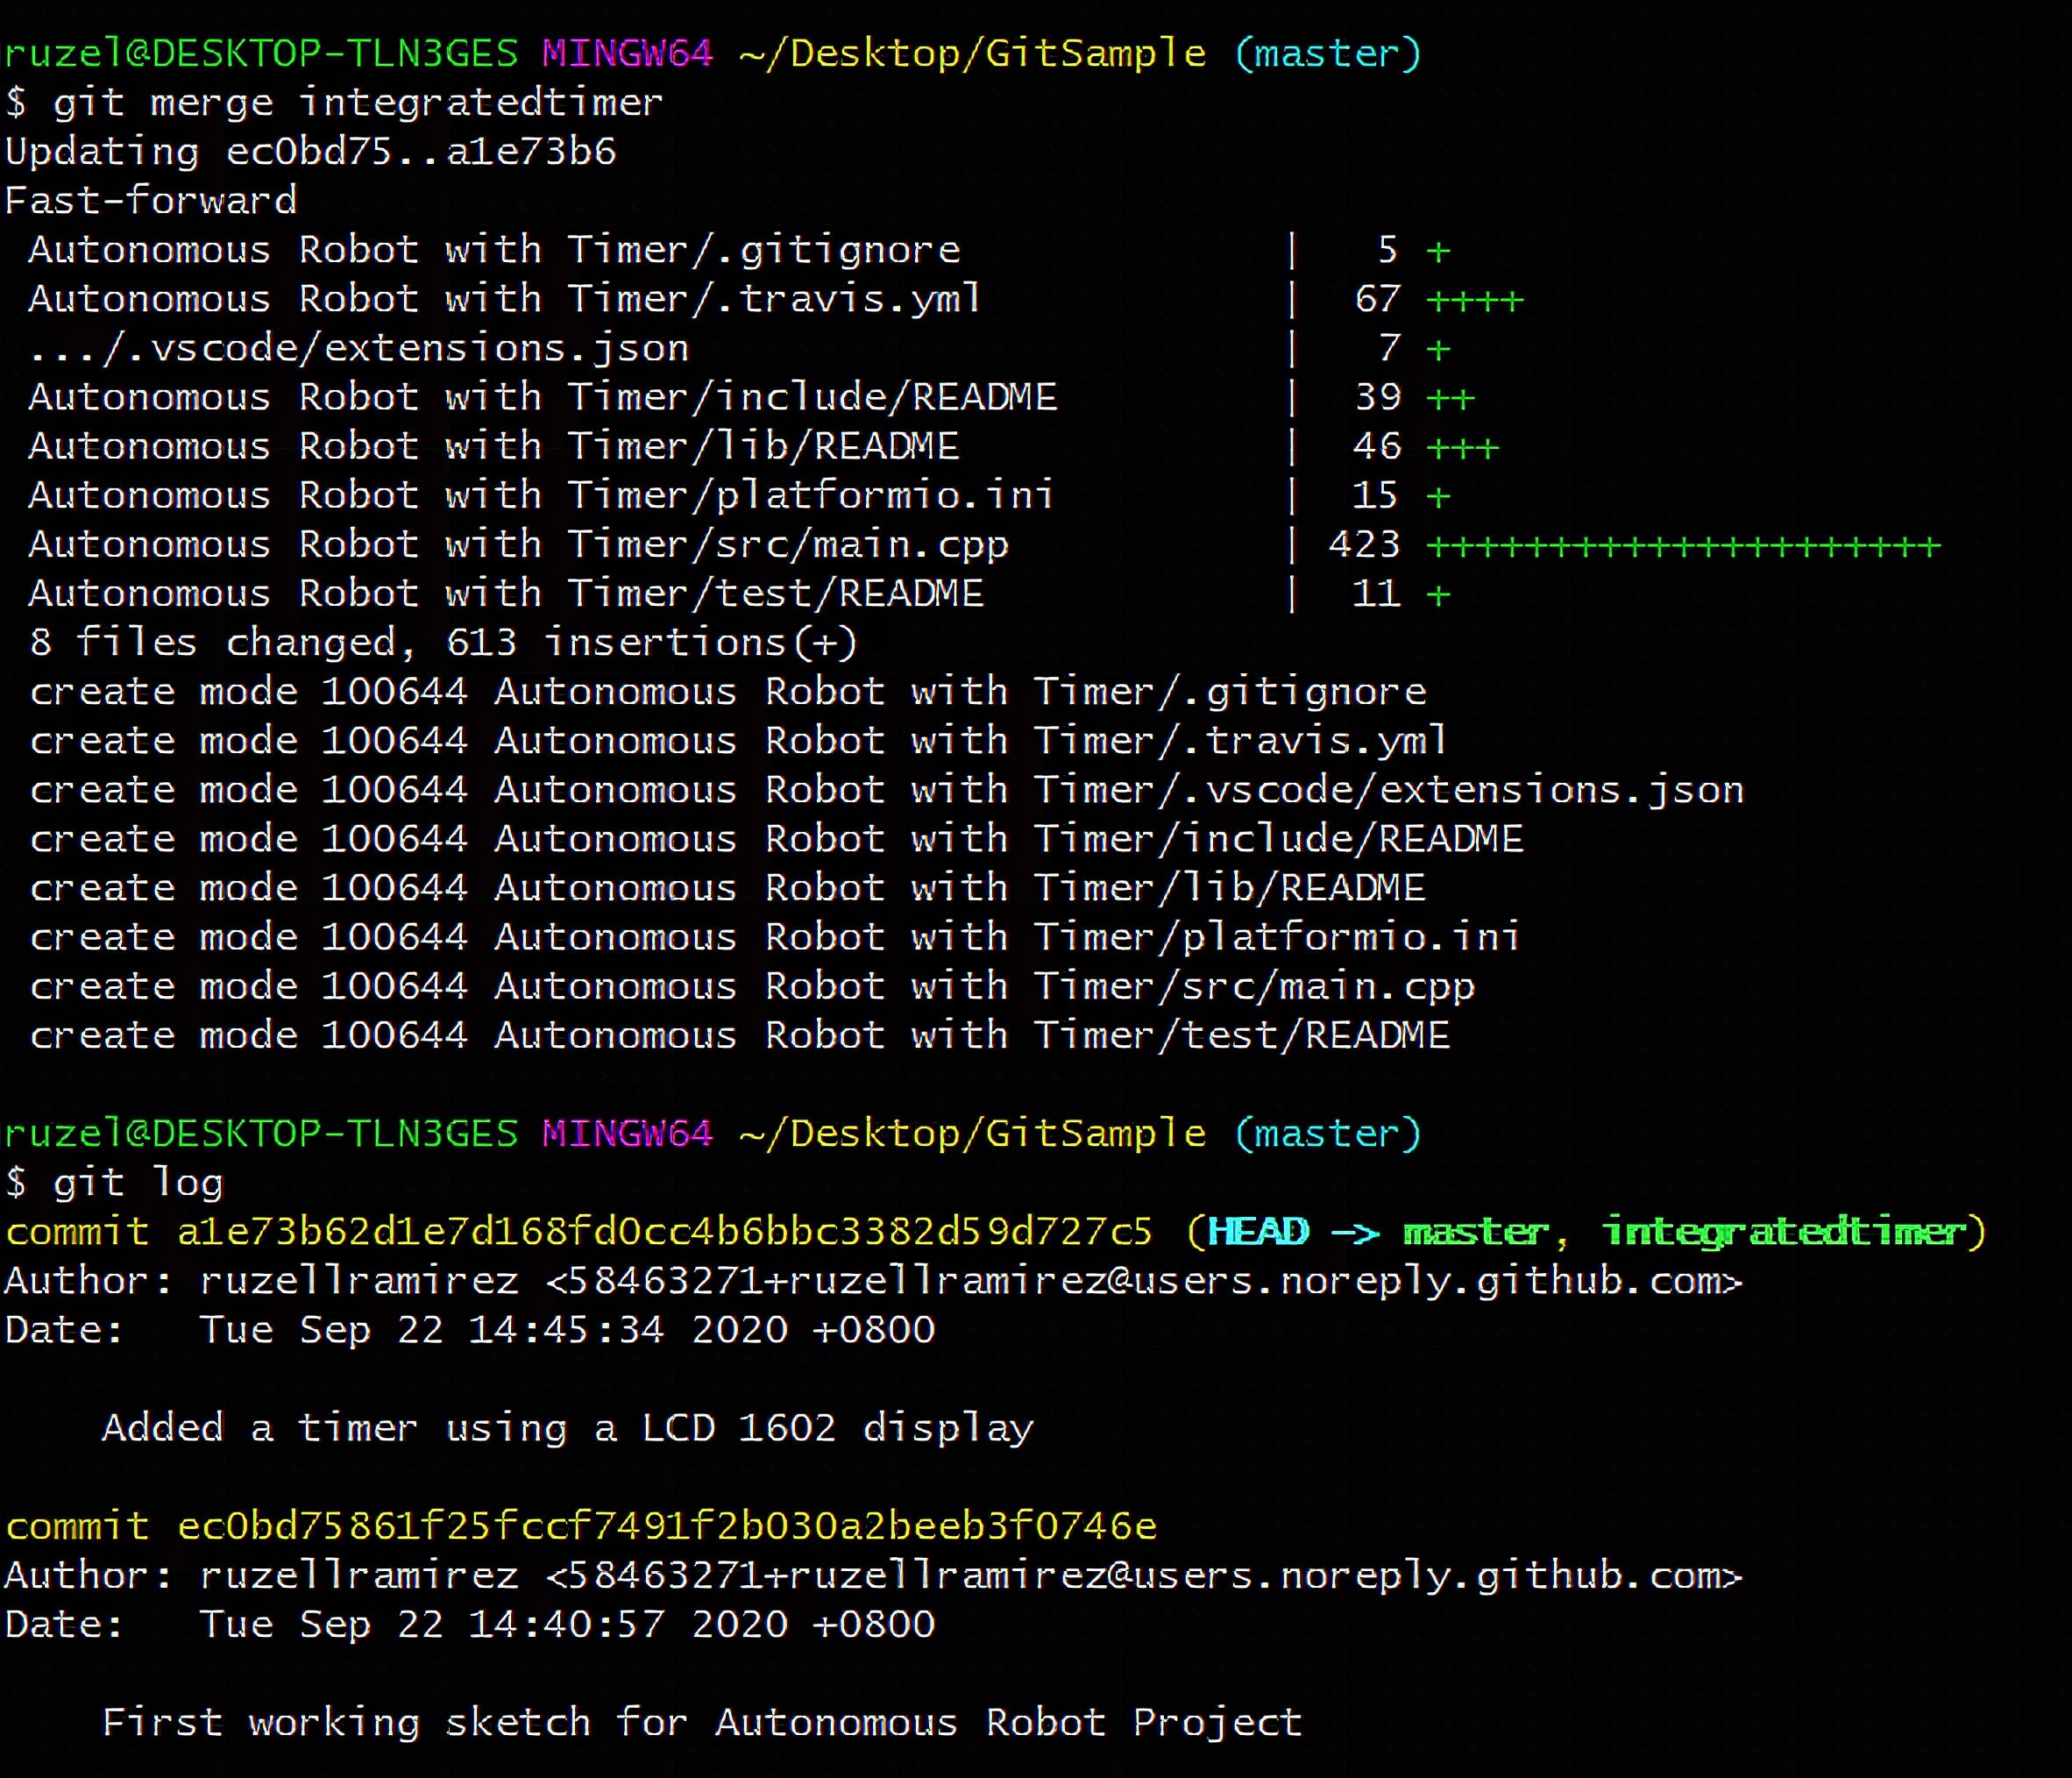
Merging the branch to master
8. Suppose we are working with a team and we showed the integratedtimer branch to them and they liked it. To add the feature to the main commit in the master branch, we go to master and enter git merge integratedtimer. This command will add the changes from the branch to the main commit in master. And if you check again using git log, the feature should already be included.
Using GitHub
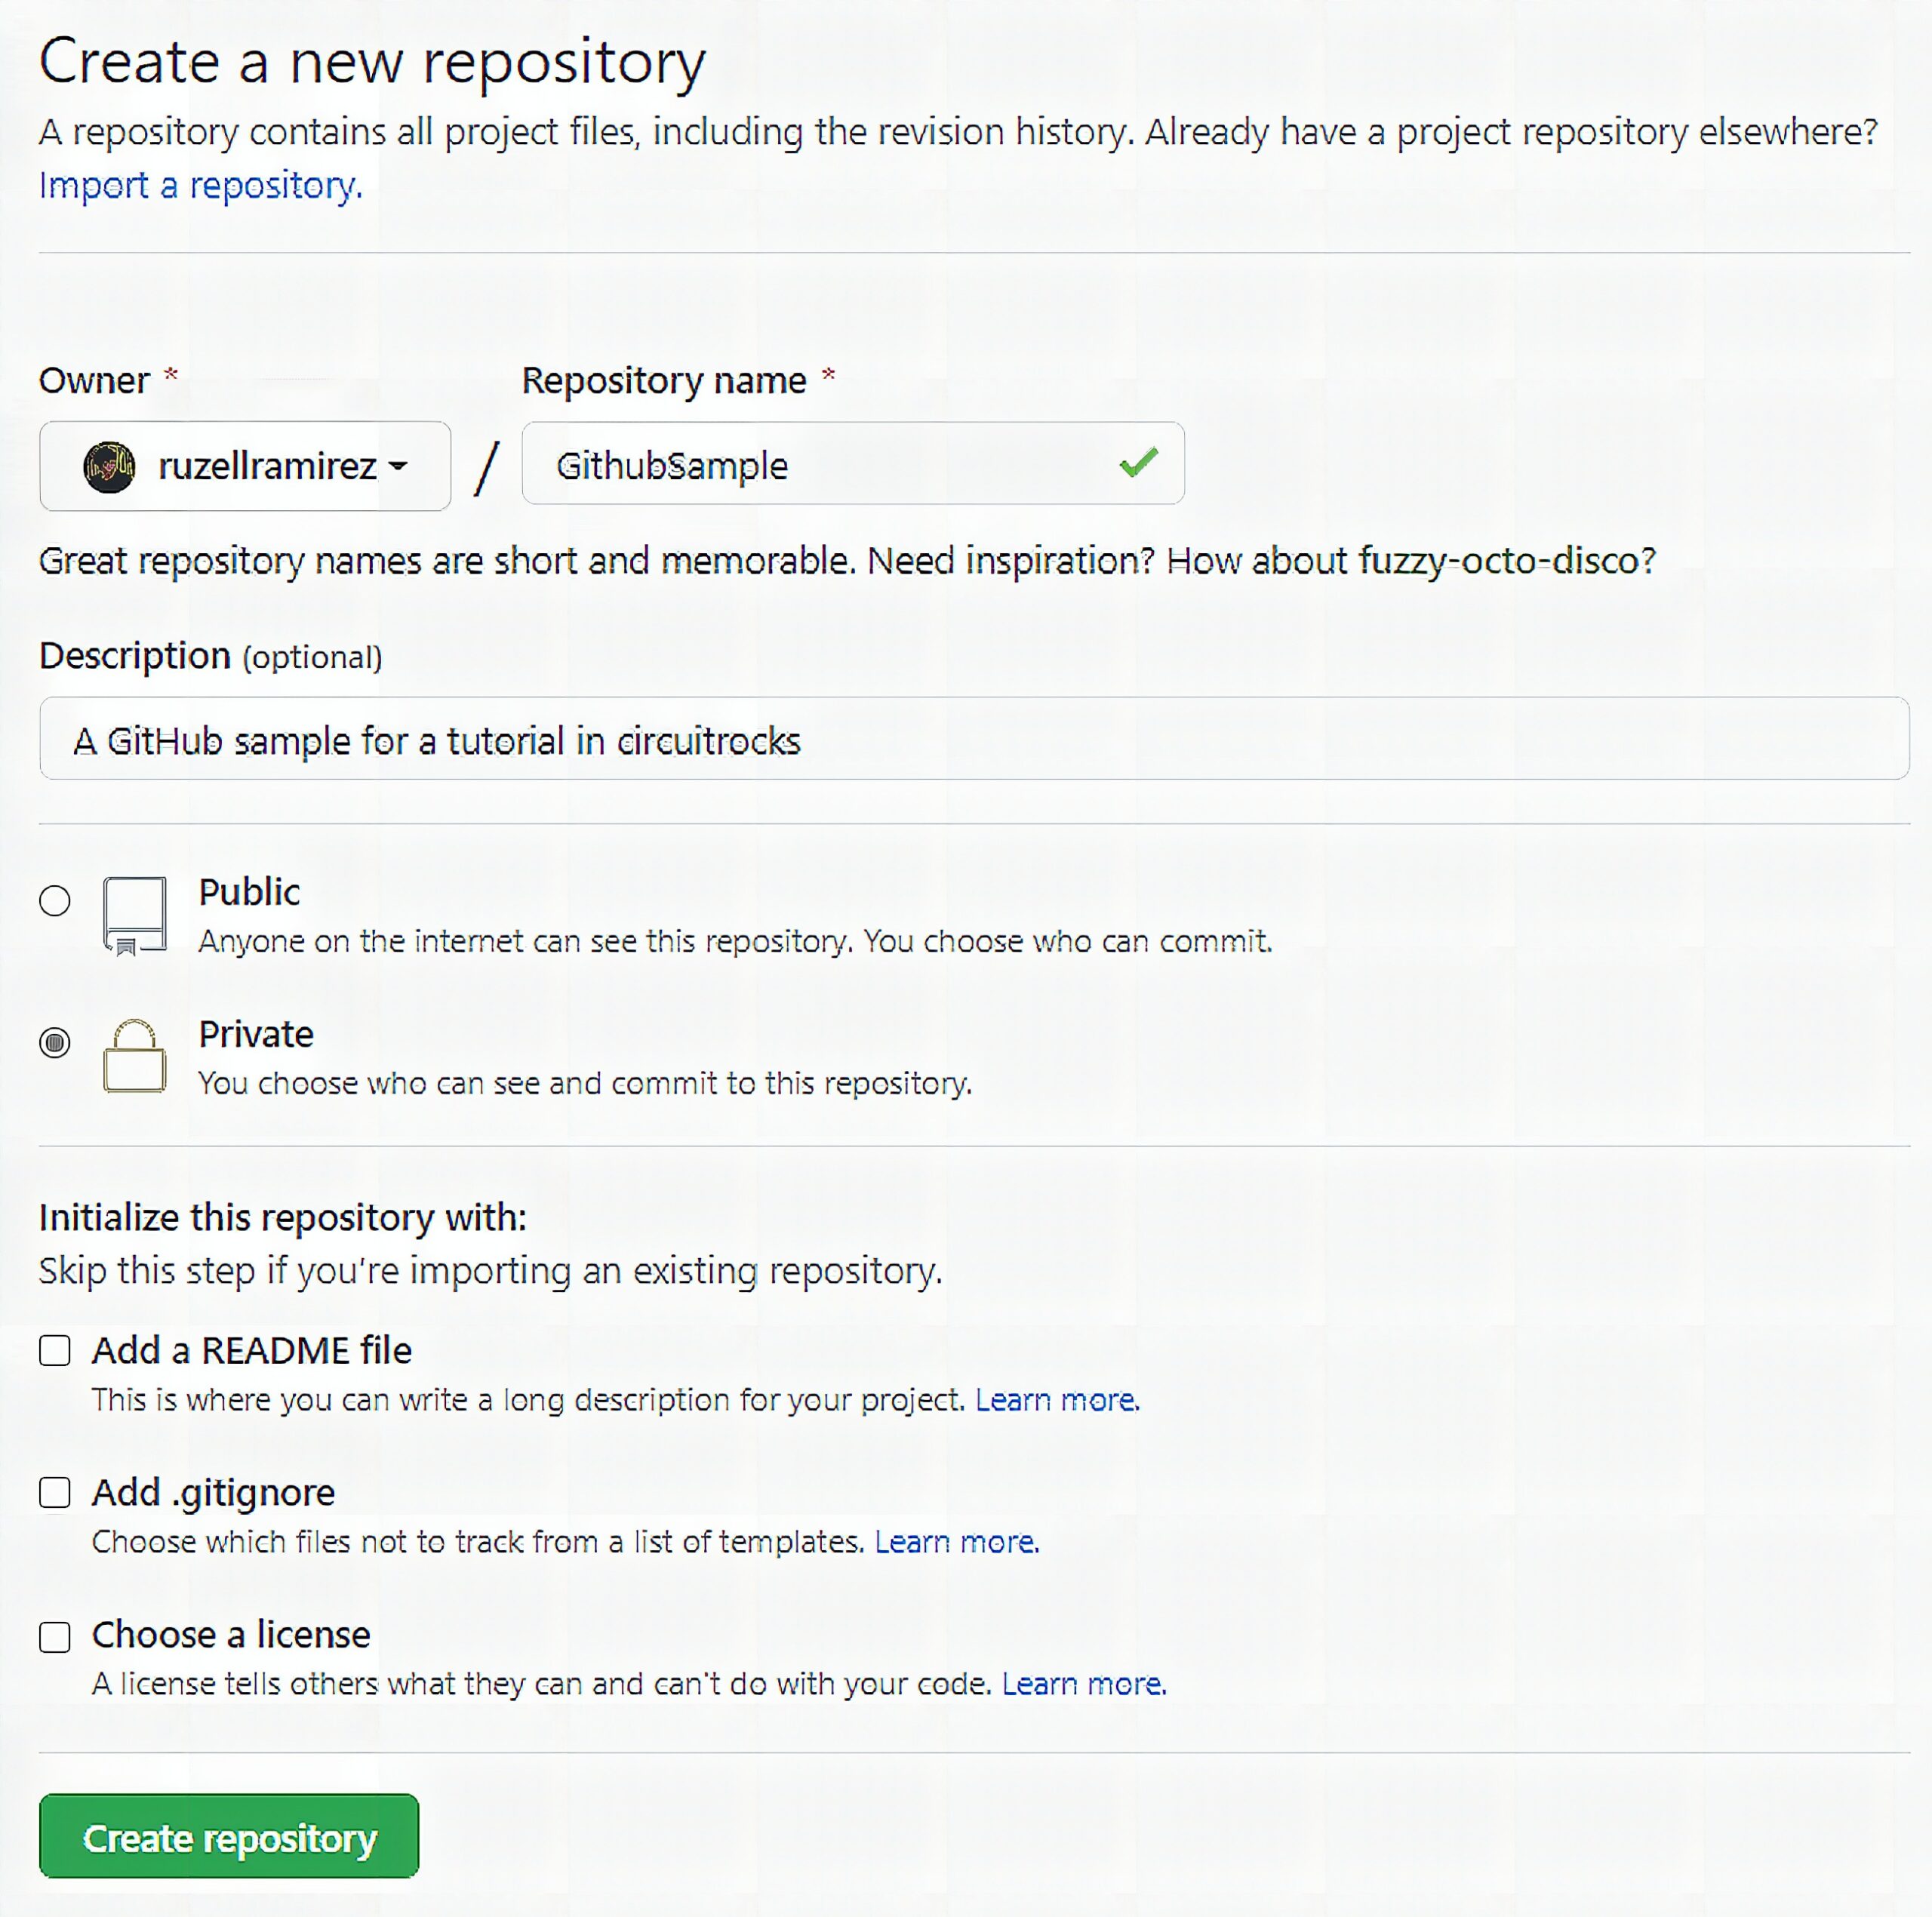
Let us now use GitHub to upload our local repo. By the way, if you upload a repo to GitHub, it is not local anymore. It is now a remote repo. This means that the repo is accessible outside your local machine via the internet.
To upload, login to GitHub then create a new repository. I named mine GitHubSample for demonstration purposes. You can choose if you want to make it Public or Private. Public repos can be accessed by anyone on the internet. Private repos ask you who can access it. Moreover, you can have a README file that may include a long description or manual of your project. You can add links, images, videos, and many more kinds of content to your README file. If you want to make developers worldwide help you with your open-source project, better make it as interesting as it can!
Next, grab the remote repository’s link from Github. You can find it inside the Quick setup bar, mine is https://github.com/ruzellramirez/GitHubSample.git.

Go back to your Git Terminal and enter git remote add origin "githubrepolink". This creates a remote repository named origin with the link you specified. Finally, upload it using git push -u origin master. This uploads your master branch to remote repository origin.
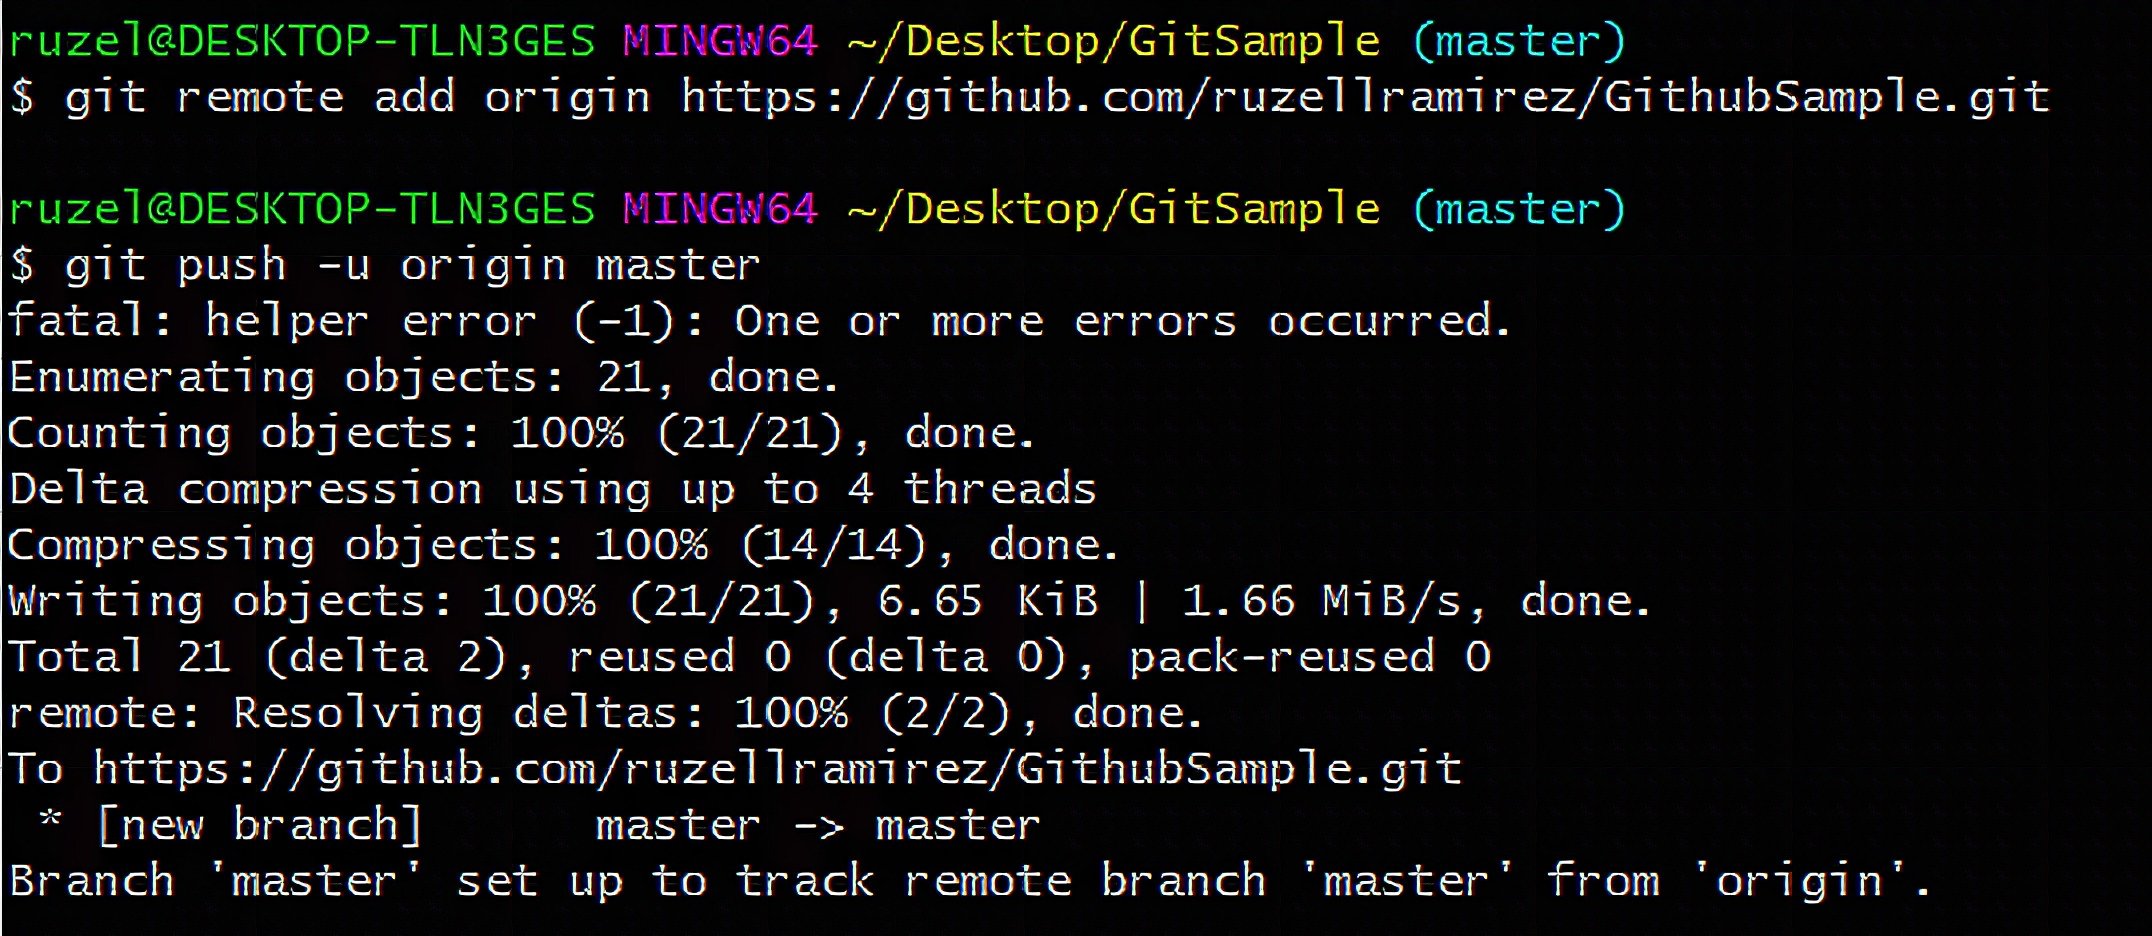
If you check your GitHub page, you should see your local repository in there now. You can even see the commits from it.

Frequently Asked Questions
What does this How to Use Git and Github for your Projects tutorial cover?
Get rid of the nasty folders you store your sketches into on your computer.
What's the working voltage of the How to Use Git and Github for your Projects?
Check the Sample Code section for the exact pinout — most maker-grade sensors run on 3.3V or 5V. Wire VCC to the matching rail, GND common with your MCU, data to a digital or analog pin.
Why does the How to Use Git and Github for your Projects read garbage or saturated values?
Three usual causes: wrong voltage rail, missing pull-up resistor on I2C lines (4.7k–10k to VCC), or a floating data pin. Double-check wiring against the diagram, then probe with a multimeter.