
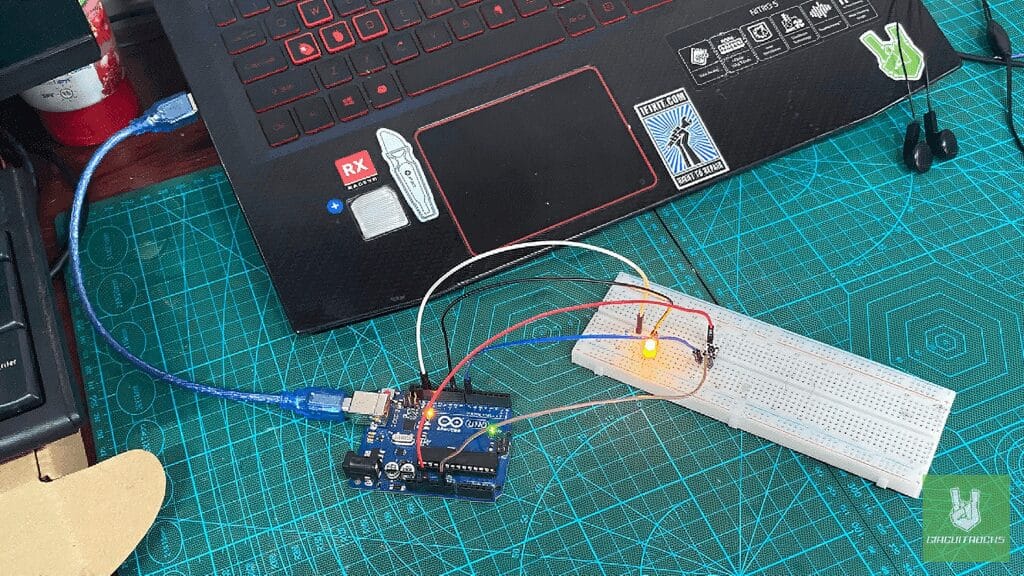
A tactile button is a great first project with Arduino. Here you’ll control an LED, toggling it ON and OFF with a single button press. It covers the basics you’ll reuse everywhere: reading a digital input, driving a digital output, and tracking state between presses. By the end you’ll know how to read a button and use it to switch something on the other side, like an LED.
The tactile button is your input. Press it and the LED flips between ON and OFF. Along the way you’ll write and upload code to the Arduino and wire up the parts on a breadboard with jumper wires. That’s the same workflow you’ll lean on for bigger builds later.
Once this one works, you’re set up for more ambitious projects. Read a button, control an output, and you’ve got the pattern behind a ton of Arduino builds. Grab your parts and give it a go @Circuitrocks!
Components
Connection:
LED:
- Anode (longer leg): Connected to digital pin 9.
- Cathode (shorter leg): Connected to GND through a 220-ohm resistor
Tactile Button:
- One leg of the button: Connected to digital pin 7 (Black).
- The other leg: connected to 5V (Red) from the Arduino.
- Opposite leg of the button: Connected to GND (Brown) directly.
Code:
#define LED_PIN 9
#define BUTTON_PIN 7 bool ledState = false; // Track the LED's state
bool lastButtonState = false; // Track the last button state
bool currentButtonState = false; void setup() { pinMode(LED_PIN, OUTPUT); // Set LED pin as output pinMode(BUTTON_PIN, INPUT); // Set button pin as input digitalWrite(LED_PIN, LOW); // Turn off the LED initially
} void loop() { currentButtonState = digitalRead(BUTTON_PIN); // Read button state // Check for button press (rising edge) if (currentButtonState &&!lastButtonState) { ledState =!ledState; // Toggle the LED state digitalWrite(LED_PIN, ledState); // Turn LED ON/OFF } lastButtonState = currentButtonState; // Save the button state
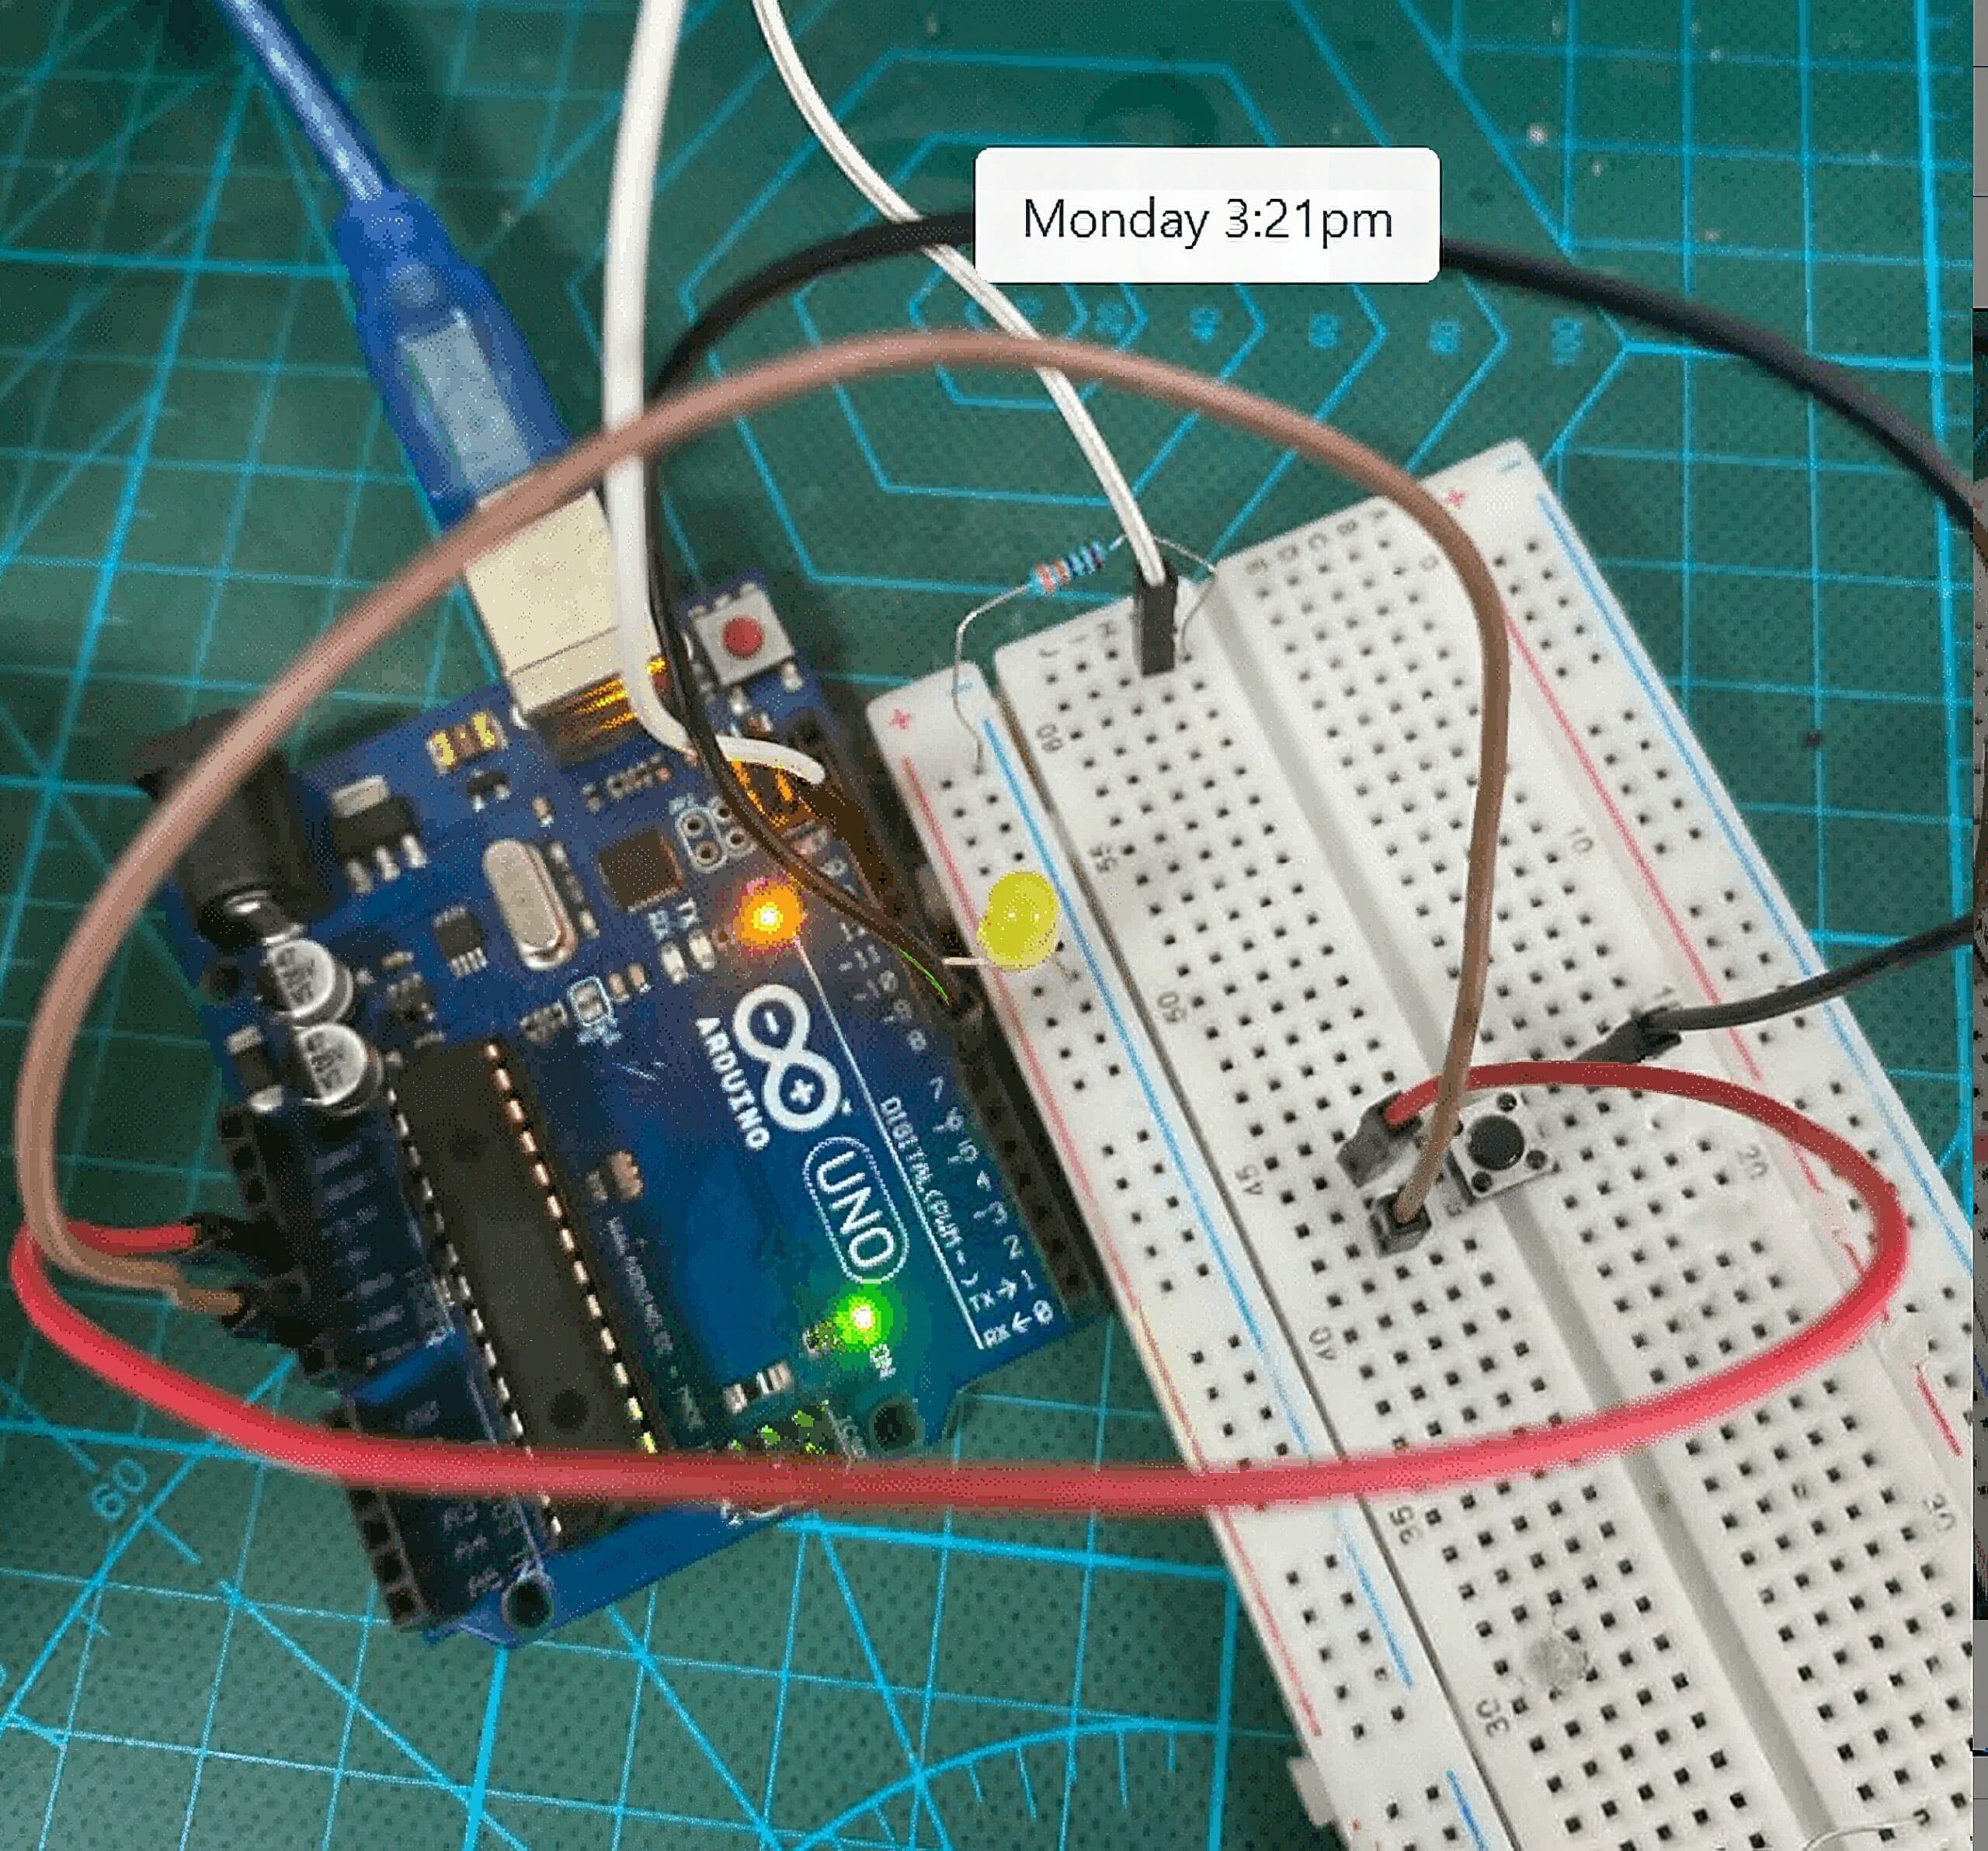
}If everything works as expected, your circuit is good to go!
QUICK LINK
Frequently Asked Questions
What does this Getting Started with Arduino: A Beginner's Guide using Tactile Button tutorial cover?
Learning how to use a tactile button with Arduino is a simple and enjoyable way to start exploring electronics.
What Arduino library does the Getting Started with Arduino: A Beginner's Guide using Tactile Button tutorial use?
The sketch uses standard Wire.h (I2C) or SPI.h plus a part-specific library installable via Arduino IDE → Sketch → Include Library → Manage Libraries. See the Sample Code section.
Why does the Getting Started with Arduino: A Beginner's Guide using Tactile Button act differently on USB power vs battery?
Battery voltage sags under load. Add a 100uF cap across the rails, use a 5V/2A regulator-backed pack, and never power motors from the Arduino's onboard regulator.