
This tutorial is all about the Raspberry Pi – a pocket-sized computer that can teach you several computer science technologies, including writing in several programming languages, building an operating system, and even creating your own gaming console!
Raspberry Pi
The Raspberry Pi is a low-cost Linux-based computer that is about the size of a credit card. Normally, it works just like a regular computer everyone uses to browse the web, play media, and etc. But it goes beyond that. With the Pi, you are given access to both the software and hardware side of the computer. This makes it suitable for teaching all kinds of computer technologies.
All of that is not by chance. Eben Upton, the founder of the Raspberry Pi foundation, actually created the Pi with the desire to spark people’s interest in the field of computer science. He, along with the other founders, designed the Pi to be as compact and unrestricted as possible, making the Pi a perfect platform for learning.
With over 15 million units sold, it is safe to say Eben’s goal has already been achieved.
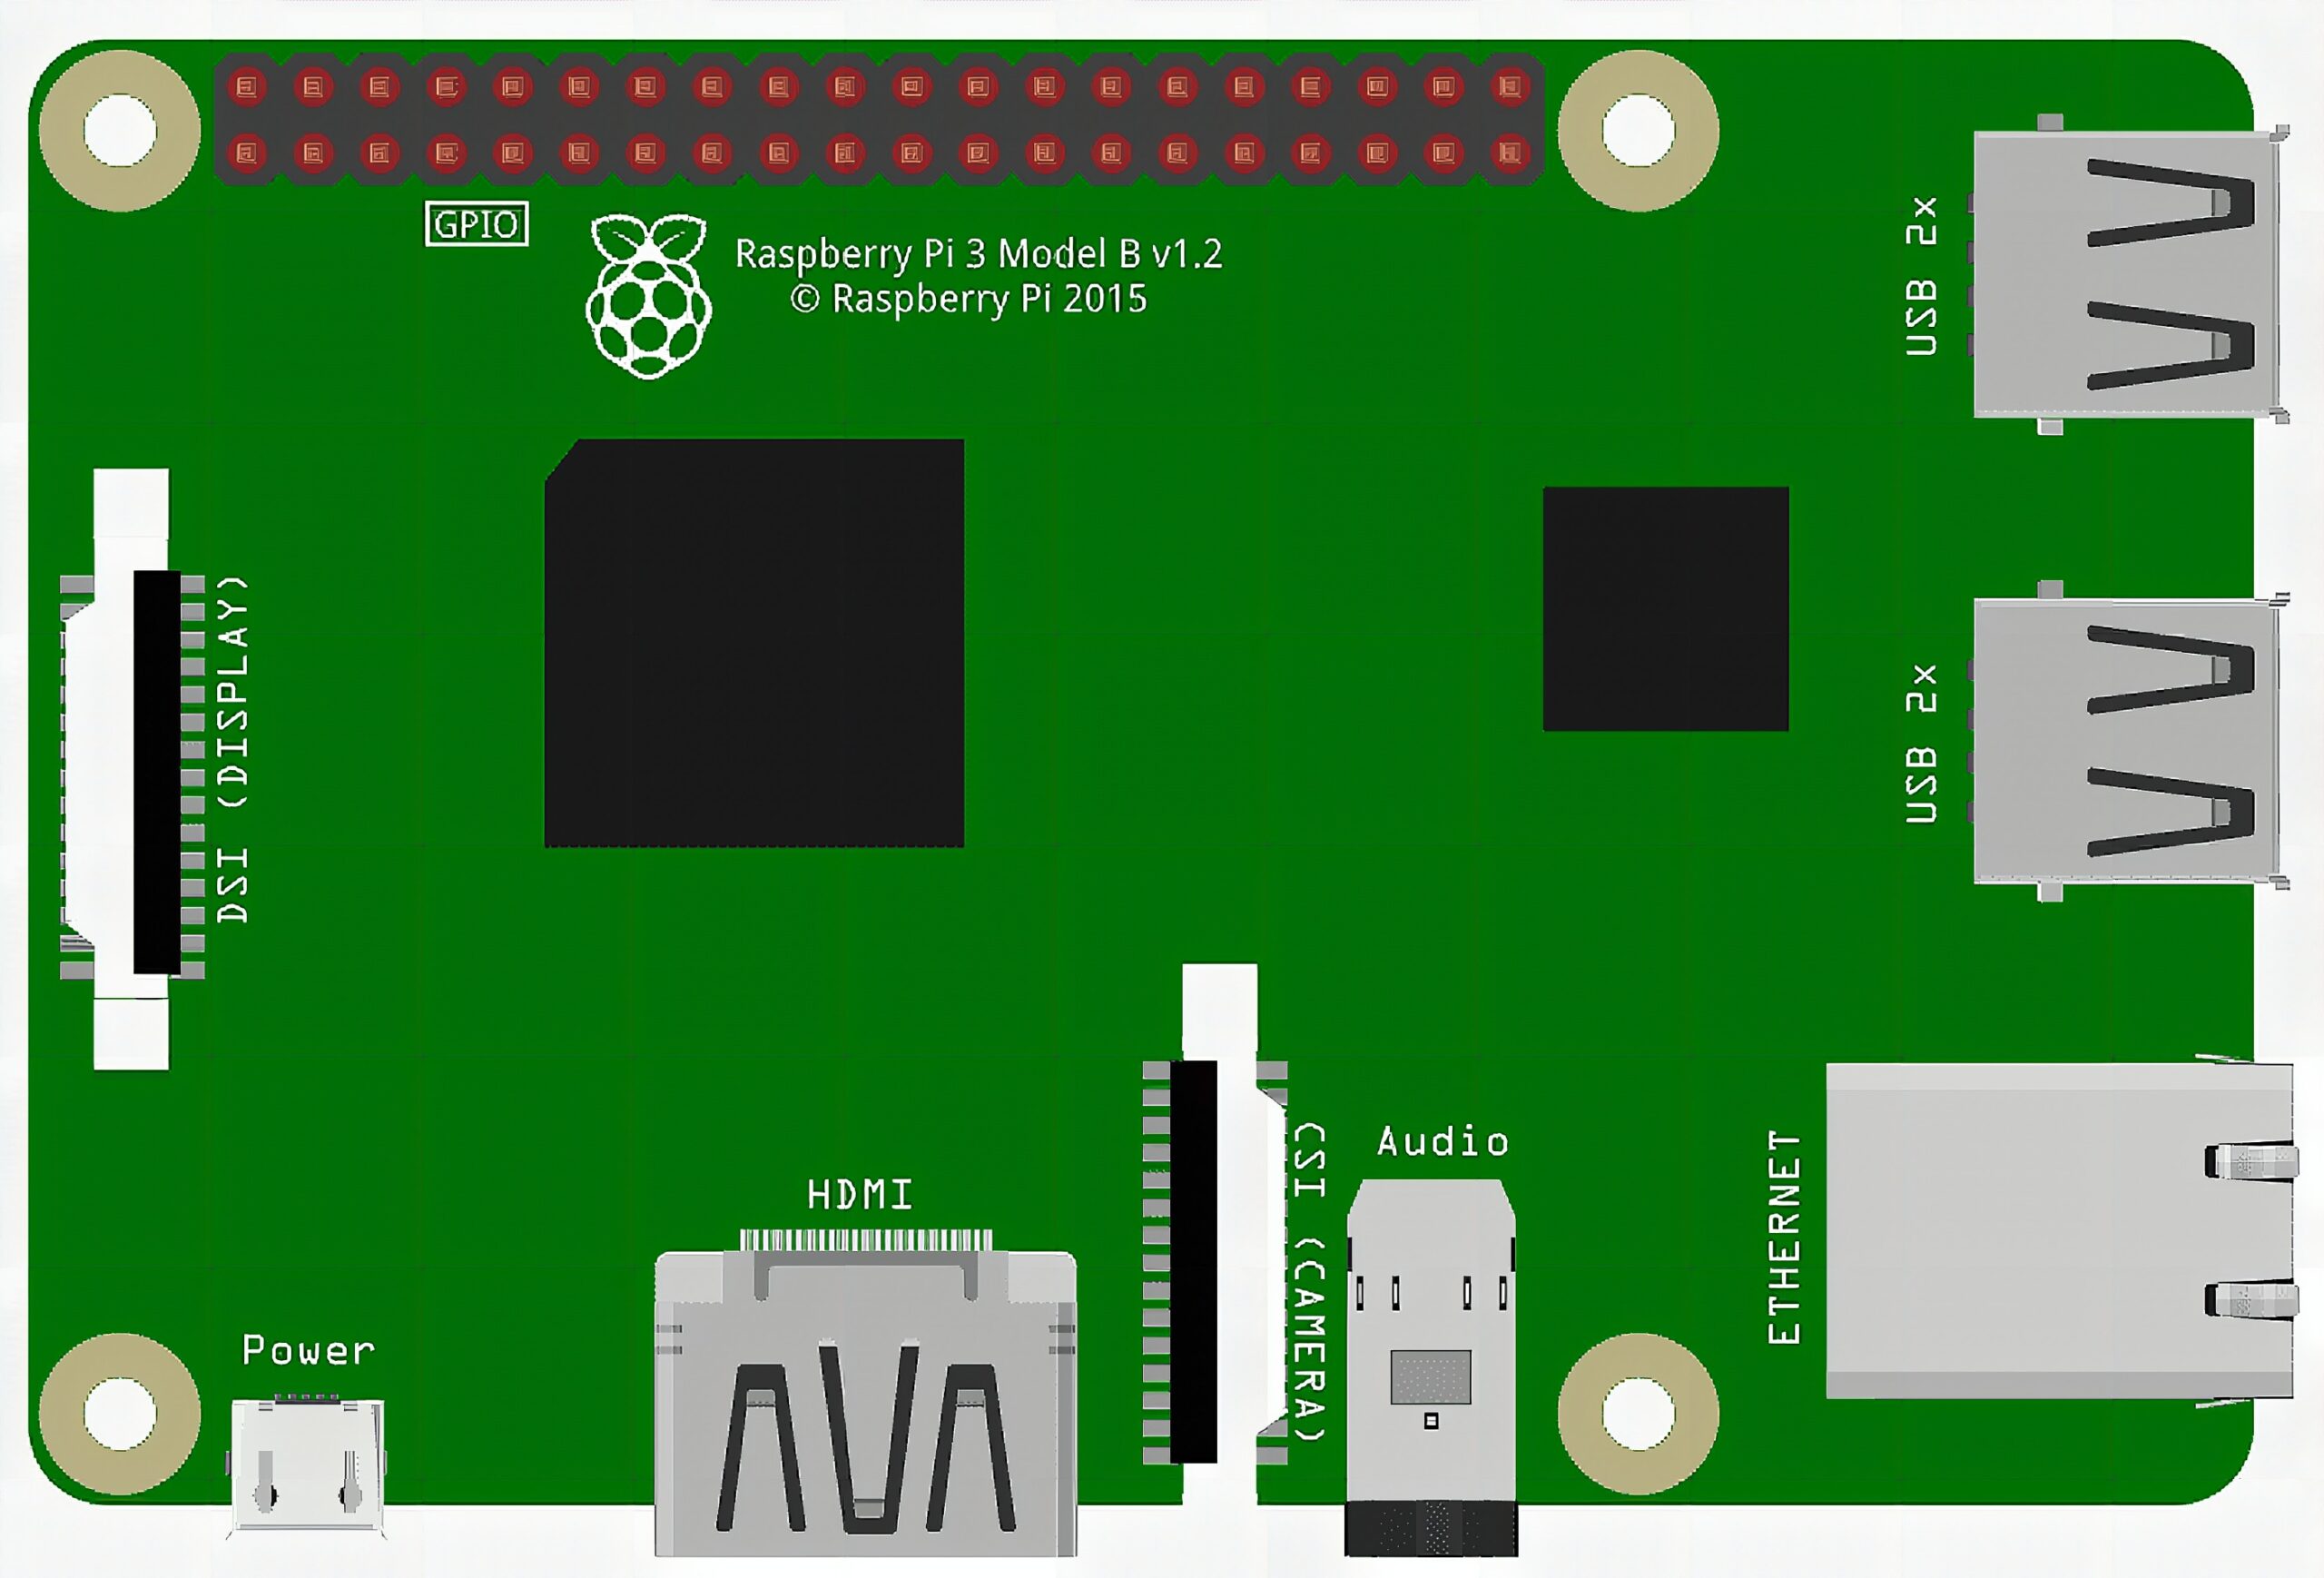
The Raspberry Pi looks like an exposed printed circuit board (See Figure 1), which is probably why people mistake it with a microcontroller development board like the Arduino. However, while computers and microcontrollers work hand in hand in the embedded world, they are actually fundamentally different.
Computers vs. Microcontroller

A computer is an electronic system capable of storing, retrieving, and processing data. All of that is made possible by a microprocessor, a very fast calculator. Microprocessors allow computers to run different kinds of applications as long as it is system-supported.
On the other hand, microcontrollers are chips that are designed to do one specific task. A microcontroller possesses a microprocessor as well, albeit being significantly weaker than the computer. Microcontrollers are popular in applications that require precise timing and direct control of the hardware.
However, the line between microprocessors and microcontrollers are growing thin. Only microcontrollers have built-in RAM, ROM, and GPIOs before. But now there are SOCs (System on Chip) that combine a 32 or 64-bit microprocessor to a heap of ROM, RAM, and other useful peripherals. In fact, the Raspberry Pi uses a SOC. Most of our mobile devices too, like our phones and tablets, are equipped with a SOC.
Choosing a Raspberry Pi
There are already 4 revisions of the Raspberry Pi. Needless to say, if you want to have the most powerful one, get the latest version. Aside from being up-to-date, it has a better microprocessor, larger RAM, USB 3.0 ports, and Gigabit Ethernet. Additionally, it can support 2 displays in 4K resolution. All of which is an upgrade from the previous Raspberry Pi 3. Pi 3 is not that bad either but buying the latest version is more ideal now since it can run most projects without a problem.
Aside from the 4 revisions of the original board, there is the Raspberry Pi Zero. The Pi Zero is cheaper and smaller than the standard form factor. This variant is popular with developers looking for a portable Linux platform for embedded systems.
All of these variants are available in 2 models: Model A and Model B. Model A has half the memory of Model B and has no RJ45 Ethernet jack but consumes lesser power and is cheaper.
So if you’re going to use the Pi for general use, go for Model B. But if you want a more cost-effective and low power solution, go for Model A.
Lastly, you don’t need to worry about compatibility issues as Raspberry Pis are all software and hardware compatible, meaning any program you write or hardware you use in another variant works just the same with any other.
Side-by-Side Comparison
Here’s a short summary of all the available models today.
| Model | Form Factor | Processor | Memory | interface |
| Raspberry Pi 4 Model B | 85.6 mm × 56.5 mm (3.37 in × 2.22 in) | Broadcom BCM2711 Quad core Cortex-A72 (ARM v8) 64-bit SoC @ 1.5GHz | 2GB 4GB 8GB | 40-pin GPIO, IEEE 802.11ac, Gigabit Ethernet, 2x USB2.0, 2x USB3.0, 2x micro-HDMI |
| Raspberry Pi 3 Model A+ | 65 mm × 30 mm (2.6 in × 1.2 in) | Broadcom BCM2837B0 Cortex-A53 (ARMv8) 64-bit SoC @ 1.4GHz | 512 MB | 40-pin GPIO, IEEE 802.11 b/g/n/ac, Bluetooth 4.2/BLE, 1x USB2.0, 1x HDMI Type A |
| Raspberry Pi 3 Model B+ | 85.6 mm × 56.5 mm (3.37 in × 2.22 in) | Broadcom BCM2837B0 Cortex-A53 (ARMv8) 64-bit SoC @ 1.4GHz | 1GB | 40-pin GPIO, IEEE 802.11.b/g/n/ac, Gigabit Ethernet (max 300 Mbps), Bluetooth 4.2/BLE, 4x USB2.0, 1x HDMI Type A |
| Raspberry Pi 3 Model B | 85.6 mm × 56.5 mm (3.37 in × 2.22 in) | Broadcom BCM2837 Cortex A53 (ARMv8) Quad Core 64bit @ 1.2GHz | 1GB | 40-pin GPIO, BCM43438 wireless, 100 Base Ethernet, Bluetooth Low Energy, 4x USB2.0, 1x HDMI Type A |
| Raspberry Pi 2 Model B | 85.6 mm × 56.5 mm (3.37 in × 2.22 in) | Broadcom BCM2837 Cortex A53 (ARMv8) Quad Core 32bit @ 1.2GHz | 1GB | 40-pin GPIO, 100 Base Ethernet, 4x USB2.0, 1x HDMI Type A |
| Raspberry Pi 1 Model B+ | 85.6 mm × 56.5 mm (3.37 in × 2.22 in) | Broadcom BCM2835 ARM1176JZF-S 700MHz | 512MB | 40-pin GPIO, 100 Base Ethernet, 4x USB2.0, 1x HDMI Type A |
| Raspberry Pi 1 Model A+ | 65 mm × 56.5 mm (2.56 in × 2.22 in) | Broadcom BCM2835 | 512MB | 40-pin GPIO, 1x USB2.0, 1x HDMI Type A |
| Raspberry Pi Zero W | 65 mm × 30 mm (2.6 in × 1.2 in) | Broadcom BCM2835 single-core 1GHz | 512MB | 40-pin GPIO, 802.11 b/g/n wireless, Bluetooth 4.1/BLE, 1x mini-HDMI, 1x USB-OTG |
| Raspberry Pi Zero | 65 mm × 30 mm (2.6 in × 1.2 in) | Broadcom BCM2835 single-core 1GHz | 512MB | 40-pin GPIO, 1x mini-HDMI, 1x USB-OTG |
| Compute Module 1 | 67.6x30mm | Broadcom BCM2835 | 512MB | |
| Compute Module 3 | 67.6x30mm | Broadcom BCM2837 | 1GB | |
| Compute Module 3+ | 67.6x30mm | Broadcom BCM2837B0 Cortex-A53 (ARMv8) 64-bit SoC @ 1.4GHz | 1GB |
Setting-up
When you buy the original Pi package, it won’t come with the necessary peripherals to get you started. At the very least, you should obtain the following to get the Pi up and running:
- Power supply
- Monitor with HDMI
- USB keyboard and mouse
- SD Card
The hidden cost of owning a Pi
Power supply
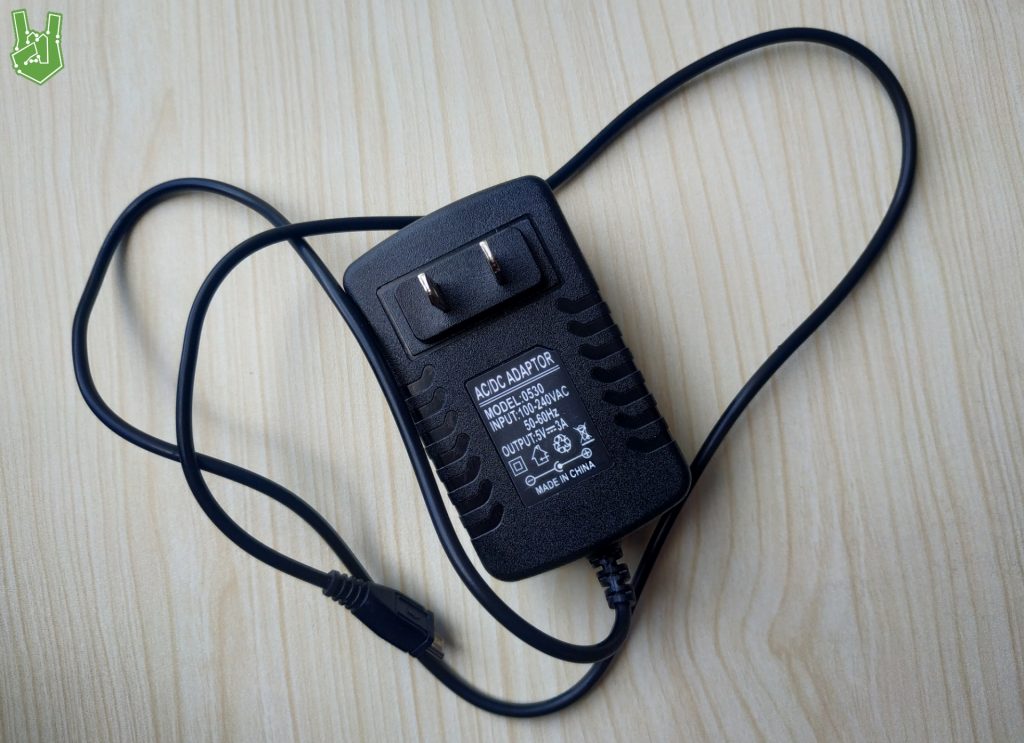
The Pi needs a regulated 5V 700mA micro-USB power supply to work. A smartphone charger works as a great alternative for an official Pi charger. Just be sure it gives a regulated 5V voltage or else you risk permanently damaging your device.
Also, using a power supply rated with a higher maximum current is fine. If you use a 5V 3.5A power supply for the Pi, it will just take as much current as it needs. Current consumption only increases when you do something processor-heavy or when you connect an additional peripheral device. Also, you’ll know when you’re underfeeding the Raspberry Pi current since it’ll work erratically and will constantly reboot.
One last factor to consider is the cable length. Longer cables give more flexibility. The Pi needs a lot of peripherals, including a monitor, keyboard, and mouse. Unless you’re willing to work on the floor or wherever your power outlet is located, buy a power supply with a long cable.
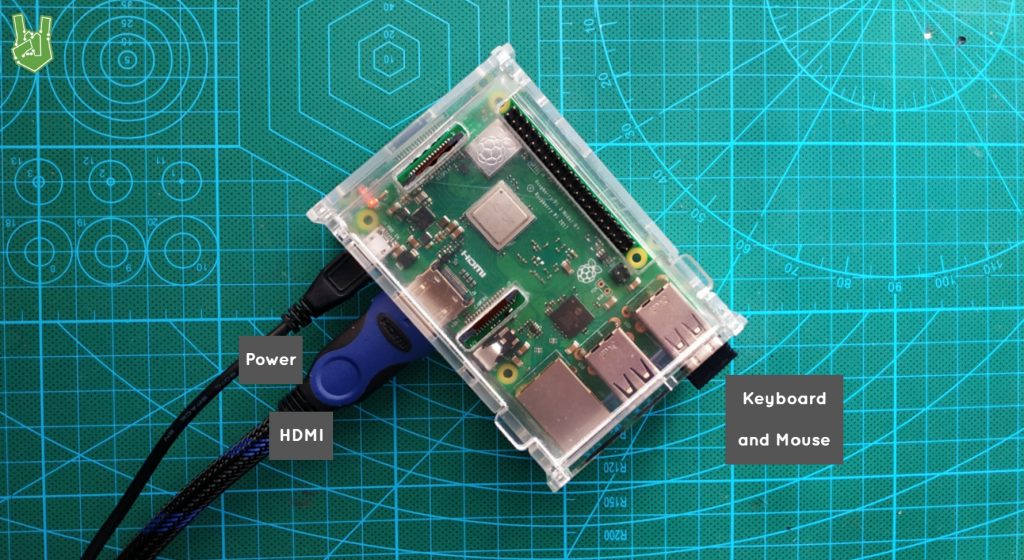
Monitor with HDMI
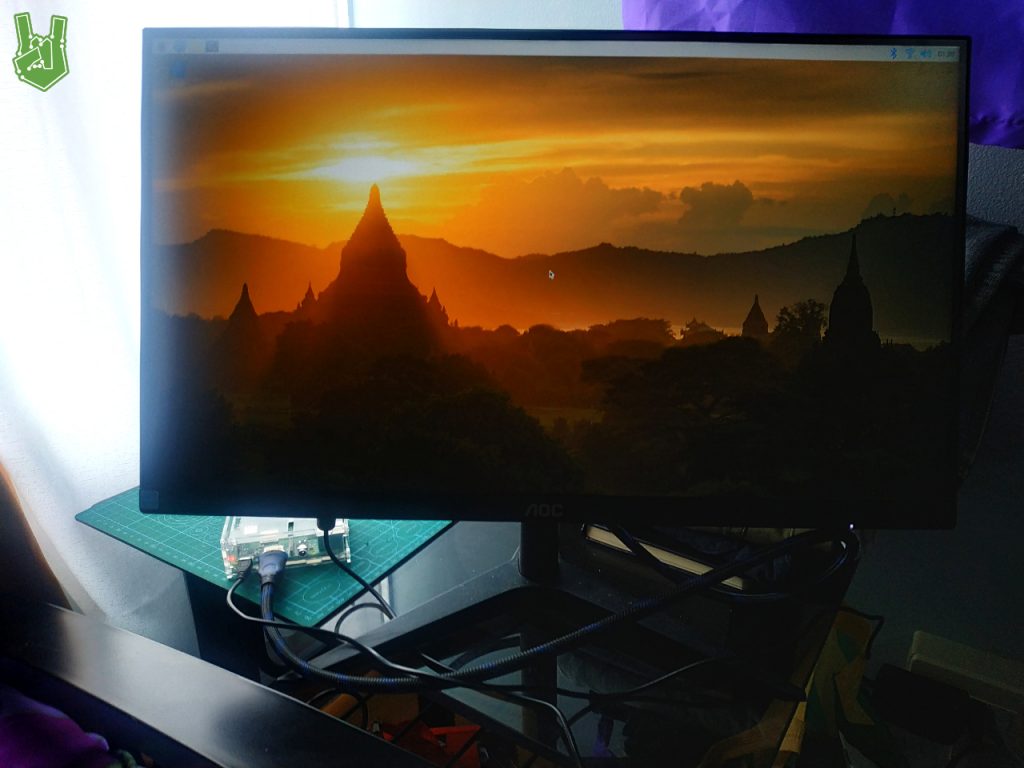
To work with computers, you need to have a display. The Pi supports monitors and even old televisions as long as they have an RCA or HDMI interface.
It is possible to run the Raspberry Pi in a headless configuration, meaning no monitor, keyboard, and mouse. But we’ll tackle that on a later article.
USB Keyboard and Mouse
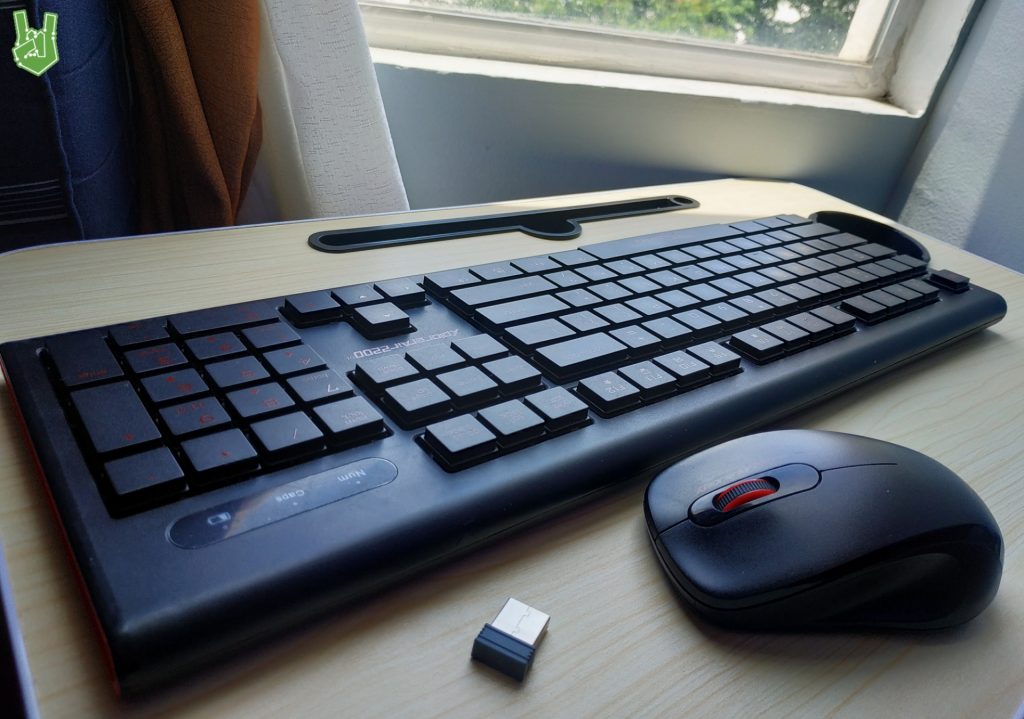
You also need a USB keyboard and mouse as input devices for the Pi. I recommend using a wireless one if you want to keep the Pi system as portable as it can. Also, keep in mind the limited USB ports of the Pi. The keyboard and mouse that I use works with only one dongle connected (See Figure 6). If you’re going to buy separate devices, you are going to occupy 50% of your available USB ports.
SD Card
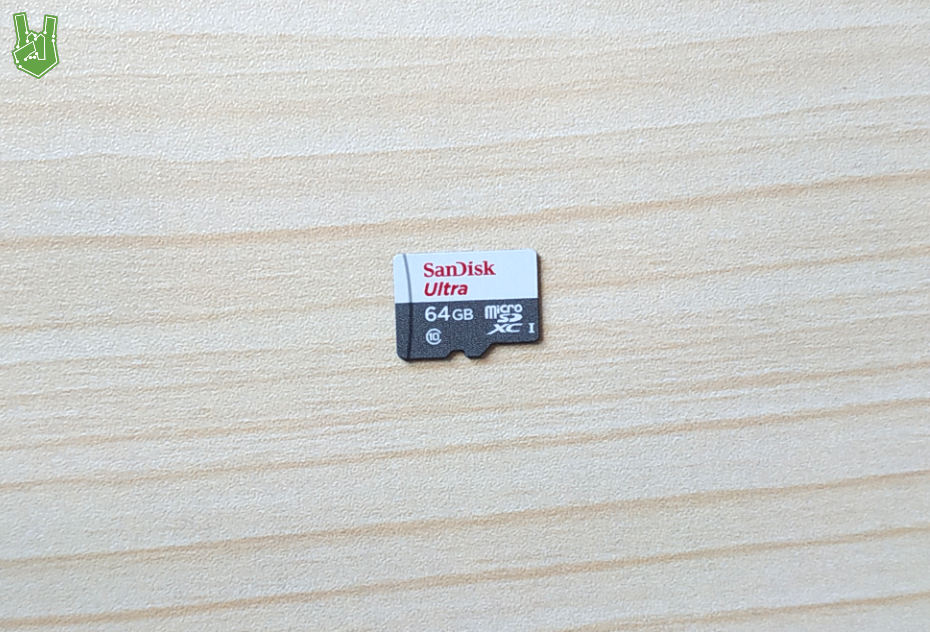
The Raspberry Pi comes with no internal storage device. So in order to load an operating system and do all kinds of things, you need to have an SD card. For the Pi Zero, 3, and 4, any microSD card with at least 8GB would do. Though an SD card with a fast read/write speed and a larger size would definitely make your Pi experience better.
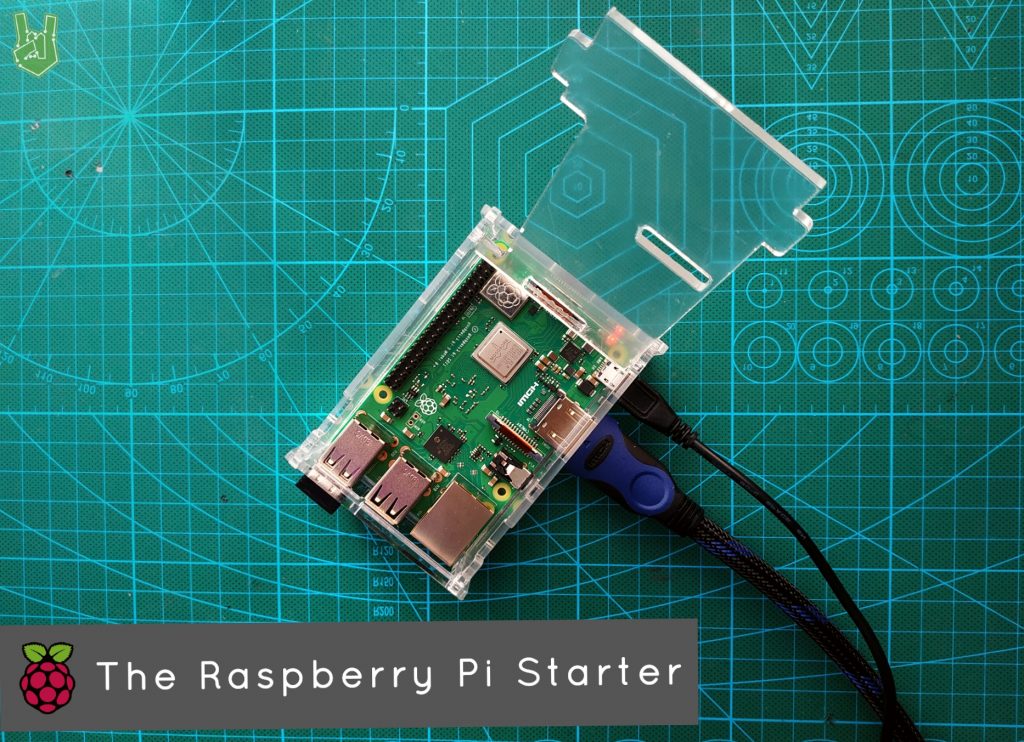
Enclosure
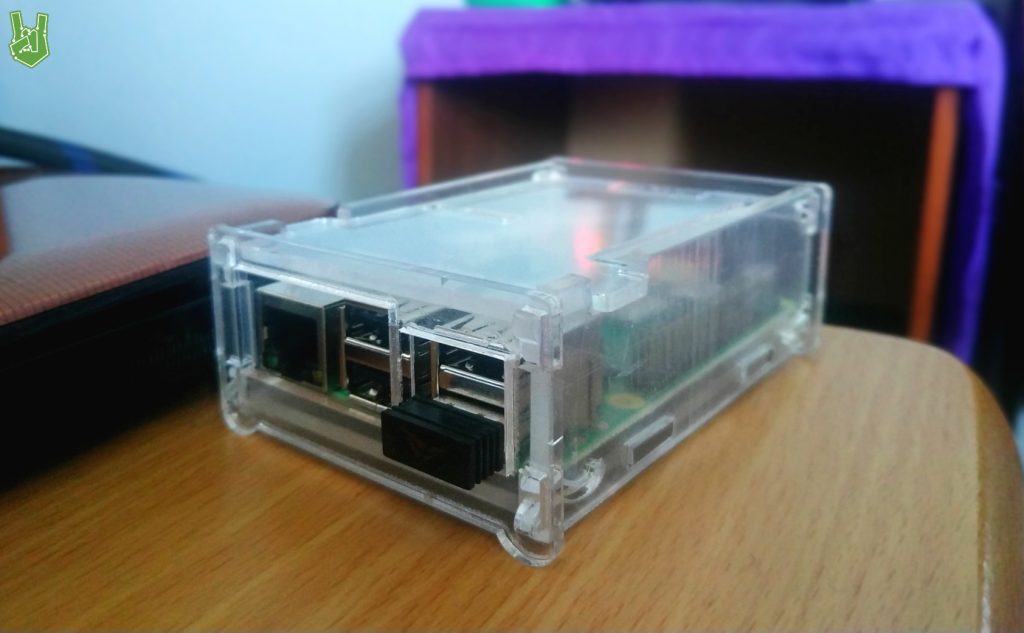
Enclosures are optional of course, but a nude Pi is very vulnerable. Since it’s essentially an exposed PCB, all the bare connections could easily short if the Pi is placed on something metal. Also, touching the ICs directly may introduce ESD (Electrostatic Discharge) that could damage the device permanently.
Let’s call it a day for now. See you in the next part for the software side of things!
Frequently Asked Questions
[faq] [faq_q]What is the cheapest way to get started with Raspberry Pi?[/faq_q] [faq_a]A Raspberry Pi Pico for under $5 if you only need a microcontroller. A Pi Zero 2 W around $15 if you want full Linux. A Pi 4 (4GB) around $55 for general-purpose computing.[/faq_a][faq_q]Do I need a special SD card?[/faq_q] [faq_a]A Class 10 (or A1/A2 rated) microSD card with at least 16 GB. Faster cards reduce boot time and OS responsiveness. Avoid no-name cheap cards as they tend to fail.[/faq_a][faq_q]Can I use a regular USB-C charger to power a Raspberry Pi?[/faq_q] [faq_a]Pi 4 needs 5V 3A. Most phone chargers are only 5V 2.4A and cause low-voltage warnings. The official Raspberry Pi power supply is recommended for stable operation.[/faq_a][faq_q]What OS should I install on a Raspberry Pi?[/faq_q] [faq_a]Raspberry Pi OS (formerly Raspbian) is the default. It is Debian-based, well-supported, and includes a desktop environment. For headless servers, use the Lite version. Other options: Ubuntu, DietPi, RetroPie.[/faq_a][faq_q]What does headless mean for Raspberry Pi?[/faq_q] [faq_a]Running the Pi without a monitor or keyboard, controlling it remotely over SSH. Ideal for servers, IoT hubs, and projects where the Pi is in a box you do not access often.[/faq_a][/faq]Frequently Asked Questions
What does this The Raspberry Pi Starter (Part 1) tutorial cover?
This tutorial is all about the Raspberry Pi – a pocket-sized computer that can teach you several computer science technologies, including writing in several programming languages, building an operating system, and even creating your own gaming console! Table Of Contents Raspberry Pi Computers vs.
Which Raspberry Pi model fits the The Raspberry Pi Starter (Part 1) project?
Pi 4 (4GB) or Pi 5 for desktop apps and AI workloads. Pi Zero 2 W is enough for headless / sensor builds. Pi 3 B+ works but is slower for camera or ML.
How do I auto-start the The Raspberry Pi Starter (Part 1) script on boot?
Use systemd. Create /etc/systemd/system/myproject.service with ExecStart=/usr/bin/python3 /home/pi/script.py and Restart=always. sudo systemctl enable myproject.