
Today we are going to discuss the invisible thing that makes computers, including the Raspberry Pi, work. And ultimately, setting up the Pi for actual use.
Operating Systems
The operating system (also called OS) is an abstraction layer that makes controlling a computer’s underlying hardware easier for users. An abstraction layer is something inside the computer that allows users to interact with the computer’s hardware. Think of it as the magic link between users and the computer.
To put this in context, let’s say you want to listen to music with speakers that are connected to your computer. You choose and play a song from a music application. The OS processes the mp3 file that translates the mp3 data into instructions that are understood by your speakers. These instructions are constantly fed to your speakers as long as your music is on the play.
This level of ease is unbeknownst to microcontroller boards like Arduino. It’s because microcontroller boards use a different set of abstractions. They use libraries or pre-written code to interact with the microcontroller’s pins and gather data using protocols and communication technologies like SPI, I2C, PWM, ADC, and etc. Computers might just run an API and get away with it.

Here is a graphic representation of these layers.
- User: The person that operates the computer.
- Application: An interface or an application that a user can interact with to do things with a computer.
- OS: The operating system bridges the communication between the user and the computer hardware. Its main task is to translate information so that the 2 sides understand each other.
- Drivers: Hardware devices require platform-specific drivers to enable the OS to interact with it.
- Hardware: Hardware is a physical part of a computer.
Needless to say, the Raspberry Pi also needs an operating system. Fortunately, there are plenty of OS available that is compatible with the credit-card sized computer.
Raspberry Pi OS
The Raspberry Pi OS, previously known as Raspbian, is the Raspberry Pi’s official operating system. It is based on the Debian Linux distribution and is actually where Raspbian came from.
The reason why the RPi foundation chose Debian is that it has a user-friendly interface, despite being one of the most powerful and flexible Linux distros available. Suppose you’re wondering why not just install the actual Debian system to the Pi. Remember, the Raspberry Pi uses an ARM CPU. Debian is specially written for bigger computer processors, including AMD’s and Intel’s. It does not support ARM architecture yet.
Alternatively, there is also a myriad of third-party operating systems for the Raspberry Pi. These systems are often developed by enthusiasts and electronics companies to make the Raspberry Pi more specialized. However, if you’re starting, I recommend getting the Raspberry Pi OS first, as it makes a great learning platform.
The Kernel and Firmware
The kernel is an OS subcomponent that works more closely with the computer hardware than the user. If you see Figure 1 above, the kernel would be a little closer to the drivers.
The Linux kernel is called firmware. You can update the firmware data to a more recent version if you need it to. Most updates are done with new boards like the Raspberry Pi 4 to make the installed OS interact with the hardware better.
Further, the Raspberry Pi uses a custom-built firmware that fuses the Broadcom BCM2835 System-on-a-Chip (SoC) with Raspbian. The firmware has actually 2 parts: The 1st part manages the RPi’s general hardware and the 2nd part is responsible for anything related to the GPU (Graphics Processing Unit).
Raspberry Pi Imager
The easiest way to install an operating system to the Raspberry Pi is by using the Raspberry Pi Imager. Get them from the links below.
After downloading, install the Imager to your computer.
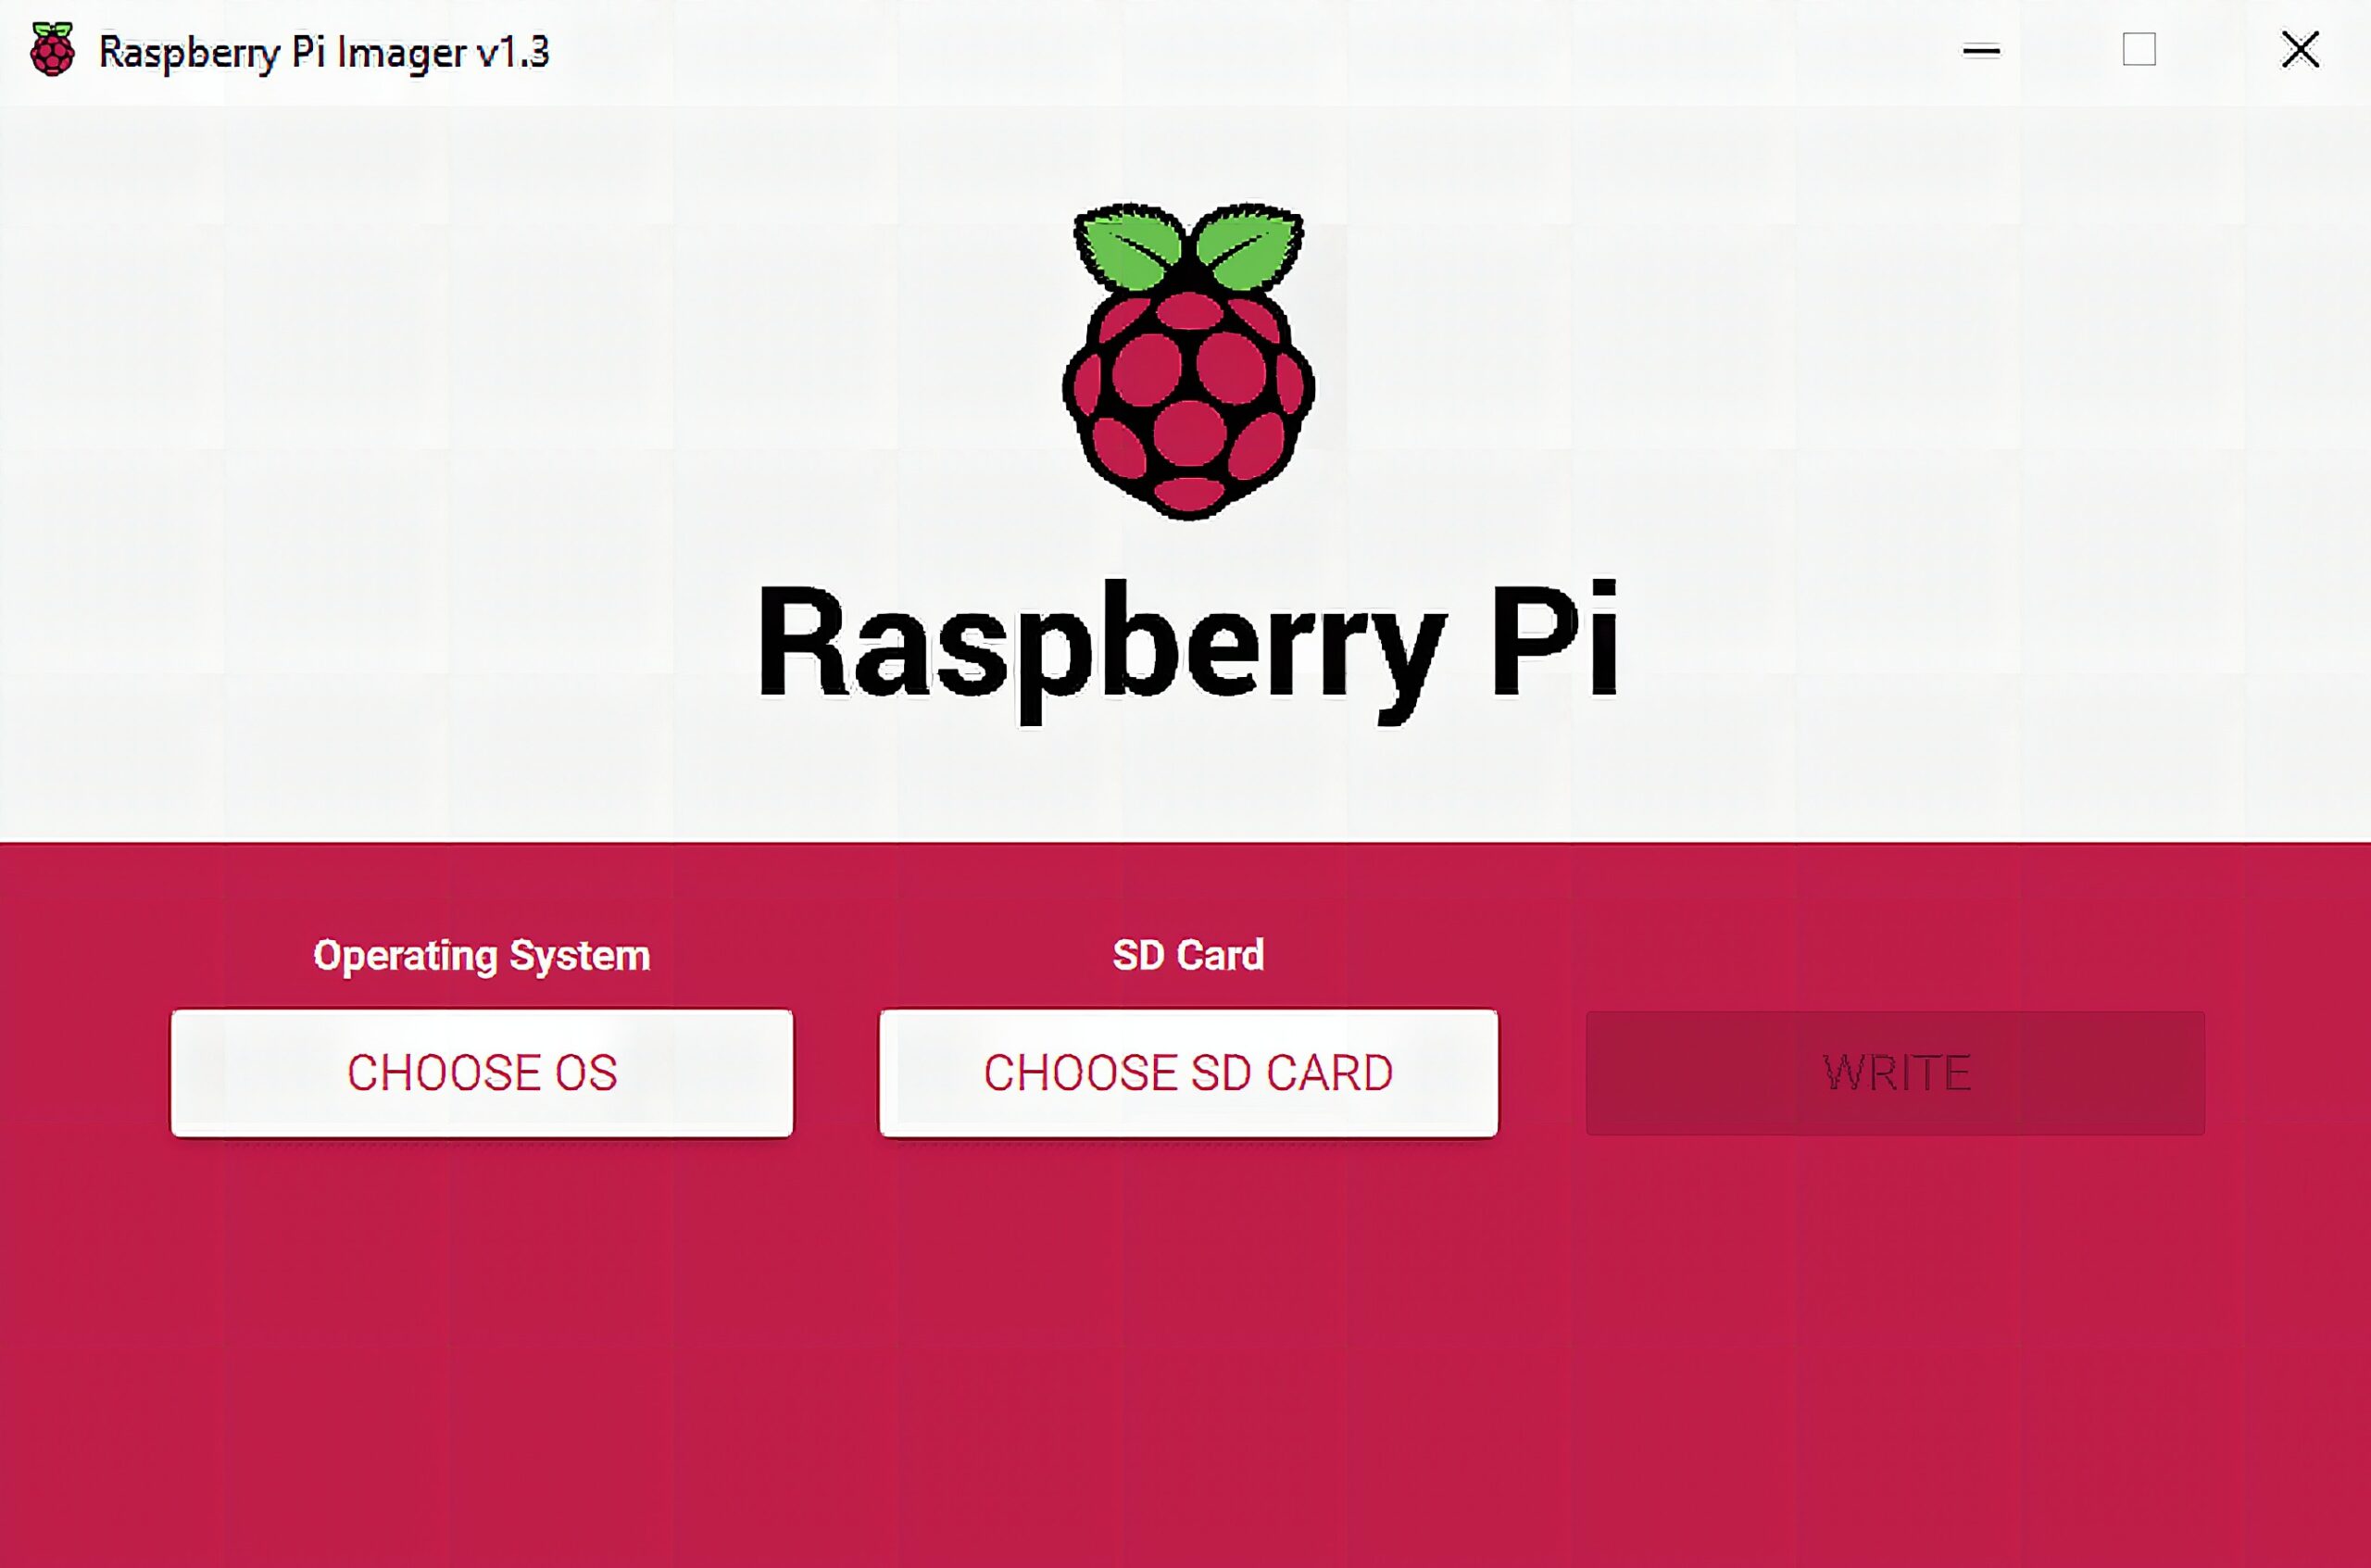
Once installation is done, run the Raspberry Pi Imager. As you can see in Figure 2, the application is pretty straight forward. Choose an operating system in the 1st option and in the 2nd, select the SD Card to be flashed with.

These are the Raspberry Pi supported operating systems you can install using the Raspberry Pi Imager v1.3.
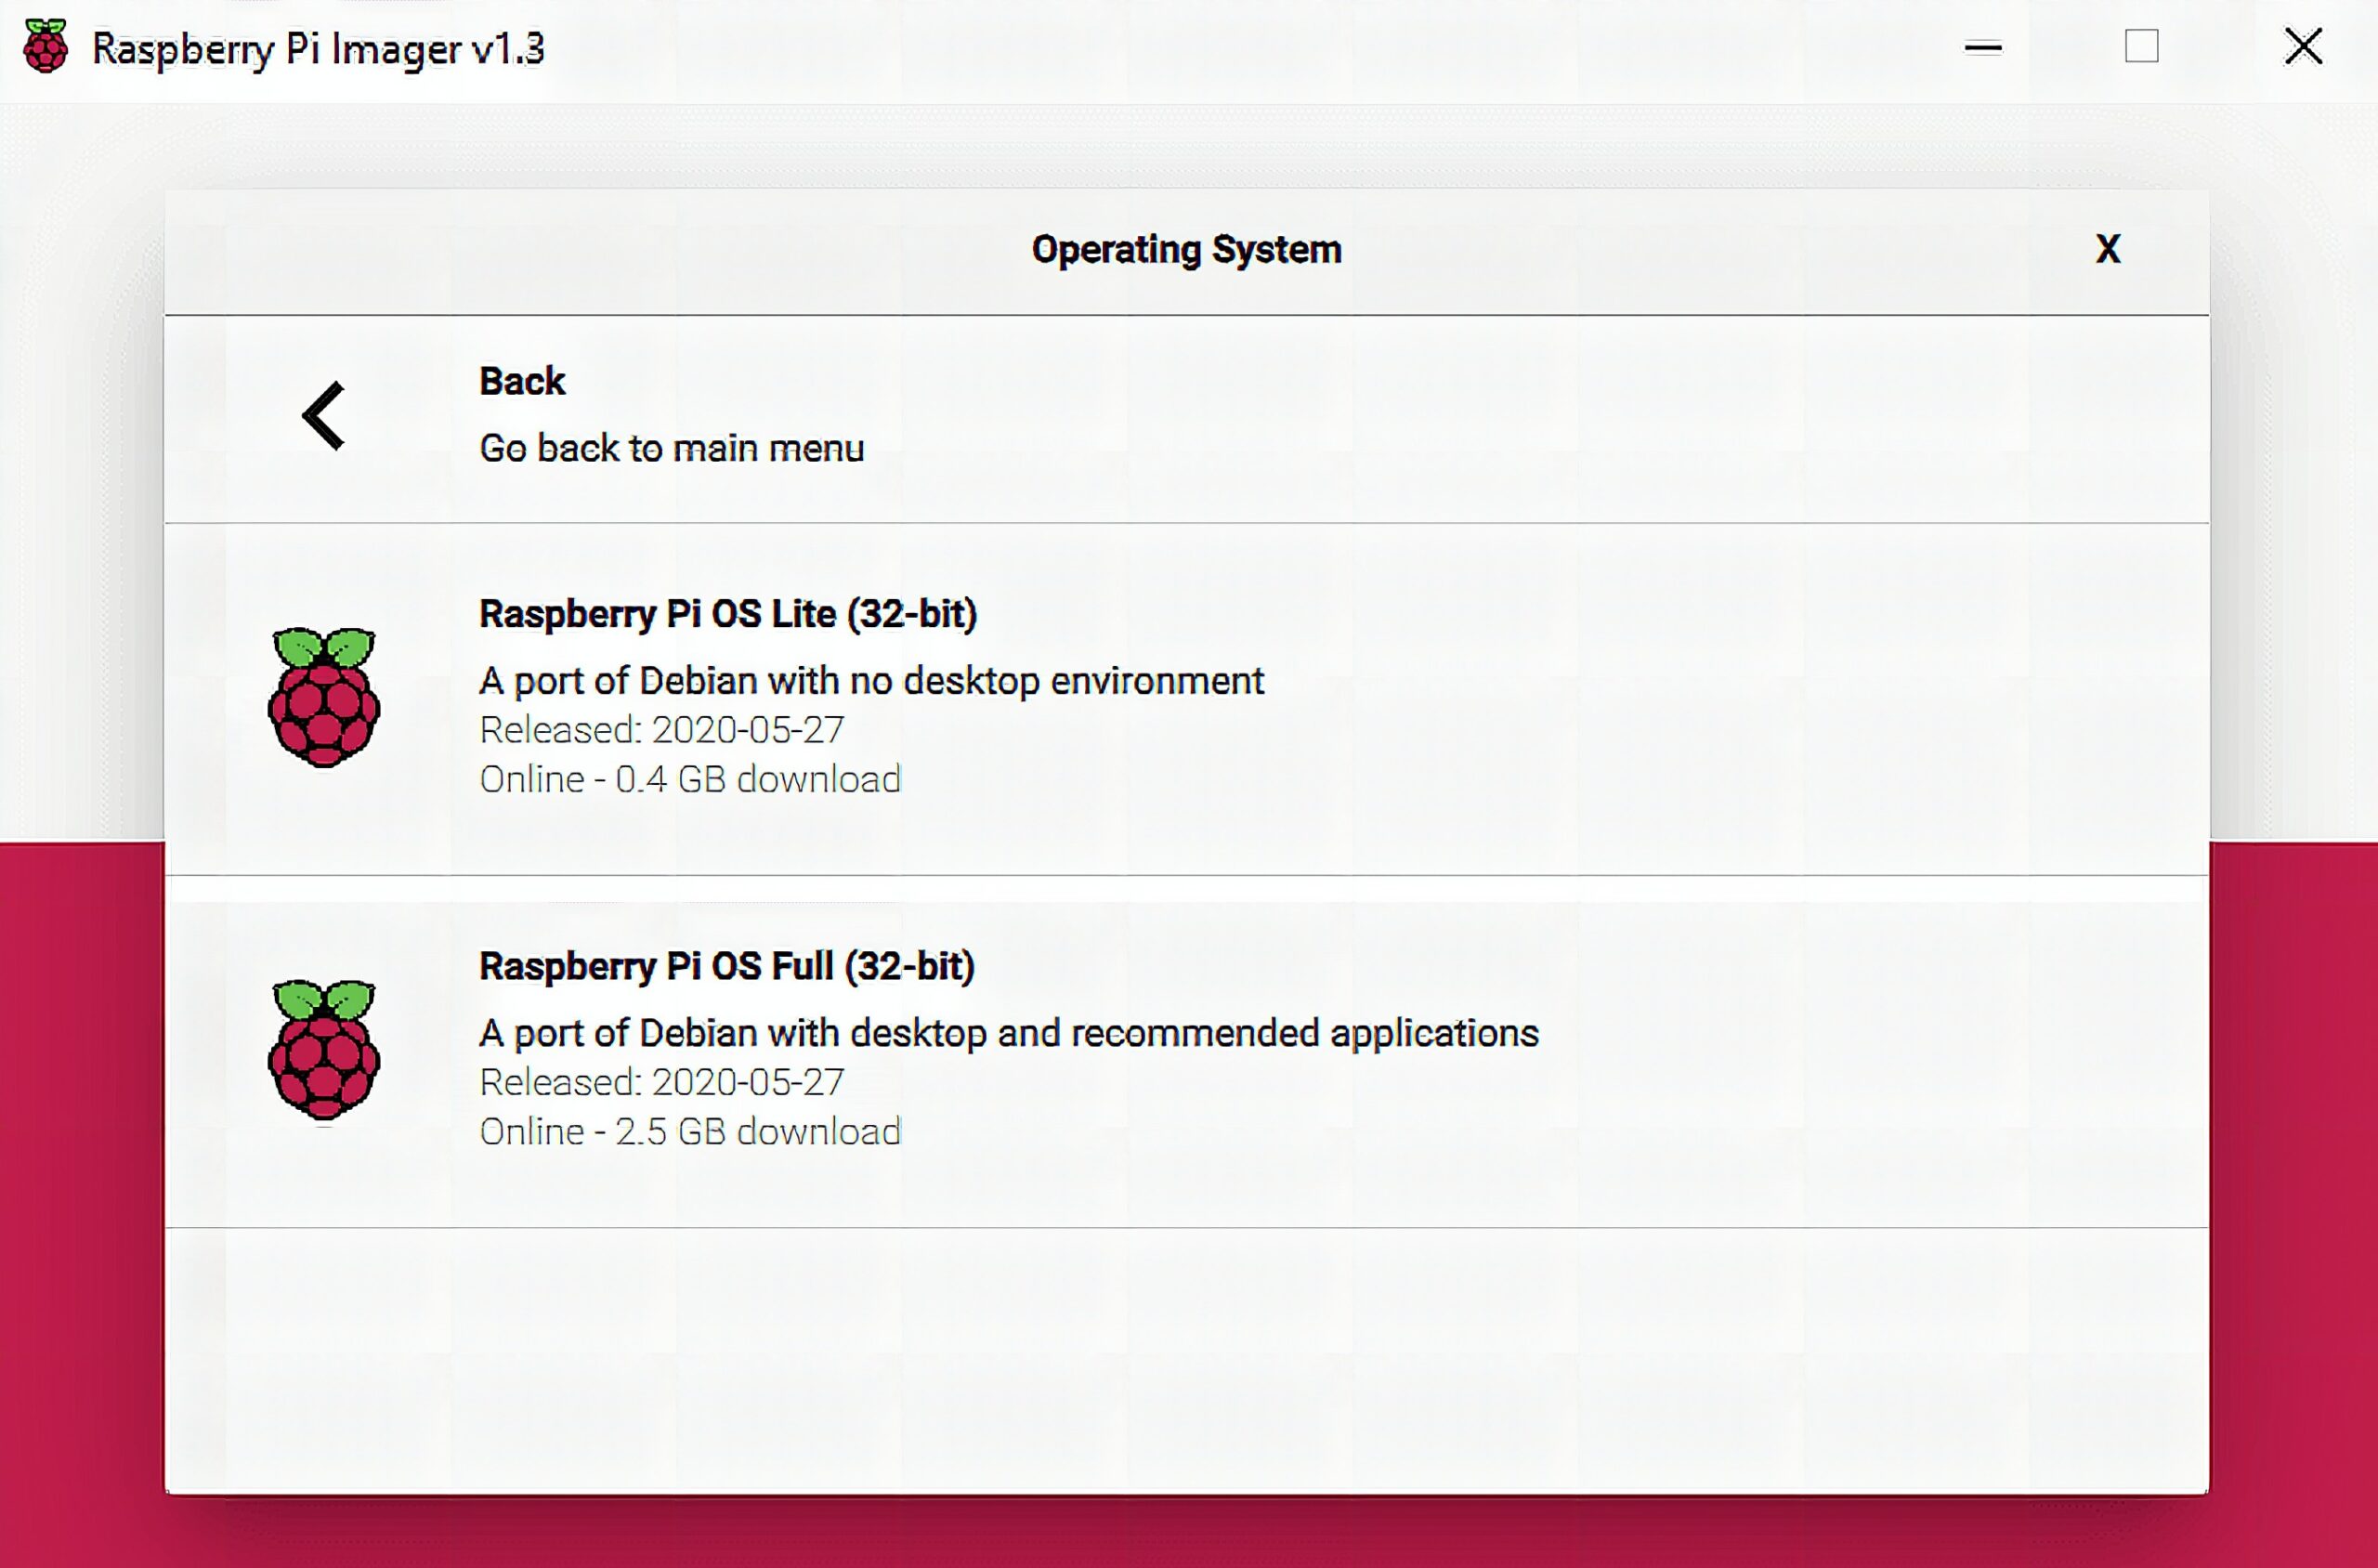
On the other hand, Figure 4 shows the other 2 kinds of Raspbian you can install to your Pi. Under Raspberry Pi (Other), you can see the OS Lite and OS Full option. With OS Lite you get an operating system without a desktop environment, meaning you will interact with it using CLI (Command Line Interface). With OS Full you get the Raspbian essentials plus some recommended applications. Use OS Full if you’re a beginner and don’t concern too much on storage space. Use OS Lite if you’re an advanced user and want to harness more the Pi’s computing power and storage.
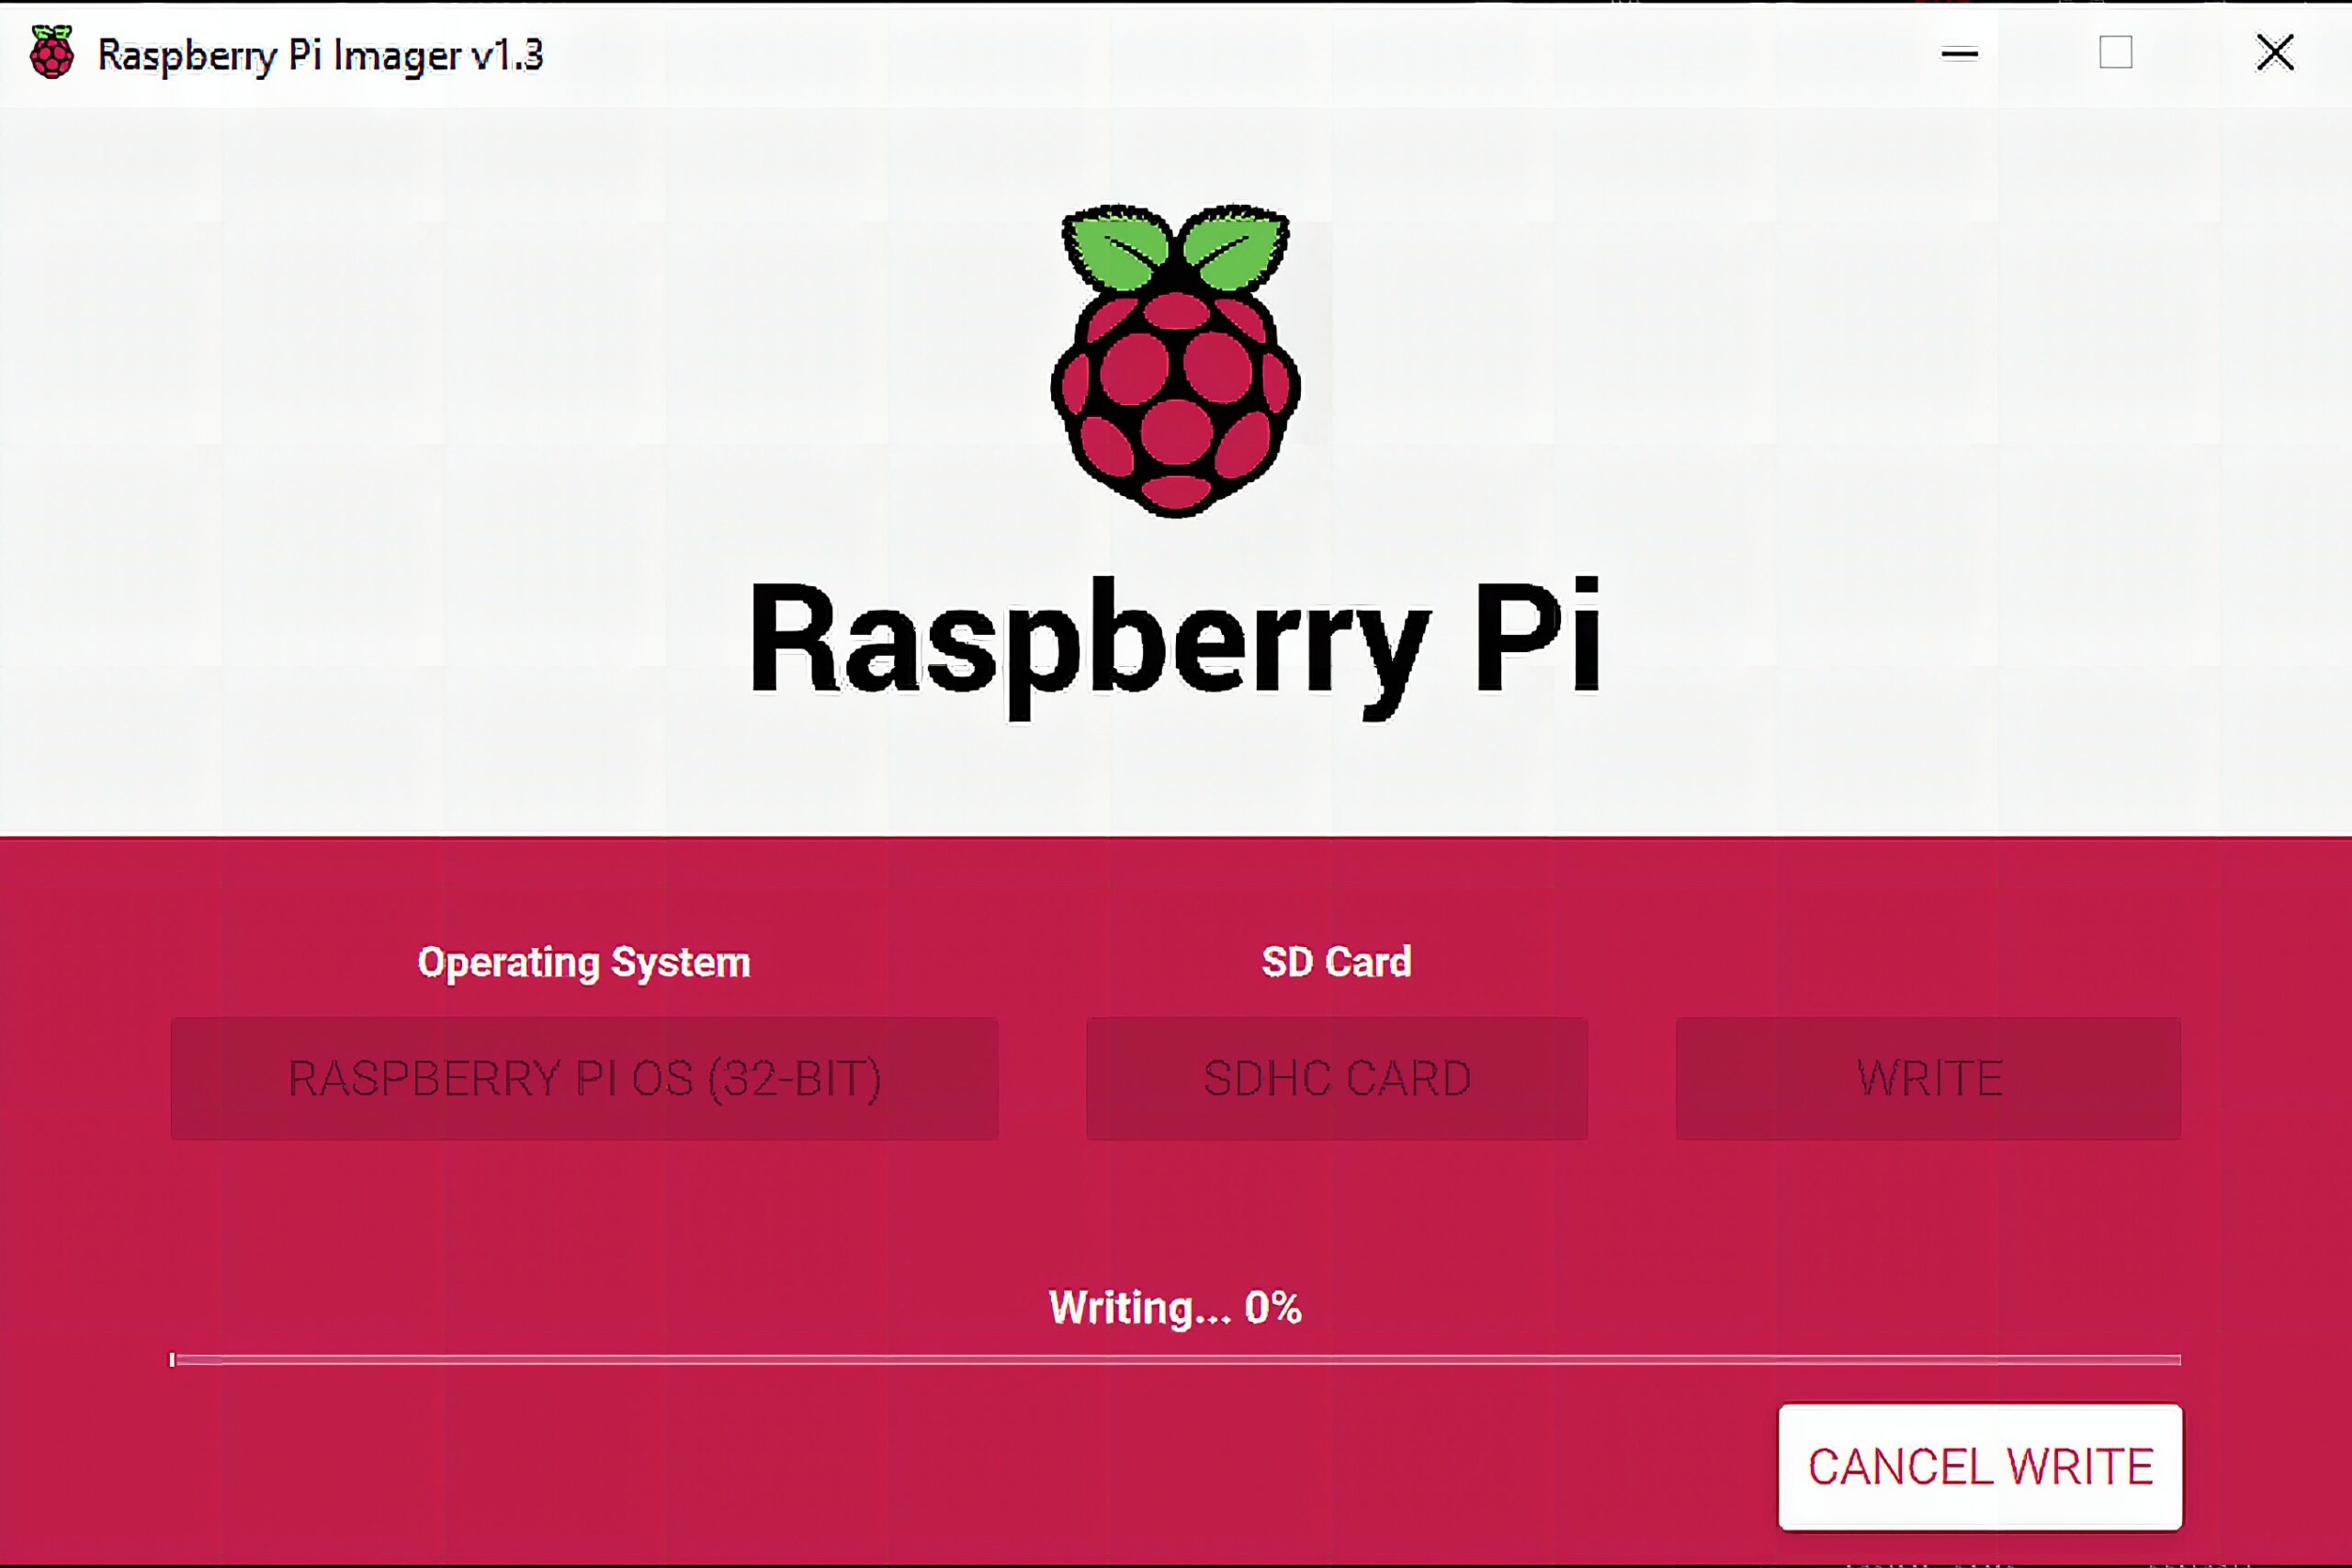
After selecting your desired OS, click Write and wait until it installs the OS on your blank MicroSD card.
Setting Up the Pi
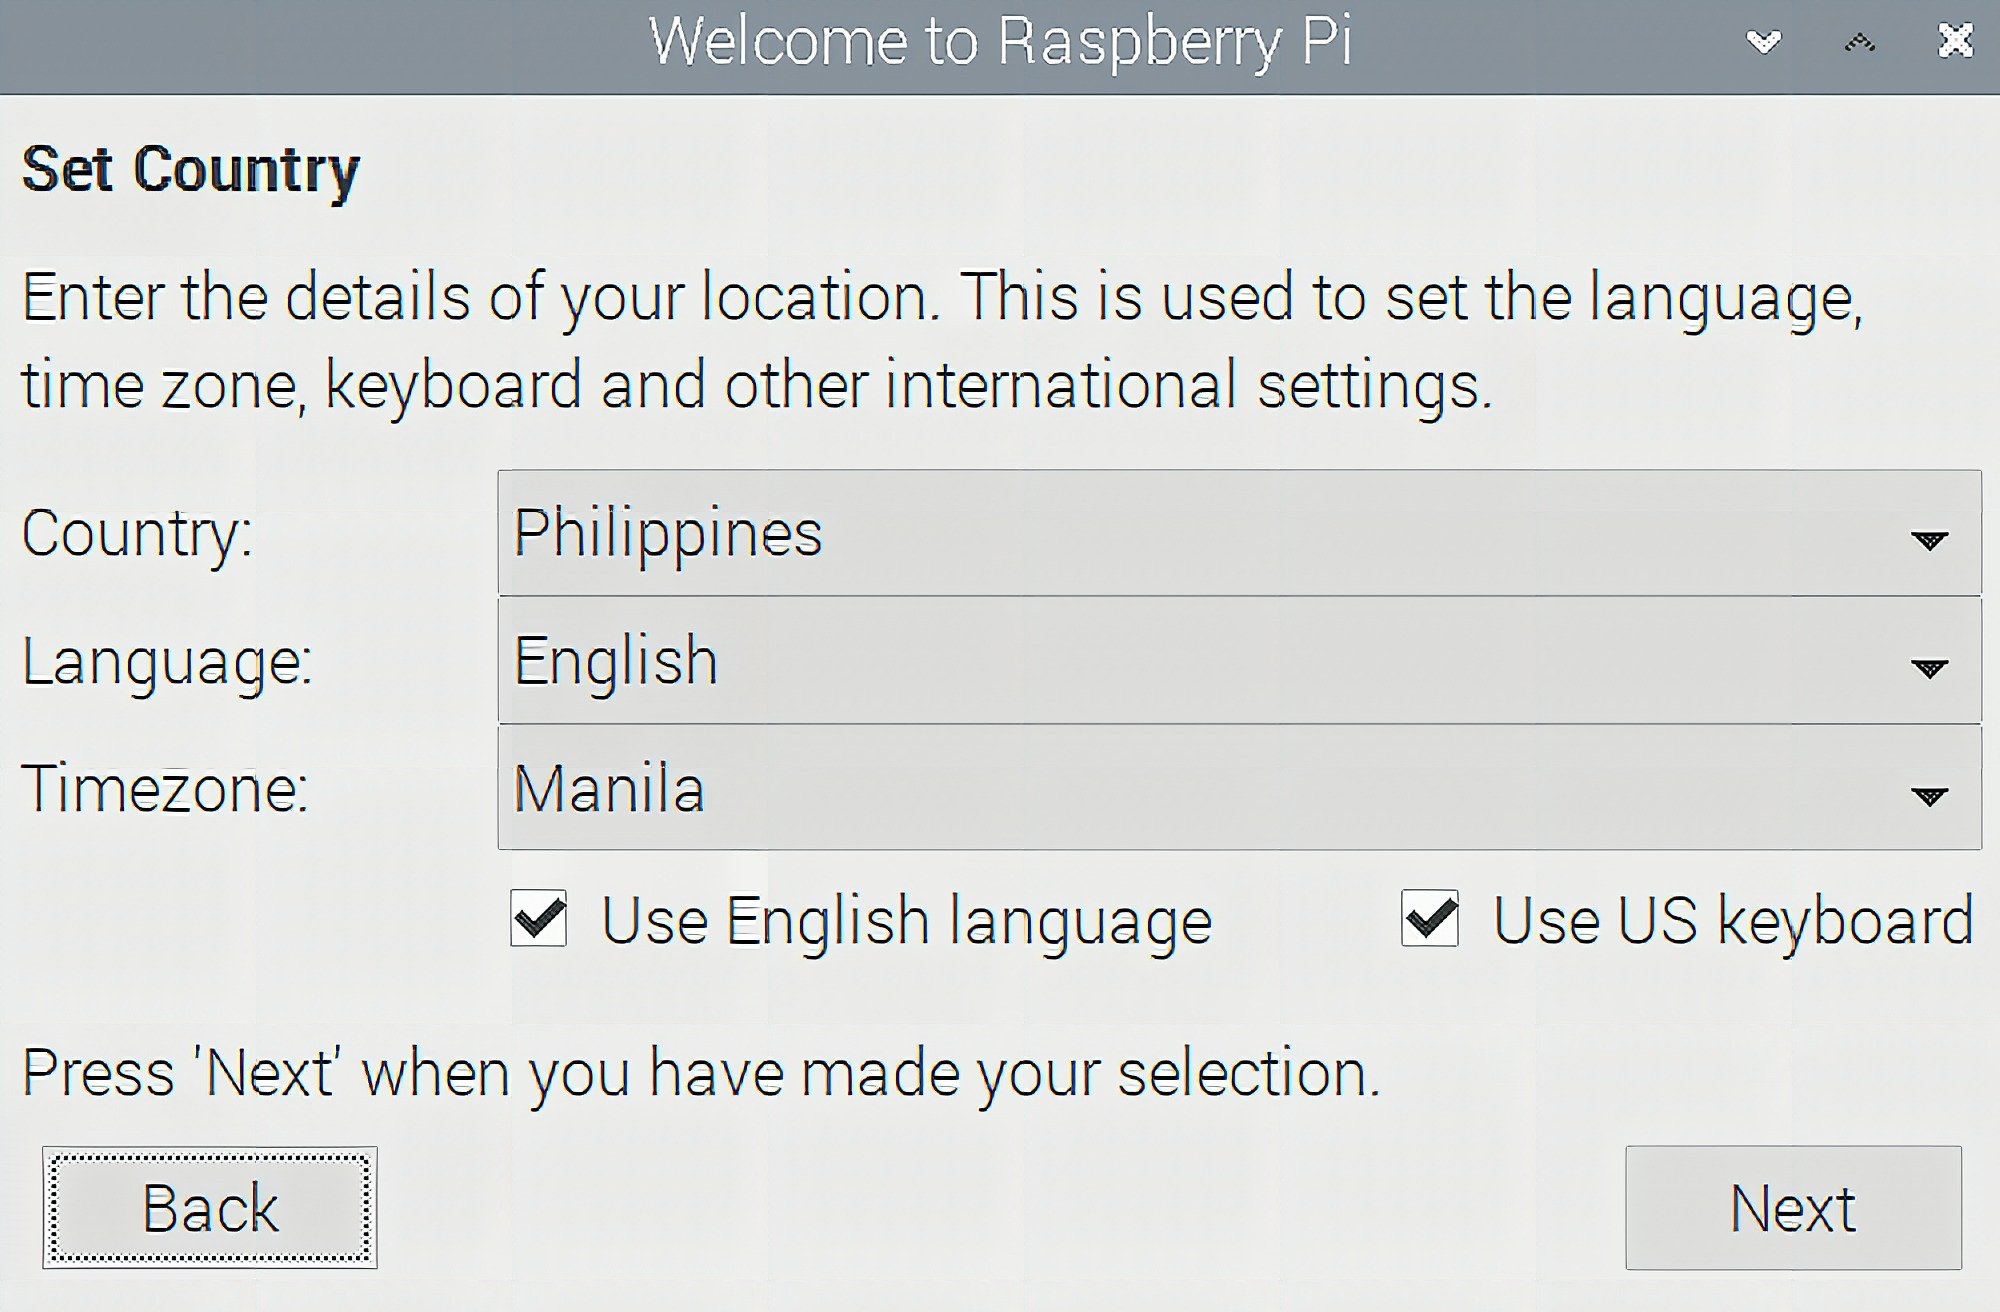
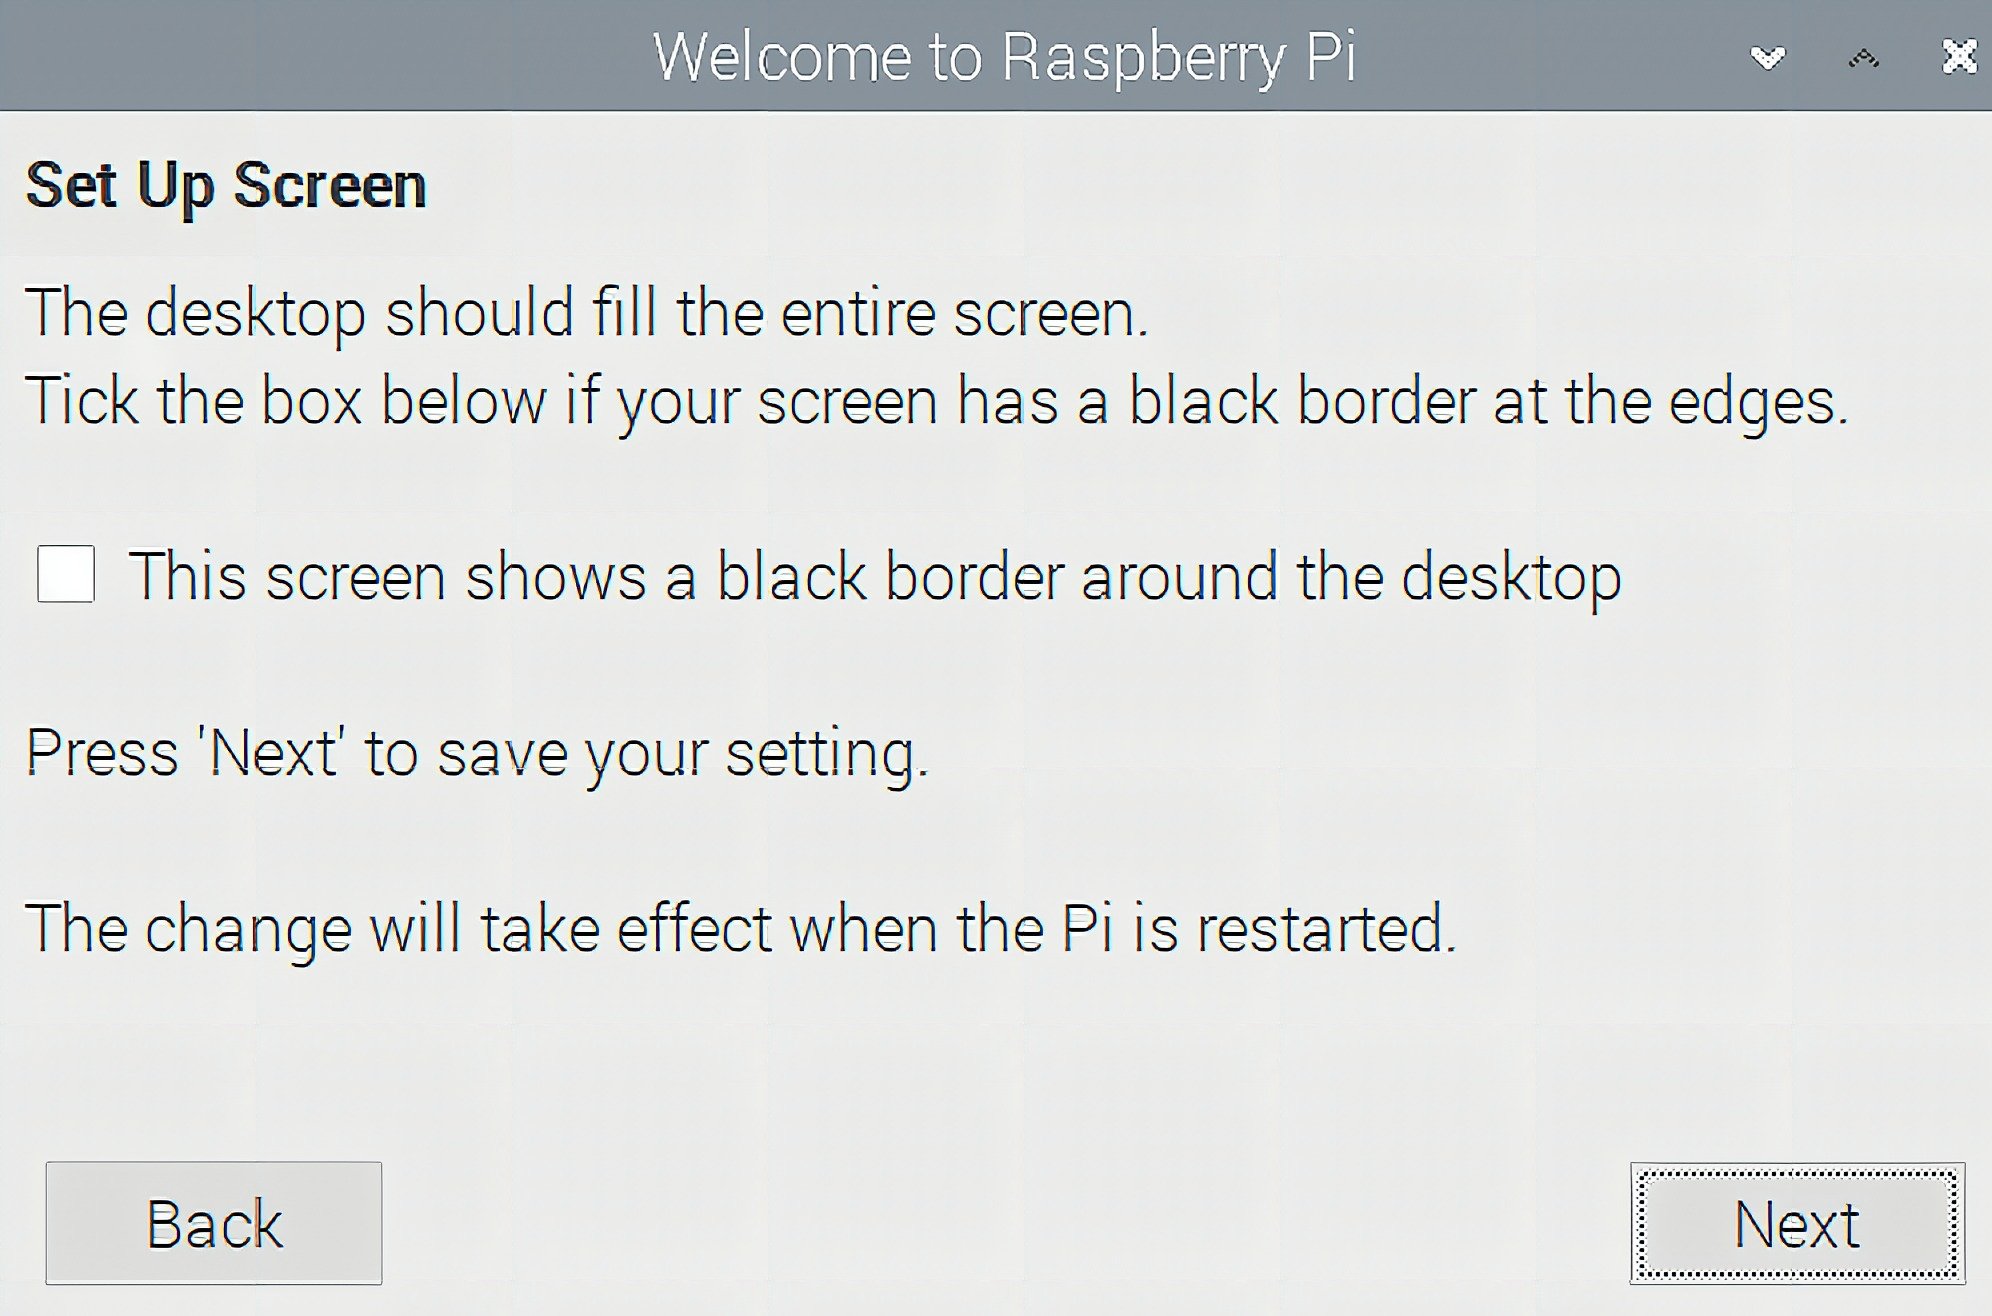
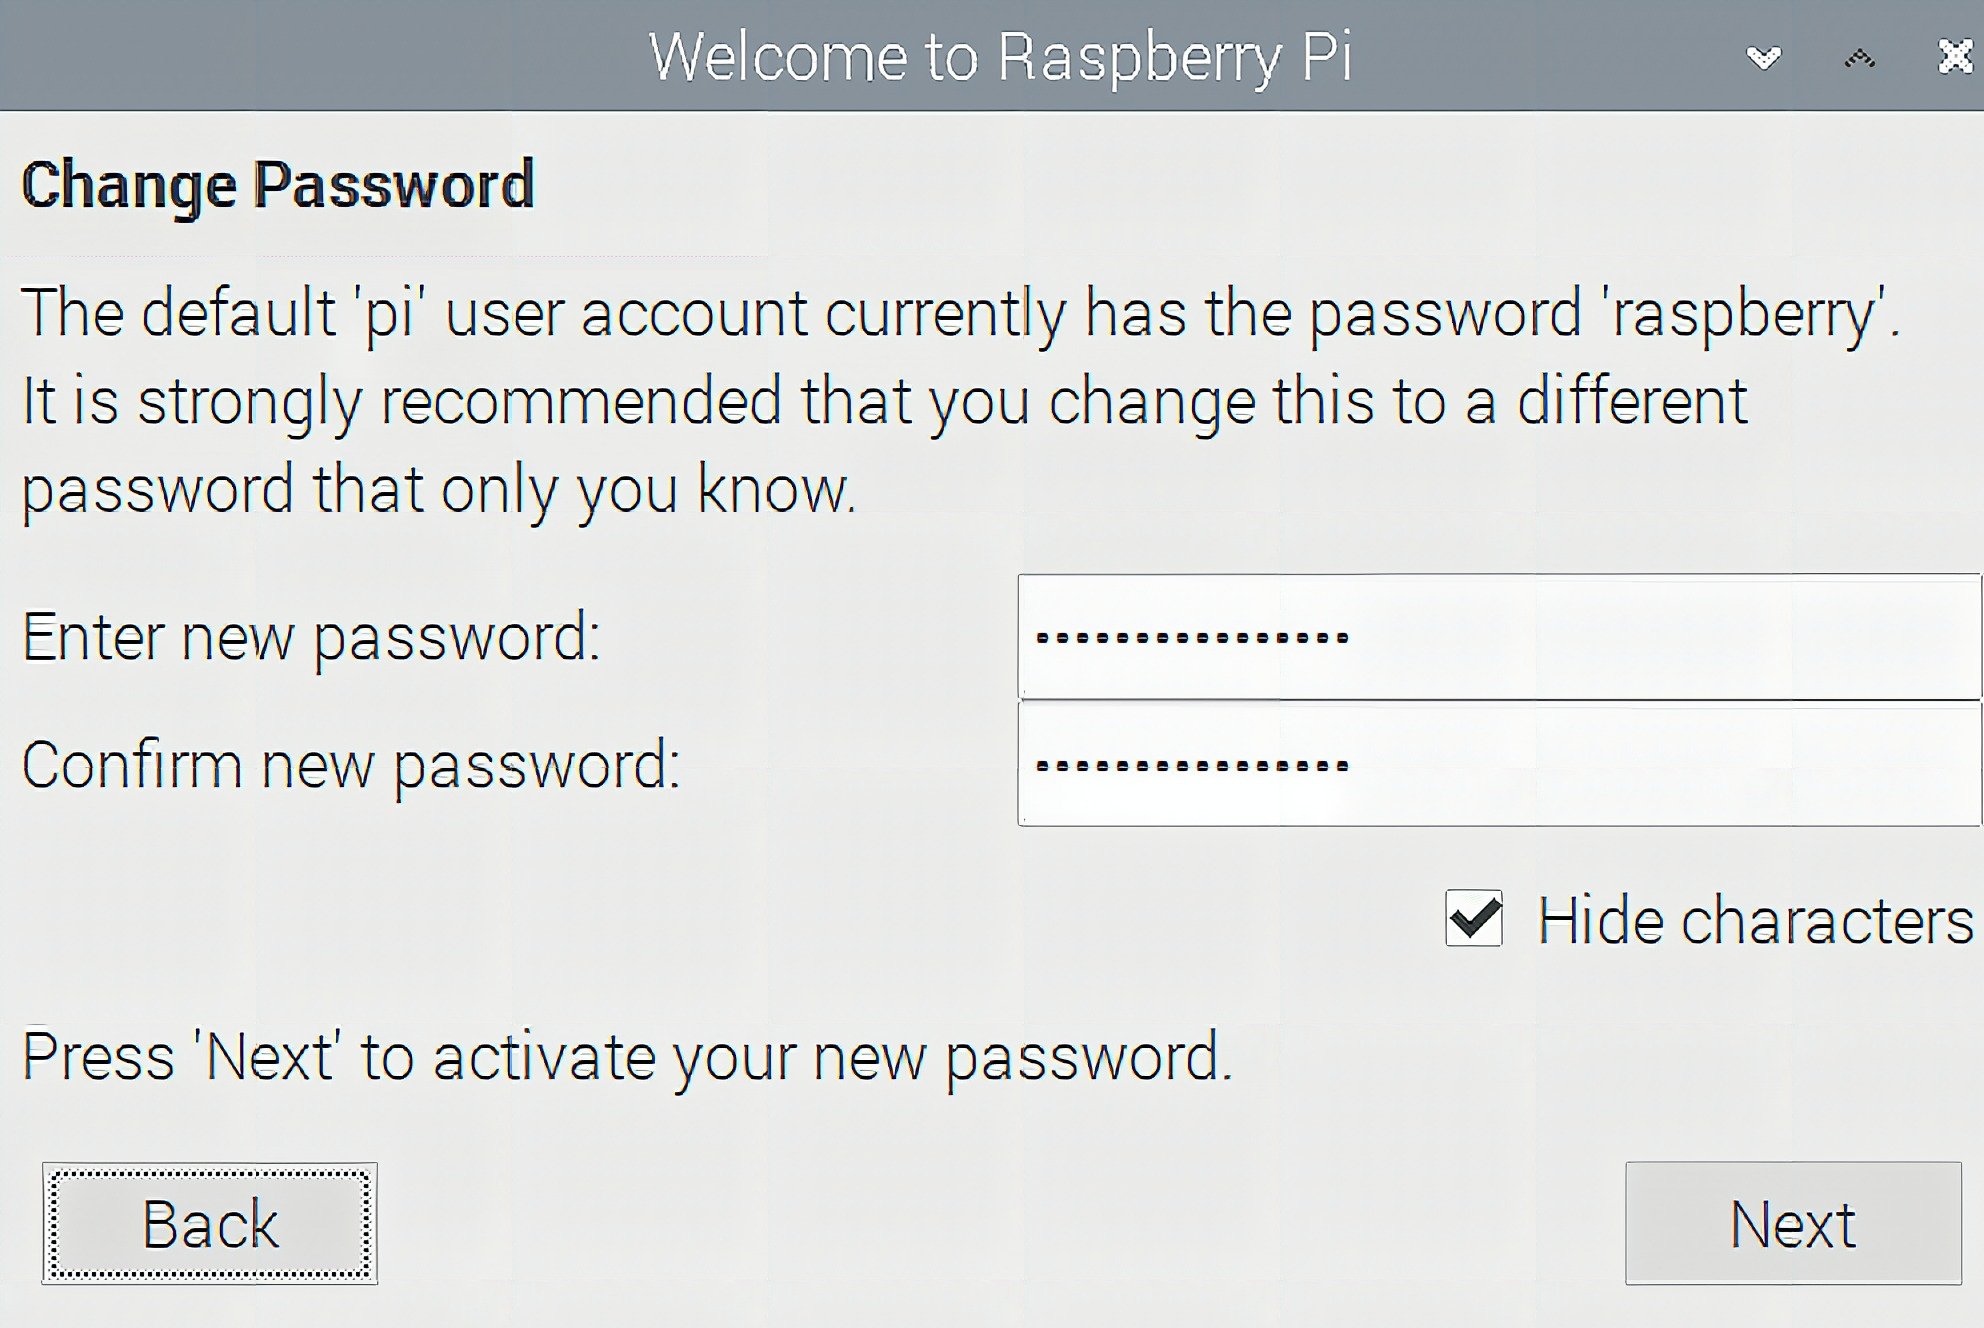
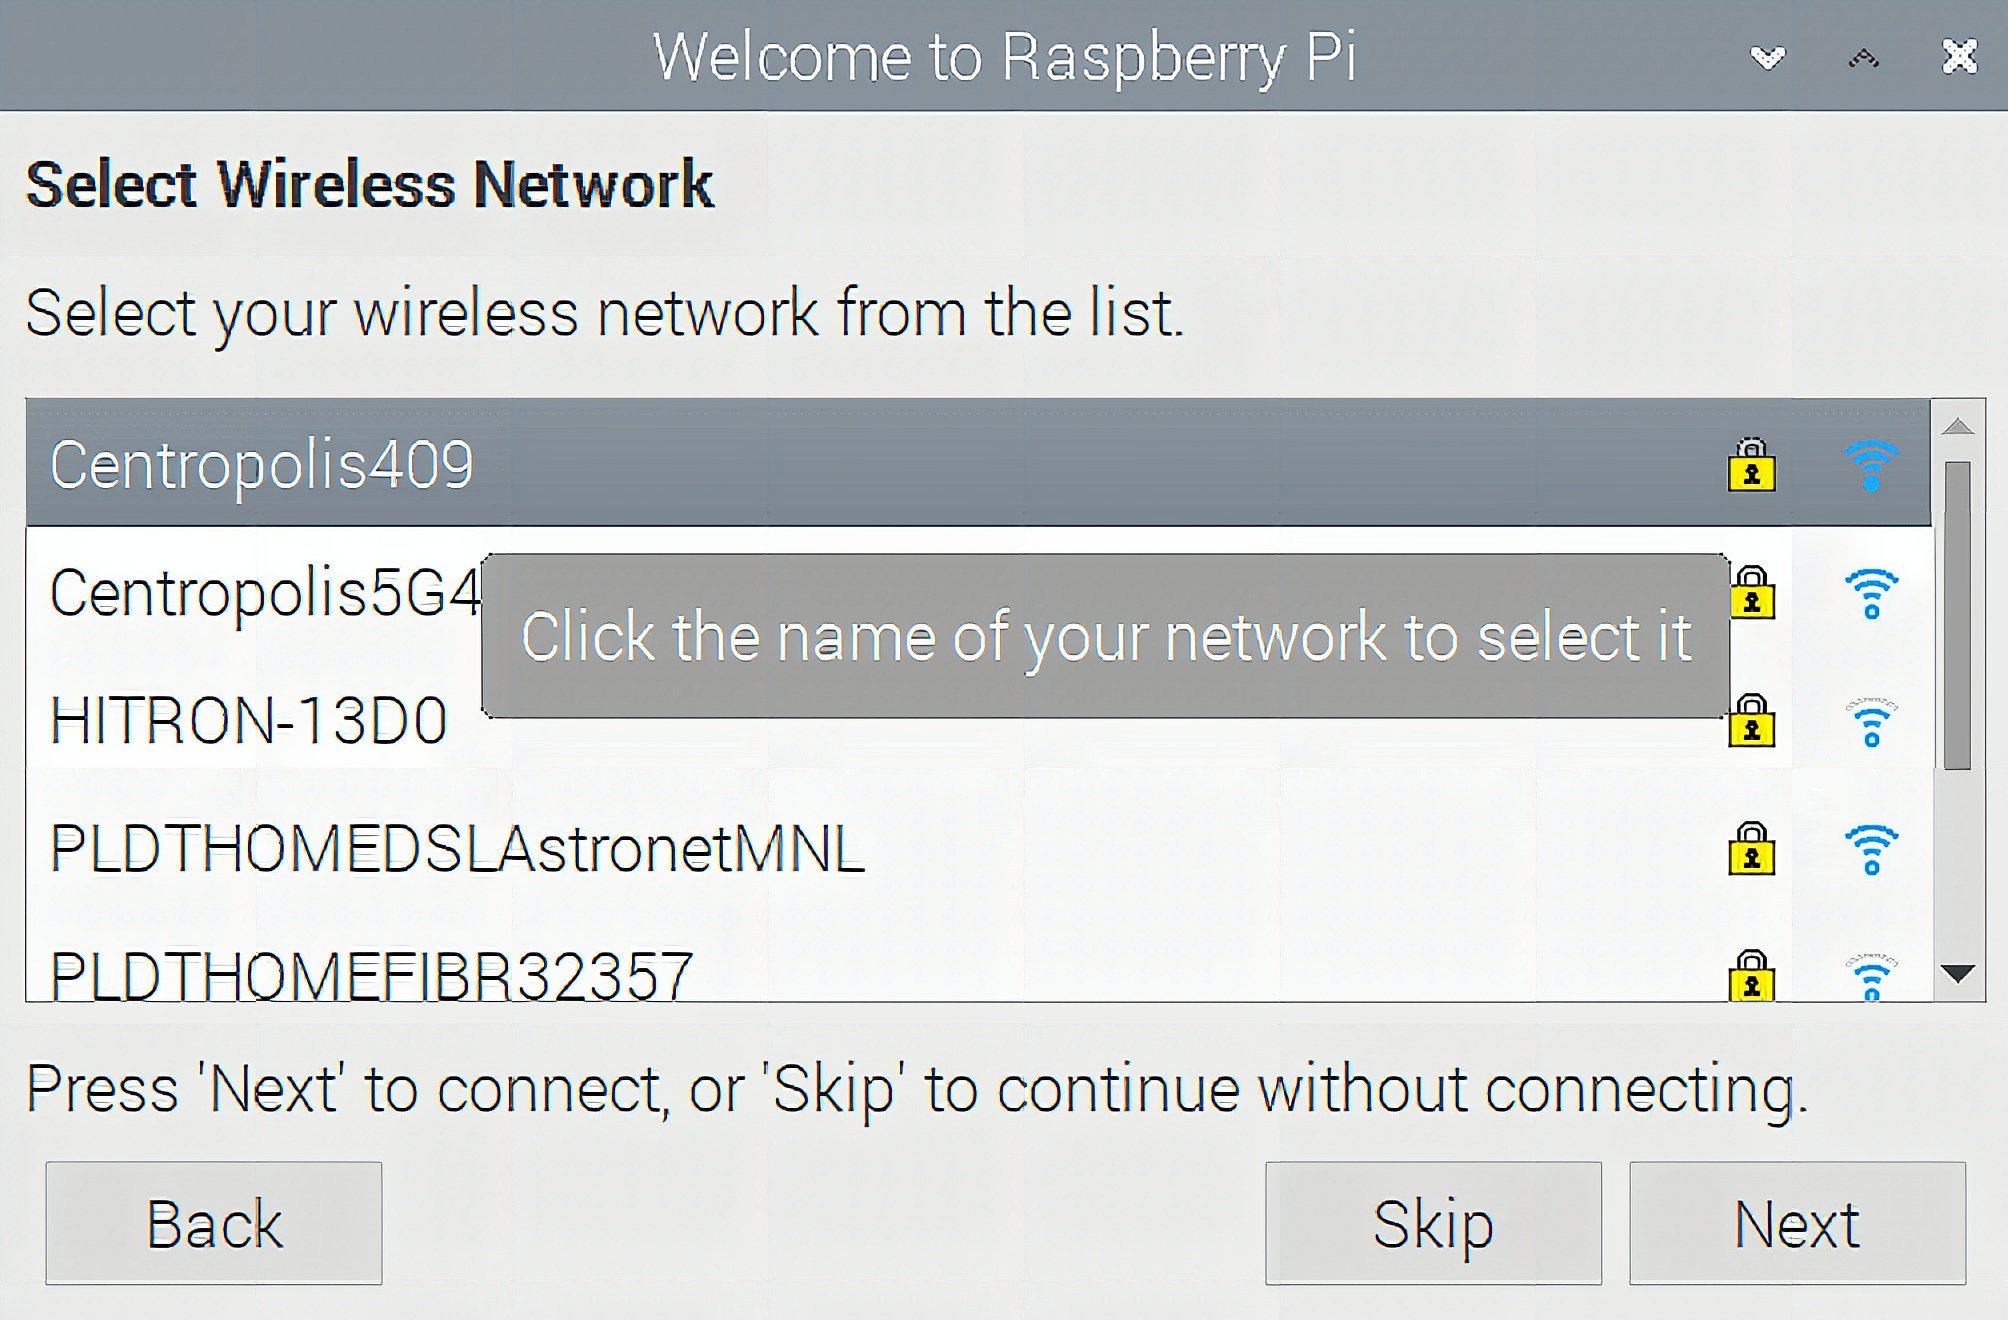
Once successfully written to the MicroSD card by the Imager, Raspbian should automatically boot once you put the card in the slot and power your Pi. You can now proceed to fill-up your preferences and settings as shown below.


How’s that for a starter? If you’re from the 1st part, congratulations! You now have sufficient knowledge to start tinkering with the pocket-sized computer. Make sure to have fun exploring the board and stay tuned for more!
Frequently Asked Questions
What does this How to Start with the Raspberry Pi (Part 2) tutorial cover?
Today we are going to discuss the invisible thing that makes computers, including the Raspberry Pi, work.
Which Raspberry Pi model fits the How to Start with the Raspberry Pi (Part 2) project?
Pi 4 (4GB) or Pi 5 for desktop apps and AI workloads. Pi Zero 2 W is enough for headless / sensor builds. Pi 3 B+ works but is slower for camera or ML.
How do I auto-start the How to Start with the Raspberry Pi (Part 2) script on boot?
Use systemd. Create /etc/systemd/system/myproject.service with ExecStart=/usr/bin/python3 /home/pi/script.py and Restart=always. sudo systemctl enable myproject.