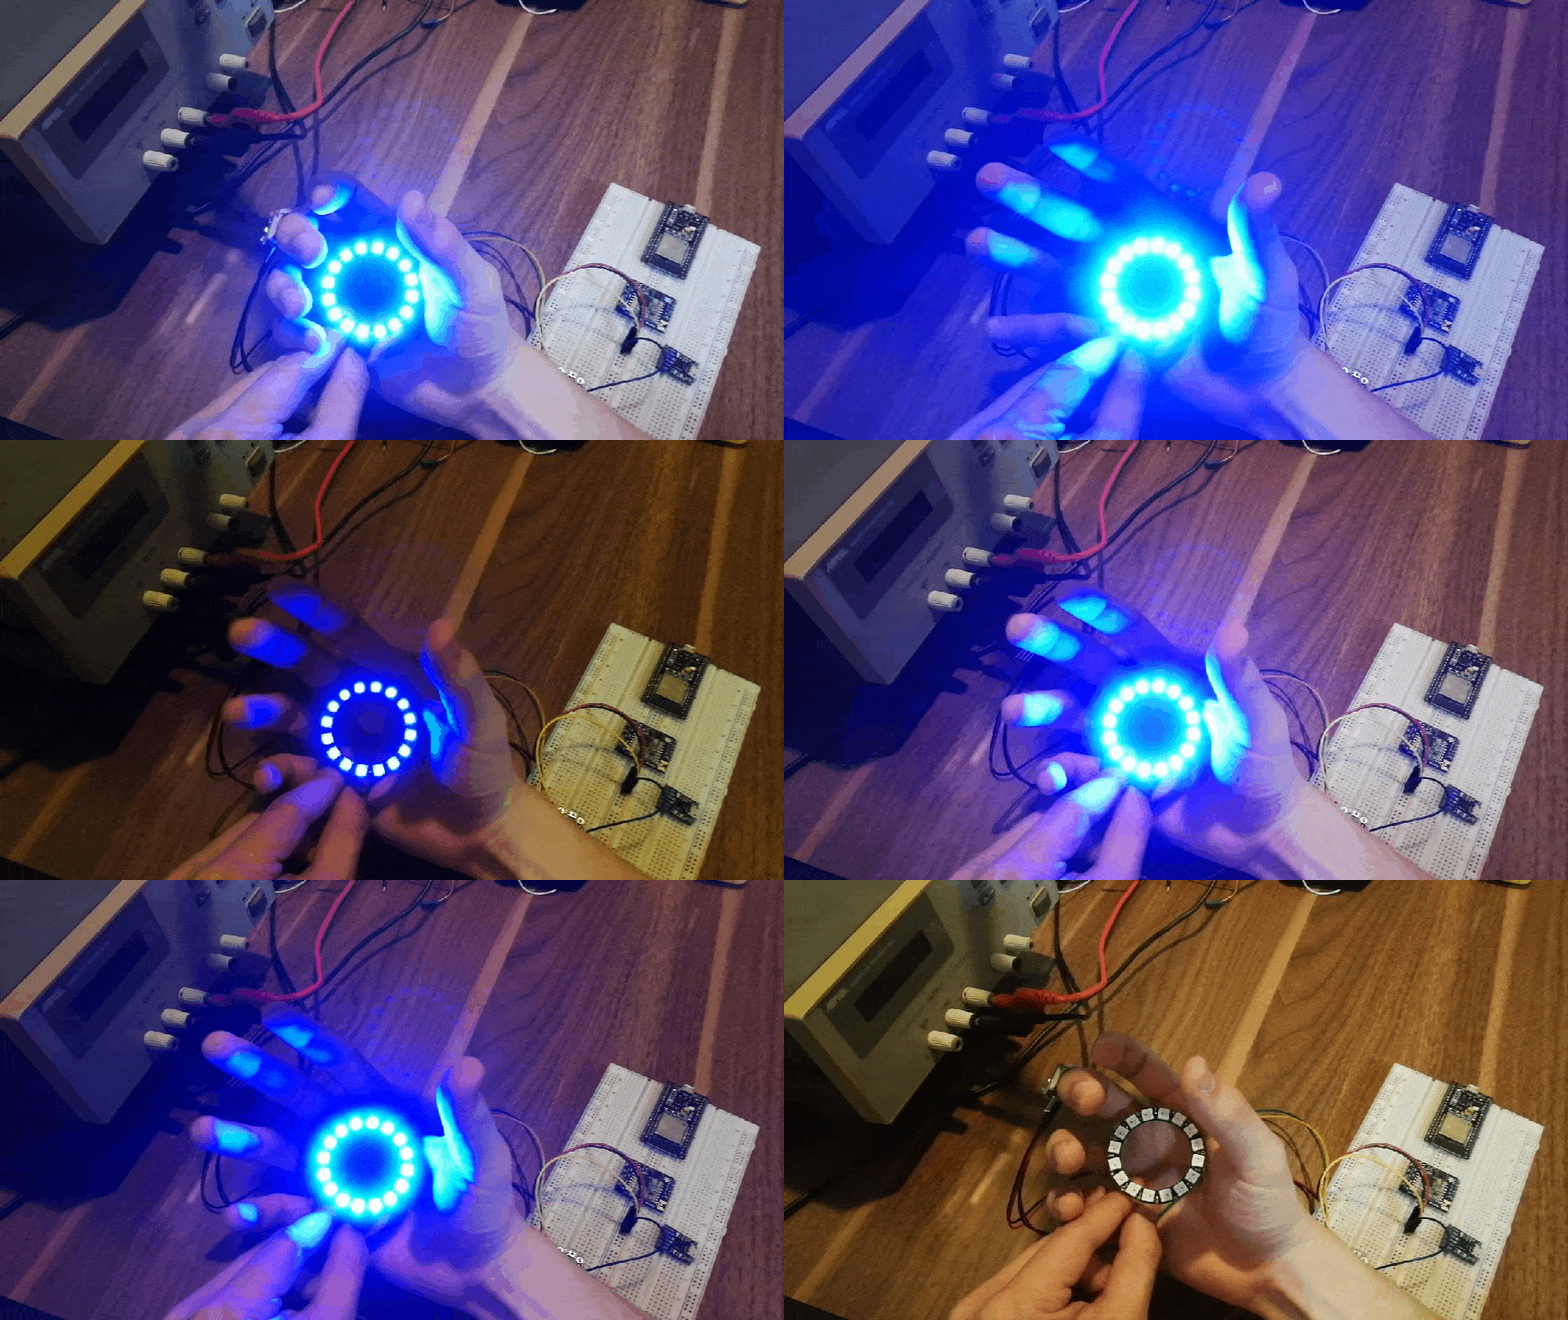
Using FONA is as easy as 1, 2, 3! For newbies out there that are having a hard time adding Cellular connectivity as their way to do Internet of Things, then this guide is for you!
Introduction
FONA is just one of the awesome product lines of Adafruit that deals with Cellular connectivity. The FONA line usually carries the following SIMCOM chips; the brains of it all:
- SIM800
- SIM808
- SIM5320
The different SIMCOM chips allows the user to do the following:
- SIM800 – connect to the Internet via GPRS/2G and send/receive SMS via GSM
- SIM808 – connect to the Internet via GPRS/2G, send/receive SMS via GSM and get location data via GPS
- SIM5320 – connect to the Internet via 2G/3G, send/receive SMS via GSM and get location data via GPS
To give light on what the different acronyms are and what are their respective capabilities:
- GPRS (General Packet Radio Service) – is a packet-based* wireless communication service. It is a 2G technology network that support a download speed of up to 114Kbps.
- 3G (Third Generation) – video calling and seamless streaming of video is now possible, with download speed of up to 3.1Mbps.
- GPS (Global Positioning System) – a “constellation” of approximately 30 well-spaced satellites that orbit the Earth and make it possible for people with ground receivers to pinpoint their geographic location.
For beginners, using the SIMCOM chip alone is pretty dang-hard because the peripherals like antenna jacks, audio jacks and so on need to be connected to it before it could be used and interfaced to an microcontroller like Arduino. That’s why Adafruit (and other manufactures) has built a module around the SIMCOM chip to make interfacing easier.
For this guide, we’ll use the Adafruit FONA SIM808 as it has more functionalities than the SIM800 and it is simpler to use than the SIM5320.
Prerequisites
Hardware
For this guide, we’ll use the following components:
- Adafruit FONA 808 – Mini Cellular GSM + GPS Breakout
- Arduino Uno R3
- Li-Po Battery
- Jumper Wires
- GSM Antenna
- GPS Antenna
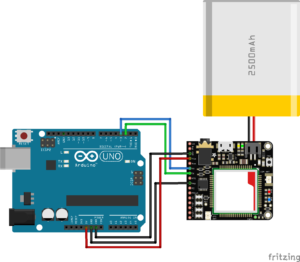
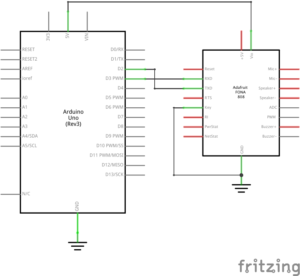
Connecting to an Arduino is fairly easy to do:
- Vio connects to 5V (or, with a 3V logic Arduino, 3V)
- GND connects to GND
- Key connects to GND (always on)
If you want to use Software Serial:
- RX connects to digital 2
- TX connects to digital 3 (9 on Leo/Micro, 10 on Mega)
If you want to use Hardware Serial, just connect the RX and TX pin of the FONA to the TX and RX pin of the MCU respectively. As a concrete example, the Arduino Mega has three (3) additional Serial ports (Serial1, Serial2 and Serial3) which makes Hardware Serial the viable option instead of using Software Serial.
Below is a simple wiring diagram to connect the FONA to an Arduino Uno via SoftwareSerial using digital pin 2 and 3:
Software
Since we’re talking about an Adafruit product, they would definitely have a library for this! Lo and behold Adafruit FONA has a library that can be downloaded on the Arduino’s Library Manager (Thanks Adafruit!). The library is good for sending/receiving SMS and getting GPS. If you want to connect to an MQTT server (like Meeo), TinyGSM is a library that could be used. Most of the time we use TinyGSM but the only downside is that receiving SMS is not yet implemented (sad).
For the Arduino libraries needed for this guide, you may download them on the Library Manager (go to Sketch->Include Library->Manage Libraries) and search for:
- PubSubClient
- Meeo
- TinyGSM
Display GPS data on a Meeo
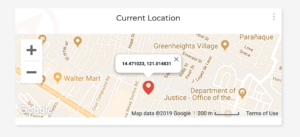
The sample code for displaying the GPS coordinates to Meeo could be seen here in this link.
Send a message from Meeo via SMS
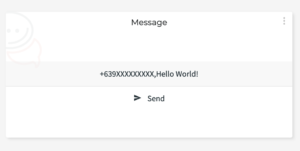
The sample code for getting the message from Meeo and sending an SMS could be seen here in this link.
Conclusion
Combining the capabilities of a powerful communications module like the FONA808 and the most awesome MQTT library Meeo could provide a lot of experiences for users. Getting GPS or sending SMS are easy tasks now! Hopefully the TinyGMS library will support the read SMS functionality and we’ll be able to do a lot more!


